Upgrading the graphics card in a PC can transform an old system into a gaming powerhouse or a more proficient machine for creative work. This upgrade does not demand professional technical skills and can greatly improve your computer’s performance. Below, you’ll find step-by-step guidance on how to safely and effectively replace your old graphics card with a new, more powerful one. Let’s convert your PC from obsolete to outstanding by following these straightforward instructions.
Preparing for the Upgrade
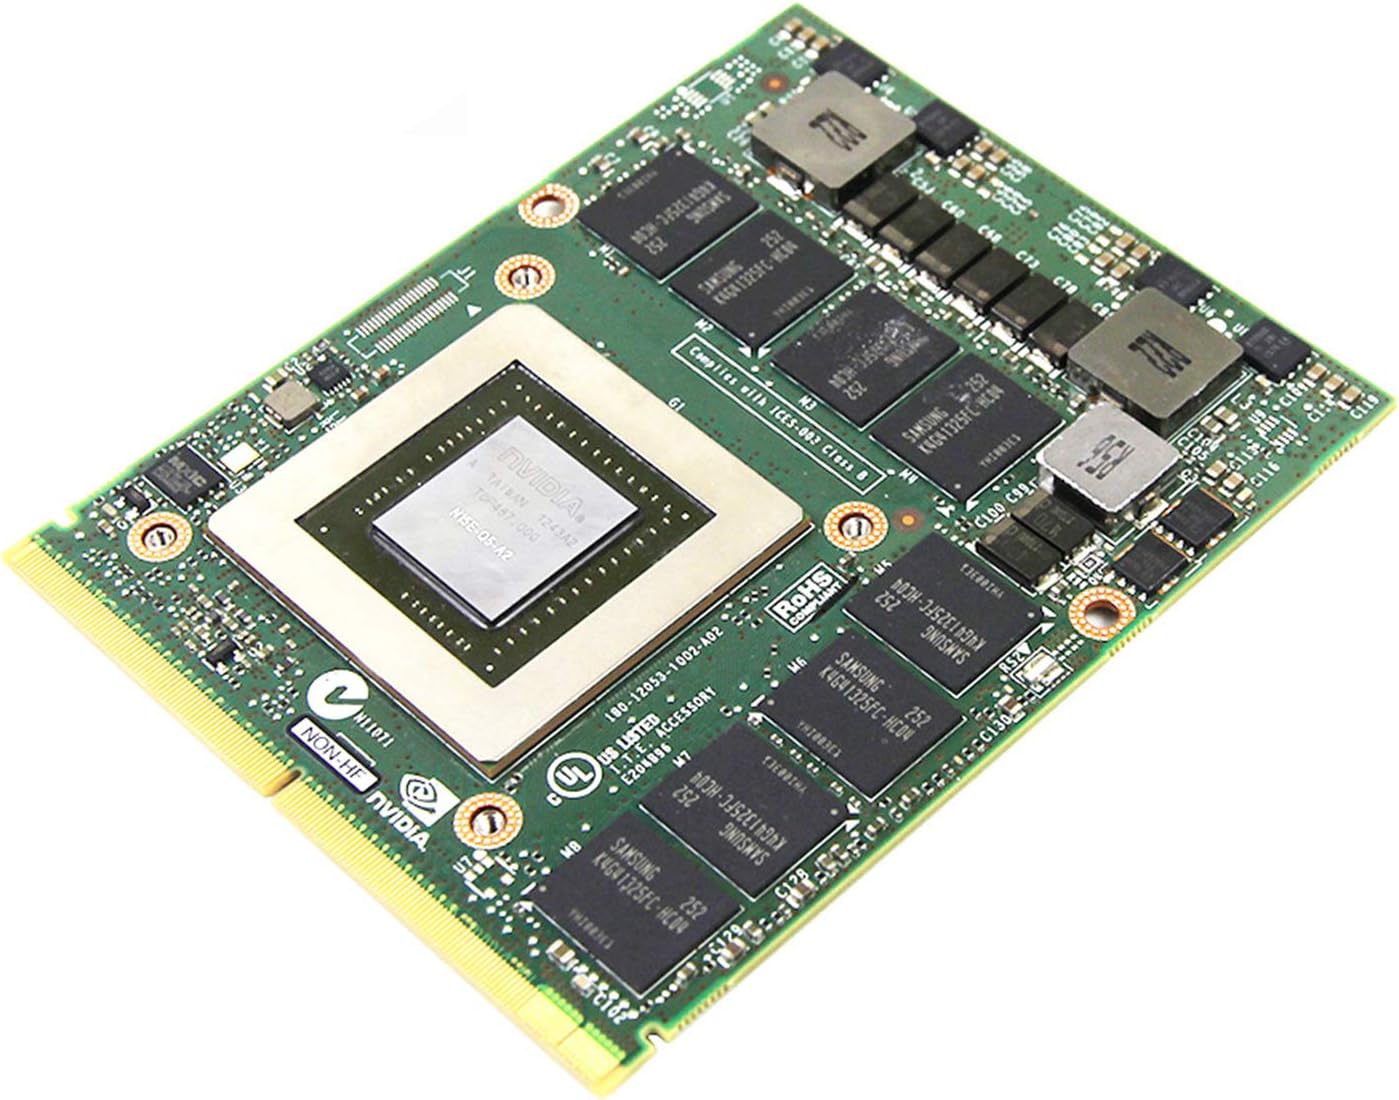
Selecting the Right Graphics Card
Before starting the hardware replacement, you must choose a compatible and suitable graphics card for your needs and budget. Research GPUs that fit your motherboard’s specifications and the power supply’s wattage limits. Also, consider the physical space available in your PC case, as graphics cards come in various sizes.
Gathering Necessary Tools and Safety Precautions
Prepare for the upgrade by gathering the tools you will need—a Phillips-head screwdriver typically suffices. Ensure you have a clean, static-free workspace and use an anti-static wrist strap to prevent damage from electrostatic discharge. Unplug the PC and remove all cables; it’s time to begin the card replacement process.
Removing the Old Graphics Card
Accessing the Interior of Your PC
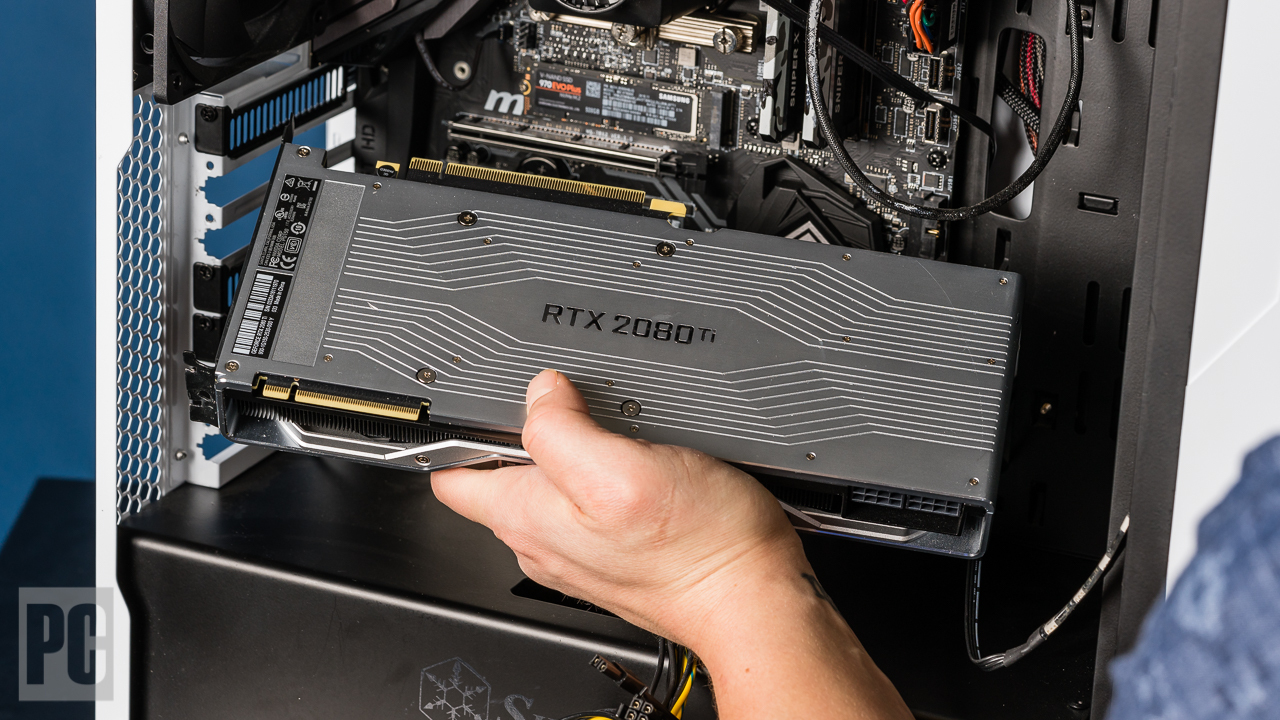
Start by opening your PC case. This usually involves removing side panel screws or unlocking a side latch, depending on your PC model. Once inside, locate the existing graphics card; it will be the component attached to the motherboard’s PCIe slot, usually secured with screws at the back of the case.
Uninstalling the Old Card
Carefully disconnect any power connectors from the old graphics card and unscrew it from the case’s back panel. Release the locking mechanism on the PCIe slot—this could be a lever or a button; different motherboards have different locking styles. Gently wiggle the card out of the slot and set it aside. Be mindful not to touch any delicate components on the board itself.
Preparing for the New Card
Cleaning the PCIe Slot
With the old card removed, it’s a good opportunity to clean the PCIe slot. Use compressed air to blow out any dust that could interfere with the new card’s connection. A clear slot will ensure better performance and longevity from your new hardware.
Checking Power Supply Requirements
Verify that your power supply unit (PSU) has the necessary connectors and can supply the right amount of power for your new graphics card. High-performance GPUs often require more power, so they might have 6-pin or 8-pin connectors. It’s crucial to ensure compatibility to avoid issues post-installation.
Installing the New Graphics Card
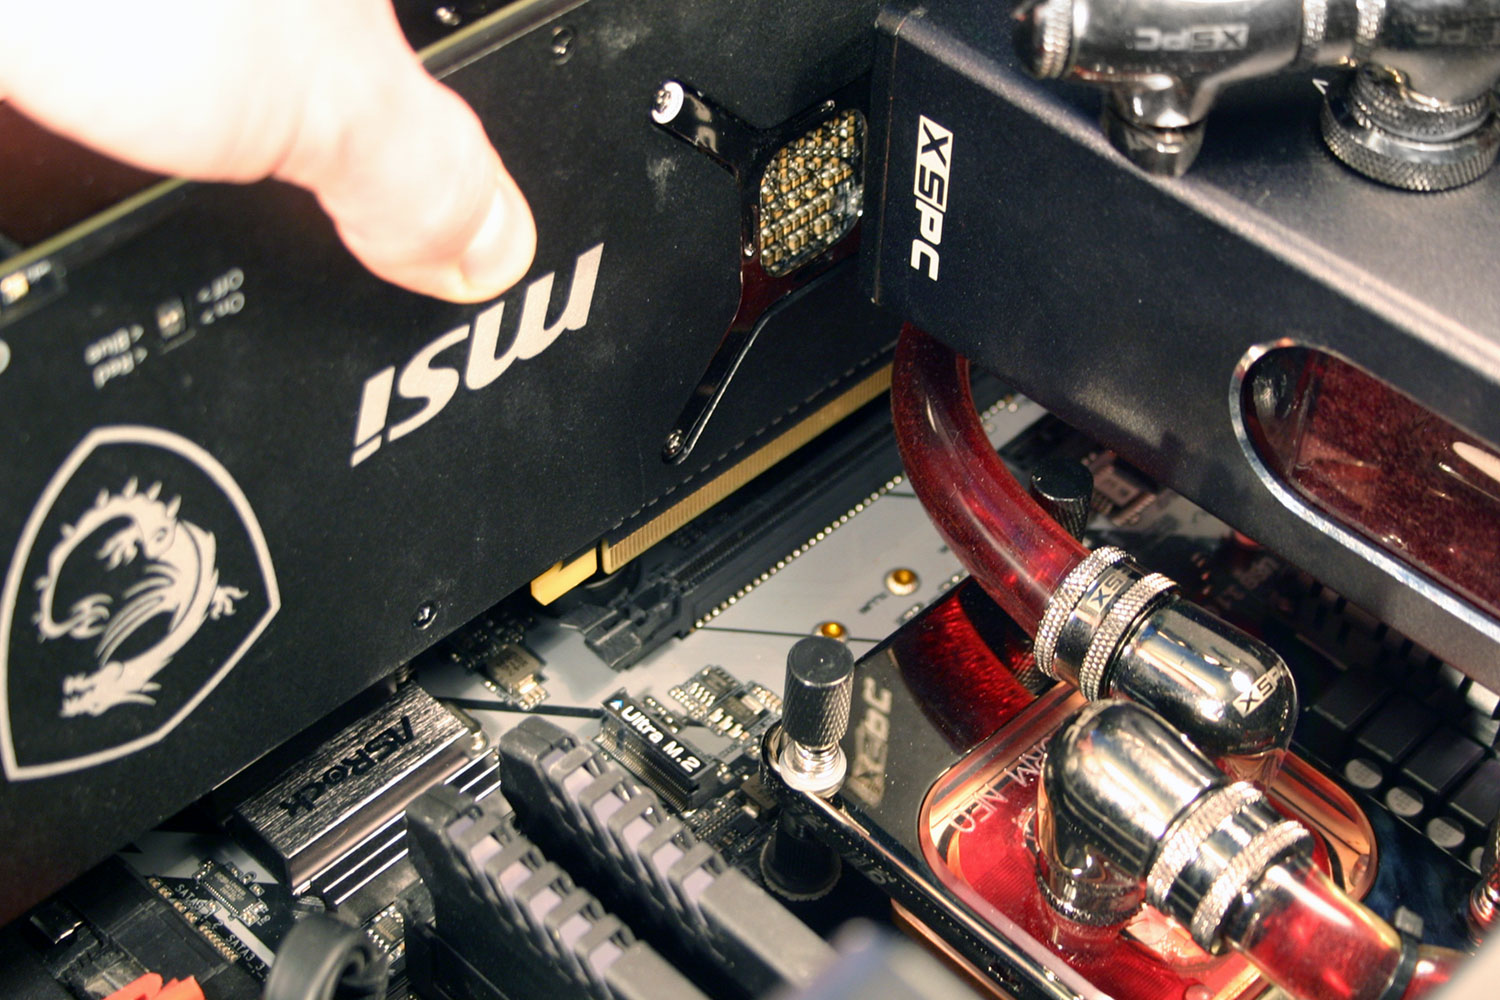
Securing the Card in the PCIe Slot
Align your new graphics card with the PCIe slot and firmly press down until the locking mechanism clicks in place. Again, be gentle but ensure the card is snugly fit into the slot. Secure the card to the case’s back panel using screws you previously removed, and connect the PSU cables to the card’s power connectors.
Checking for Proper Installation
Before closing up your PC case, double-check that your new graphics card is secure and the power connectors are properly attached. It’s important that everything is in place to prevent damage to your new GPU or the need to reopen your PC case because of a loose connection.
Setting Up the New Graphics Card Software
Installing the Latest Drivers
For your new graphics card to work with your PC, it needs the right drivers. Connect your monitor to the new GPU and power on your PC. Use a second device to download the latest drivers from the manufacturer’s website. Install these drivers and follow the on-screen instructions to complete the setup.
Configuring Display Settings
After installing the drivers, your PC should automatically detect the new graphics card. From there, adjust your screen resolution and settings according to your preference. You might also want to explore the graphics card’s control panel for advanced features and further optimization.
Finalizing and Testing the New Graphics Card
Reassembling Your PC
Once you’ve confirmed that the new graphics card is correctly installed and secured, it’s time to reassemble your PC. Carefully replace any components you might have moved aside during the installation process. Then, close the side panel of the case and secure it with screws or the latching mechanism. Reconnect all cables, including power and any peripherals, and prepare to turn on your PC for testing.
Booting Up and Troubleshooting
Power up your computer, and keep an eye on the monitor for your system’s POST (Power On Self Test) screen. This will indicate that your computer recognizes the new hardware. If your system doesn’t boot, power down and recheck all connections and ensure the graphics card is firmly seated in the PCIe slot. If issues persist, consult your graphics card’s manual for troubleshooting tips, or seek help from online forums or a professional technician.
Running Performance Tests
Finally, to confirm that the new graphics card is running smoothly, it’s useful to run performance tests. You can use benchmarking software to see how your GPU performs under load. This will provide you with insight into the improvements over your old card and any further adjustments or updates that might be necessary. Enjoy the impressive graphics and smooth performance your upgraded machine now delivers!
Keeping Your System Optimized Post-Upgrade
Regular Maintenance and Driver Updates
To get the most out of your new graphics card, you should commit to regular system maintenance and driver updates. Graphics card manufacturers frequently release driver updates that can enhance performance, fix bugs, and add new features. It’s recommended to check for updates periodically through the manufacturer’s software or website. Additionally, maintain the cleanliness of your PC’s internals by using compressed air to clear out dust that accumulates over time, which can impede performance and cooling. With these ongoing efforts, your PC will continue to operate at peak efficiency, ensuring that your new graphics card’s capabilities are fully leveraged long after the initial installation.
In summary, replacing a graphics card in a PC, though a bit daunting at first, is a manageable task with the right preparation and care. By selecting the appropriate graphics card, properly removing the old one, securing the new GPU, and setting up the necessary software, you’ll rejuvenate your computer’s graphics performance. This upgrade process not only extends the life of your PC but can also make a world of difference in your computing and gaming experience. Enjoy your newly empowered PC!