
Upgrading the graphics card on your PC can yield a substantial improvement in performance, especially for gaming, video editing, and graphic design. While the idea of opening up your PC may seem daunting, the process is manageable with a methodical approach. This guide provides a step-by-step procedure to help you confidently change your graphics card.
Preparation: Ensuring Compatibility and Safety
Verifying Graphics Card Compatibility
Before purchasing a new graphics card, it’s essential to confirm that it’s compatible with your PC’s motherboard and power supply. Check the card’s size, power requirements, and connectivity options against your system’s specifications. Ensuring compatibility will save time and prevent potential issues down the line.
Preparing the Workspace
Safety first—shut down your computer, unplug all cables, and move your PC to a clean, well-lit workspace. Ground yourself to prevent static electricity from damaging electronic components by using an antistatic wristband, or regularly touching a grounded metal object. Have your tools ready; typically, a Phillips head screwdriver is all you need.
Accessing the PC’s Interior
Opening the Case
Begin by removing the side panel of your PC case. Most cases have screws along the back edge that, when removed, allow the panel to slide or swing open. In some cases, panels might use a tool-less design with a release button or lever. Open the case gently to access the internal components.
Locating the Current Graphics Card
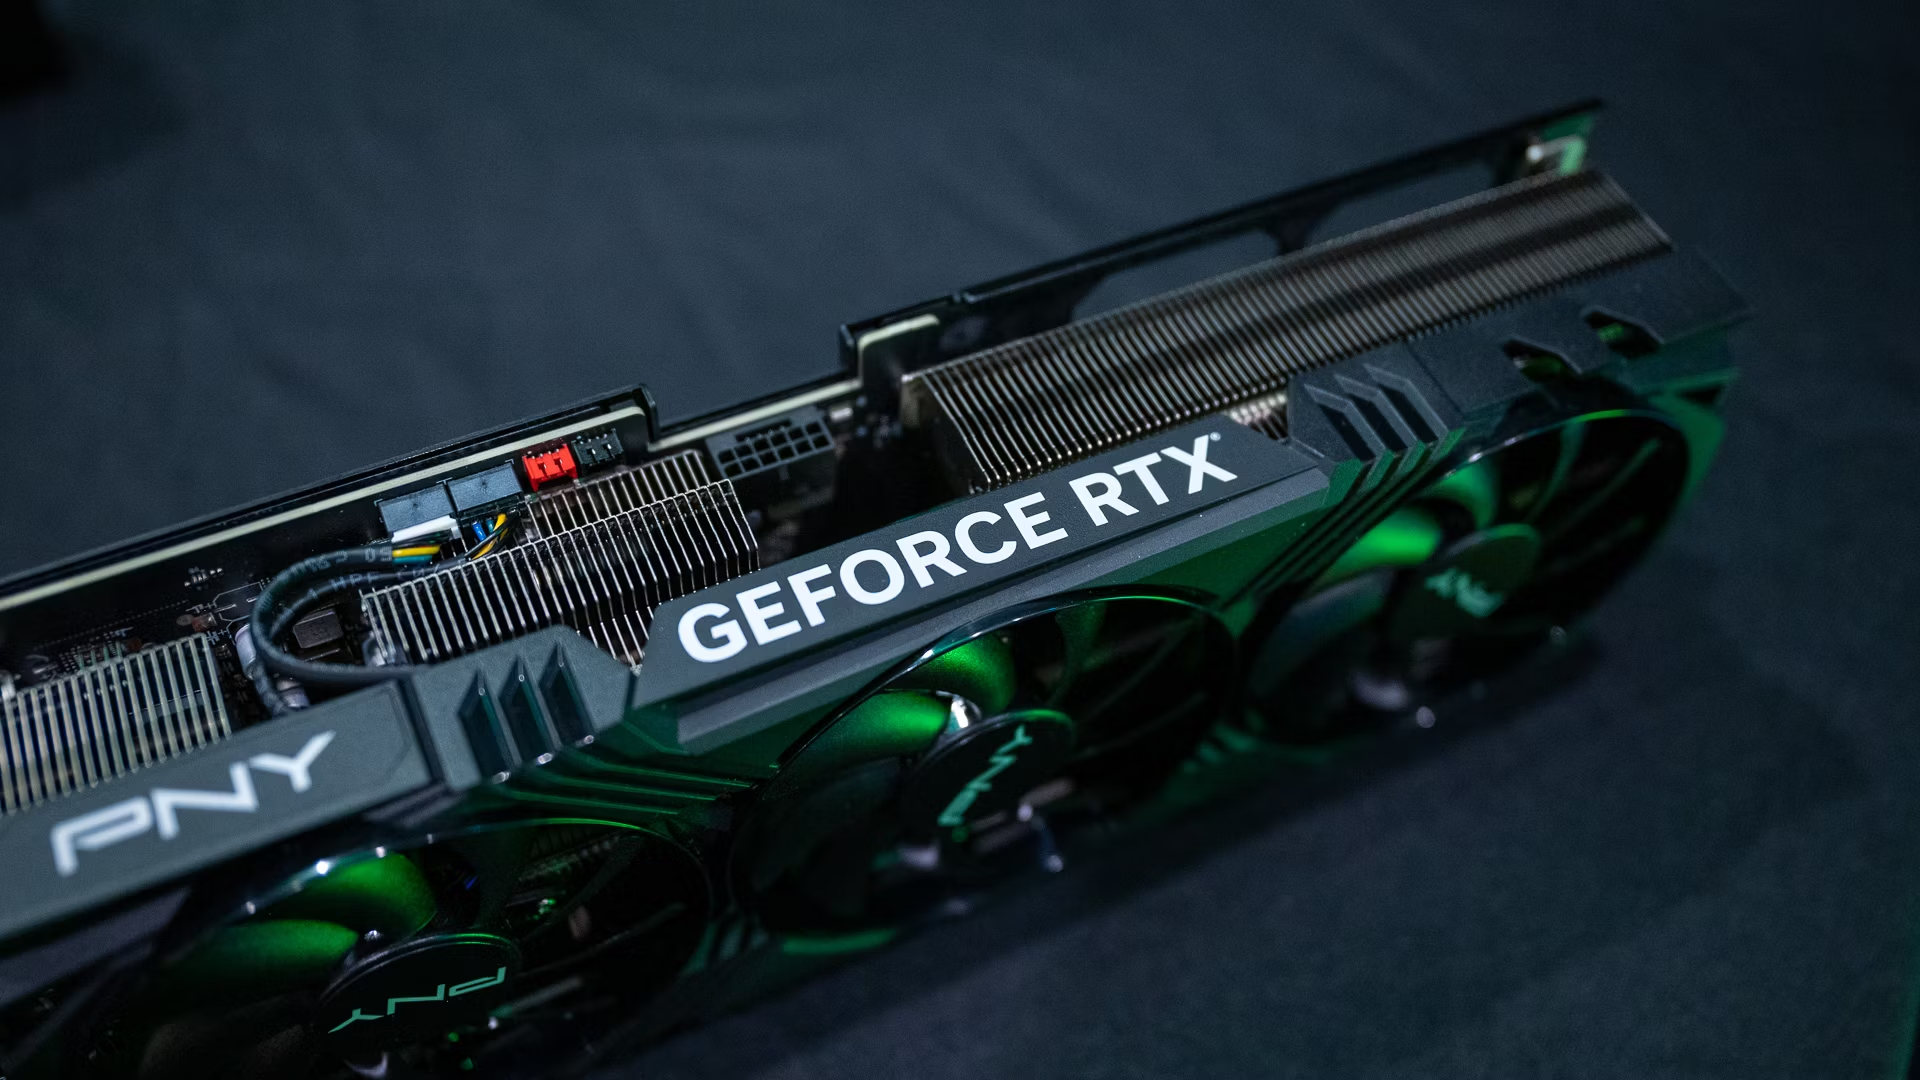
Inside the PC, locate the existing graphics card. It’s the component inserted in a PCI-E slot on the motherboard, usually with monitor connectors protruding out the back of the case. It may have one or two screws securing it to the case, and possibly power cables connected to it from the power supply.
Removing the Old Graphics Card
Unscrewing and Disconnecting
Start by removing any screws holding the graphics card to the case’s frame. If your graphics card has a power connector attached, carefully unplug it. Some connectors have a latch that you will need to depress to release the cable.
Ejecting the Card from the Motherboard
Press down on the PCI-E slot clip to unlock the card. Now, gently pull up on the graphics card with even pressure to slide it out of the slot. Avoid rocking or twisting, as this could damage the motherboard. Set the old card aside in an antistatic bag for storage or resale.
Installing the New Graphics Card
Aligning and Seating the Card
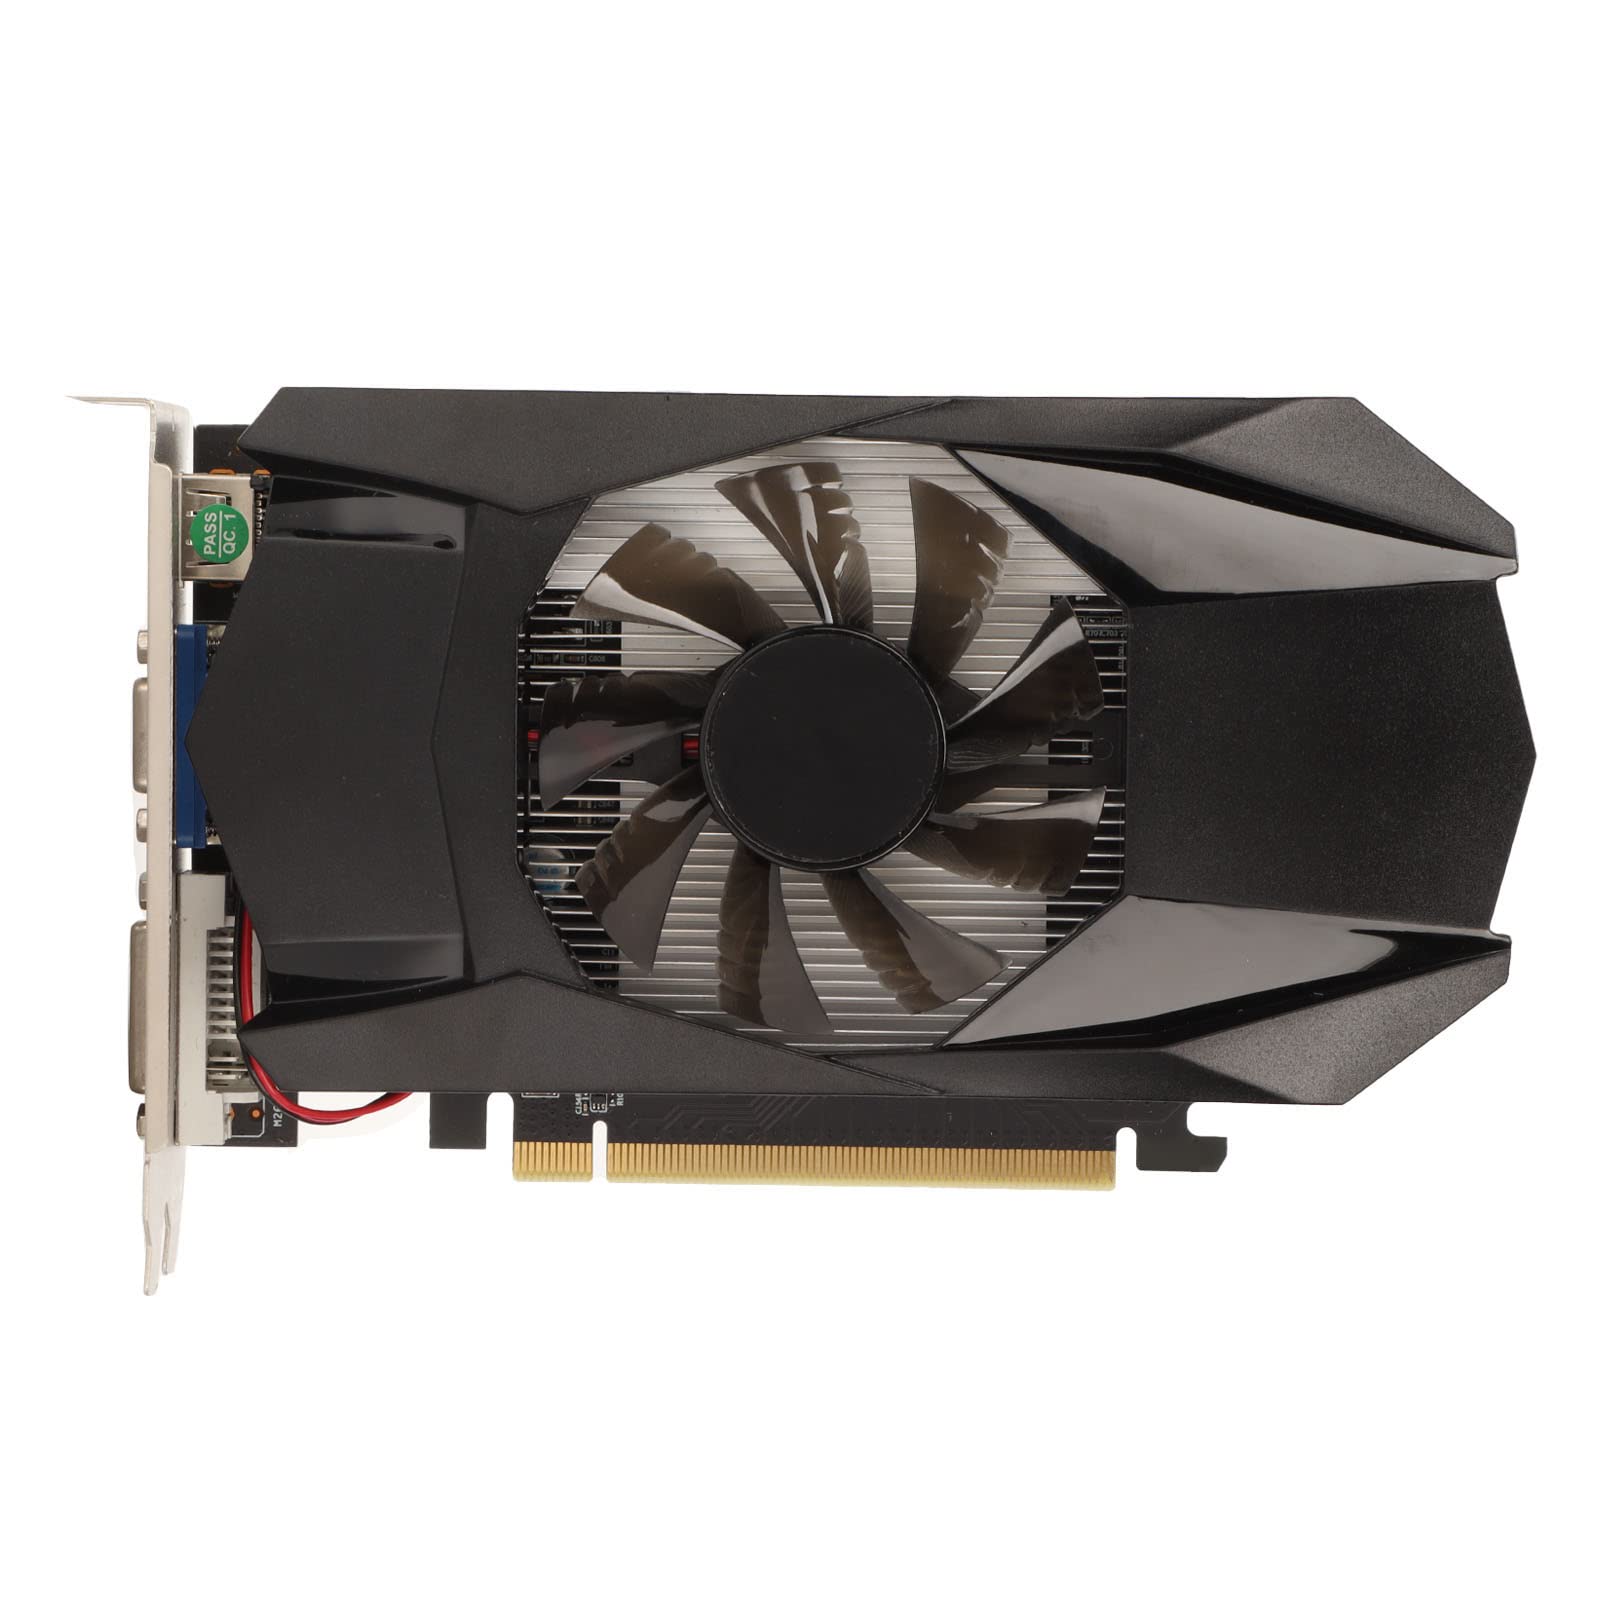
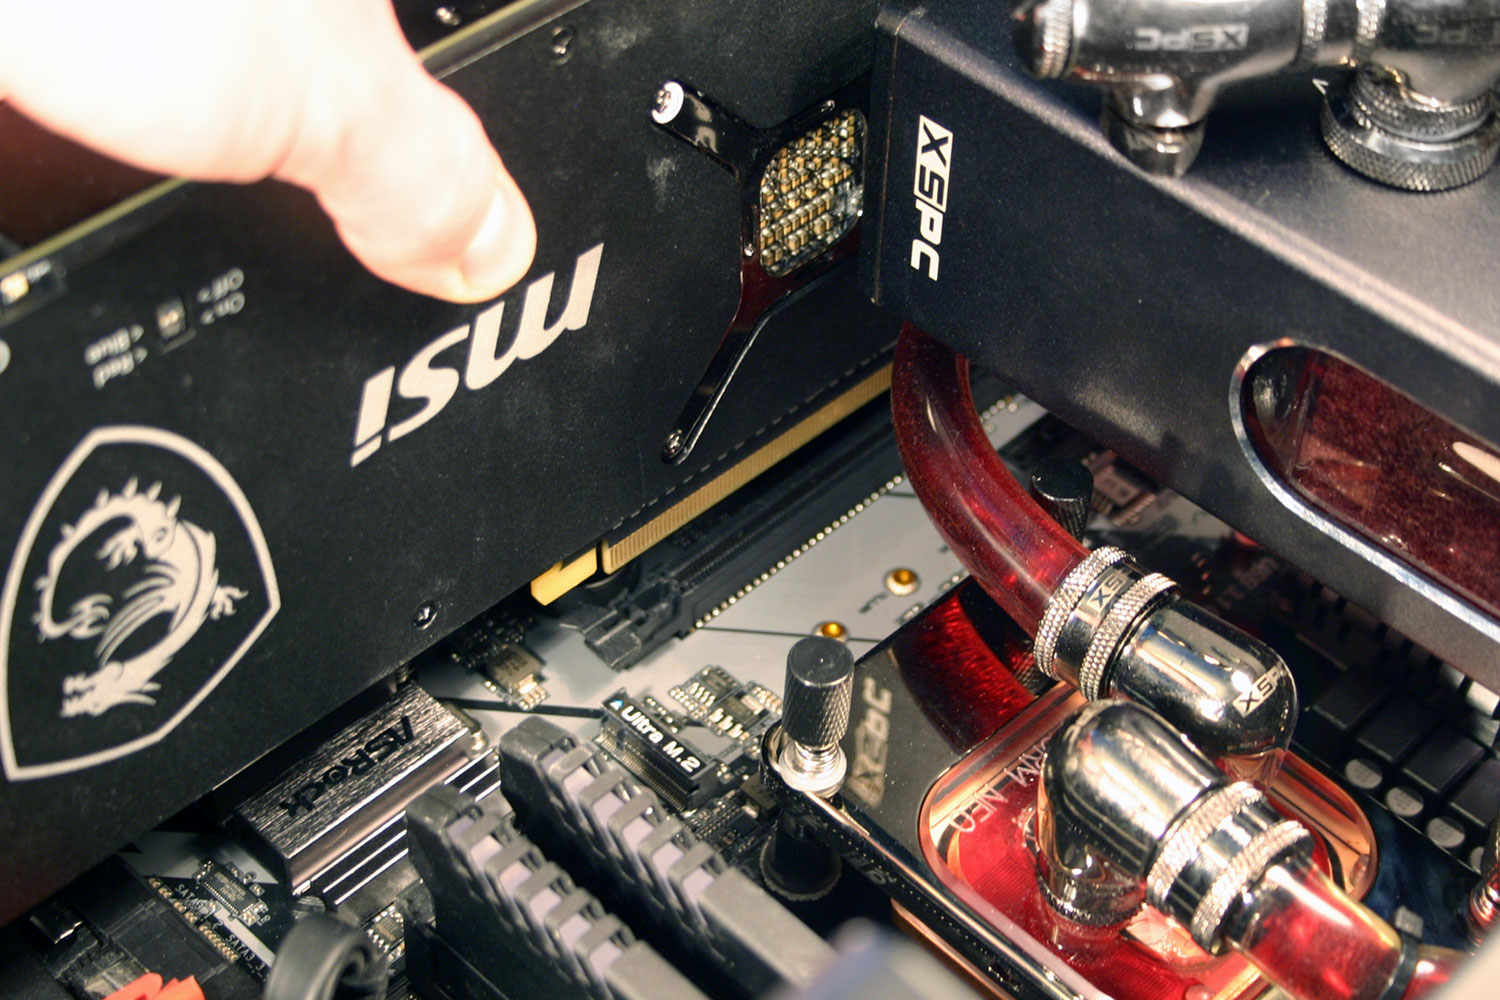
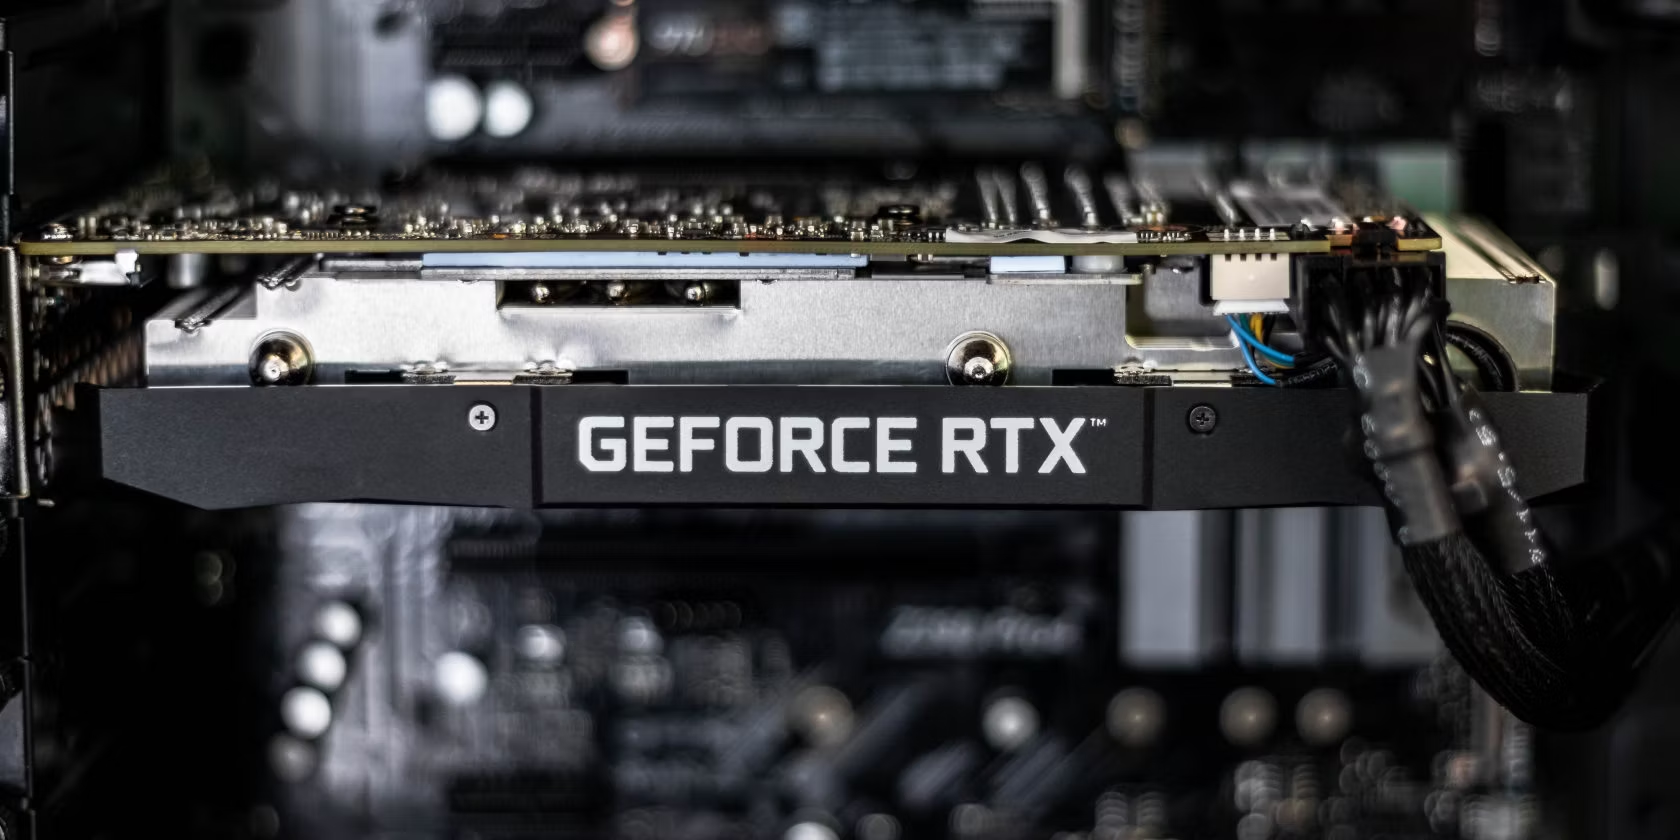
Unbox your new graphics card and hold it by the edges to avoid touching any circuitry. Align it with the PCI-E slot, ensuring the monitor connectors face the back of the case. Firmly yet gently, press the card into the slot until the clip clicks, signifying the card is securely in place.
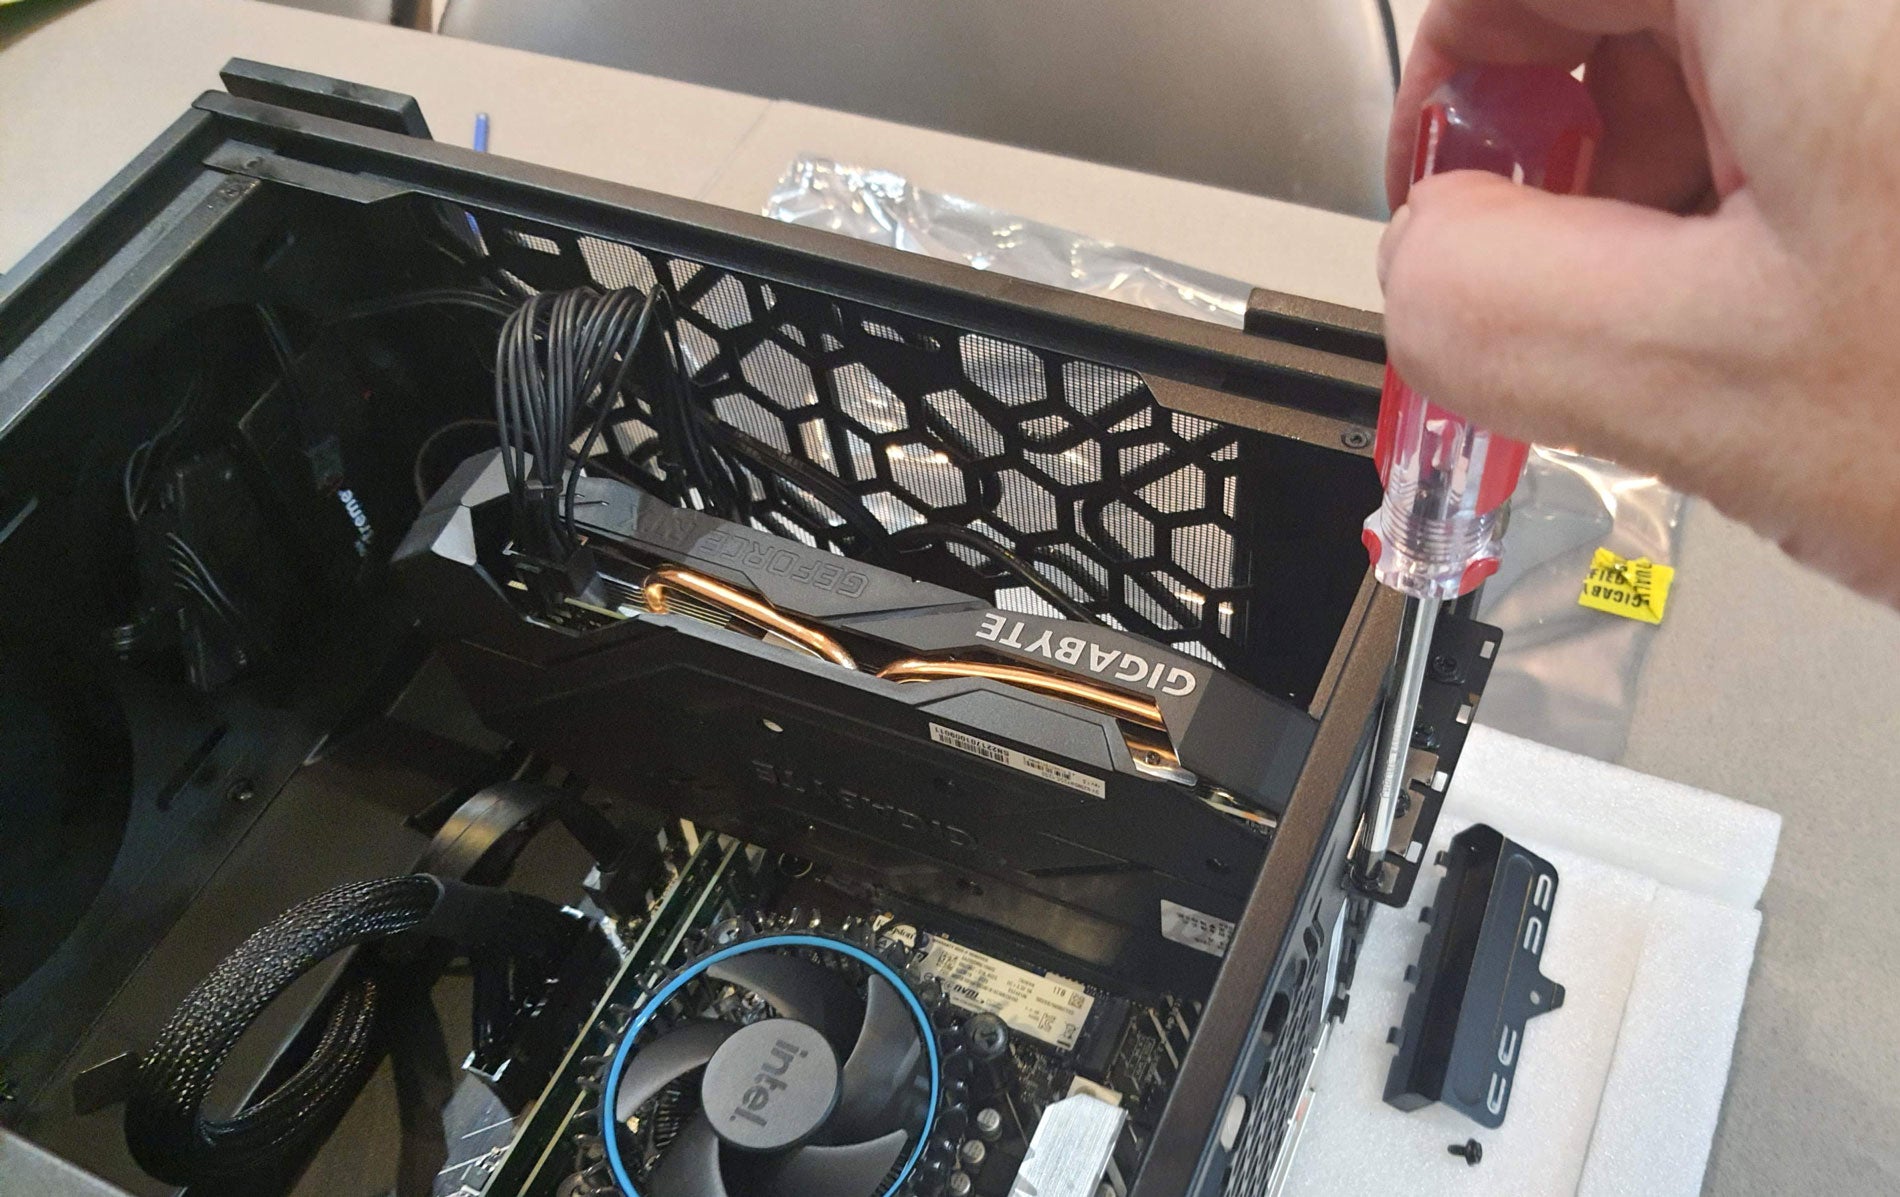
Securing and Connecting Power
Replace the screws to secure the new card to the case. If your new graphics card requires it, connect the power cables from the power supply to the card. Make sure these connections are snug and fully inserted for proper functionality.
Reassembling and Testing the PC
Closing the Case
With the new graphics card installed, you’re ready to close the case. Slide or swing the side panel back into place and reinsert any screws or engage the tool-less design features to secure it. Reconnect all external cables, including the power cord, monitor, and any peripherals.
Booting and Installing Drivers
Power on your PC. If your PC does not automatically recognize the new hardware, you may need to navigate to the BIOS to ensure the PCI-E slot is enabled. Once your system boots, download and install the latest drivers for your new graphics card from the manufacturer’s website. This will ensure optimal performance and functionality.
Maintaining Your PC
Monitoring Graphics Performance
Track the performance of your new graphics card using software utilities provided by your graphics card manufacturer or third-party tools. Look for any issues such as overheating or irregular behavior, and address them promptly. Proper monitoring will help maintain your new component’s health and performance.
Keeping the System Clean
Maintaining your PC’s interior is crucial. Dust and debris can accumulate over time, potentially clogging fans and heatsinks and affecting performance. Regularly cleaning the interior with compressed air and keeping vents unobstructed will prolong the life of your new graphics card and other components.
Finalizing the Hardware Setup
Ensuring Proper Airflow
Once your new graphics card is secured in your PC, take a moment to verify that nothing obstructs the fans or airflow. Proper air circulation is critical to prevent overheating, especially with more powerful graphics cards that generate significant heat. Ensure that cables are neatly routed and tied away from fan blades and cooling paths.
Double-Checking Connections
With the physical installation complete, review all connections inside your PC once more before you power it on. This includes power cables to the graphics card and motherboard, data cables for storage devices, and any other cables you might have disconnected during the process. A loose cable can lead to hardware not being recognized or even cause startup issues.
Reconnecting Peripherals and Accessories
Finally, reconnect all external devices to your PC. This typically includes your monitor(s), keyboard, mouse, speakers, and any USB devices. Ensure that the monitor is connected to the new graphics card and not the motherboard’s onboard output, to take full advantage of the upgraded graphics.
Updating and Optimizing Software
Installing Essential Software
After the hardware setup is confirmed to be in optimal condition, your PC is ready for the necessary software updates. Start by installing the latest operating system updates. These updates may contain important optimizations for hardware compatibility and performance improvements.
Fine-Tuning Graphics Settings
With updated drivers, configure your graphics settings for the best balance between performance and visual quality. Most graphics card software provides preset profiles tailored for various needs, ranging from gaming to professional graphical work. Take the time to customize these settings to match your specific activities and visual preferences.
Embracing PC Hardware Upgrades
Changing the graphics card on your PC might seem like a complex task, but it’s a straightforward process that can dramatically improve your computer’s visual capabilities. By following this guide, you are now equipped with the knowledge to perform this upgrade and give your PC a new lease on life. Enjoy the boosted graphics performance and the satisfaction of having upgraded your system on your own.