
Mini PCs have risen in popularity for their compact size and efficient power usage, making them ideal for small workspaces and minimal setups. However, gaming enthusiasts and professionals alike may wonder if they can boost the capabilities of these tiny machines with additional graphics power. Upgrading a Mini PC with a graphics card slot offers a blend of space-saving design and enhanced performance. This article will guide you through key considerations and practical steps to upgrade your Mini PC with graphics card slot capabilities.
Understanding Mini PC Specifications
Knowing Your Mini PC’s Limitations
Before considering an upgrade, you must understand your Mini PC’s specifications. Look for details regarding its motherboard, power supply capacity, and physical dimensions. Knowing whether your Mini PC can support additional hardware is crucial to avoiding compatibility issues with graphics cards.
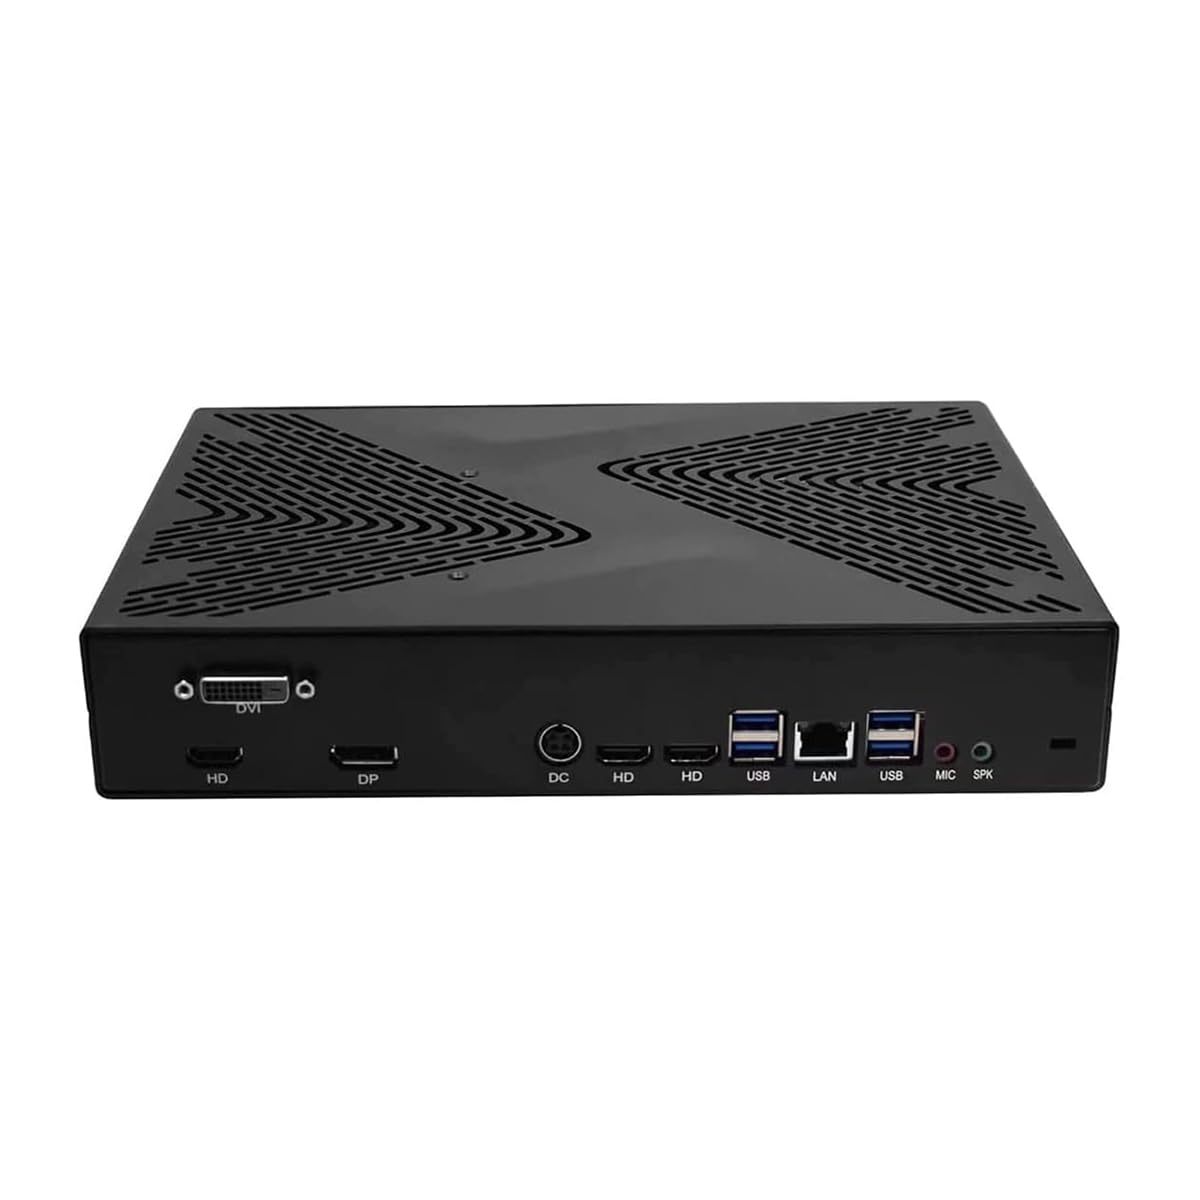
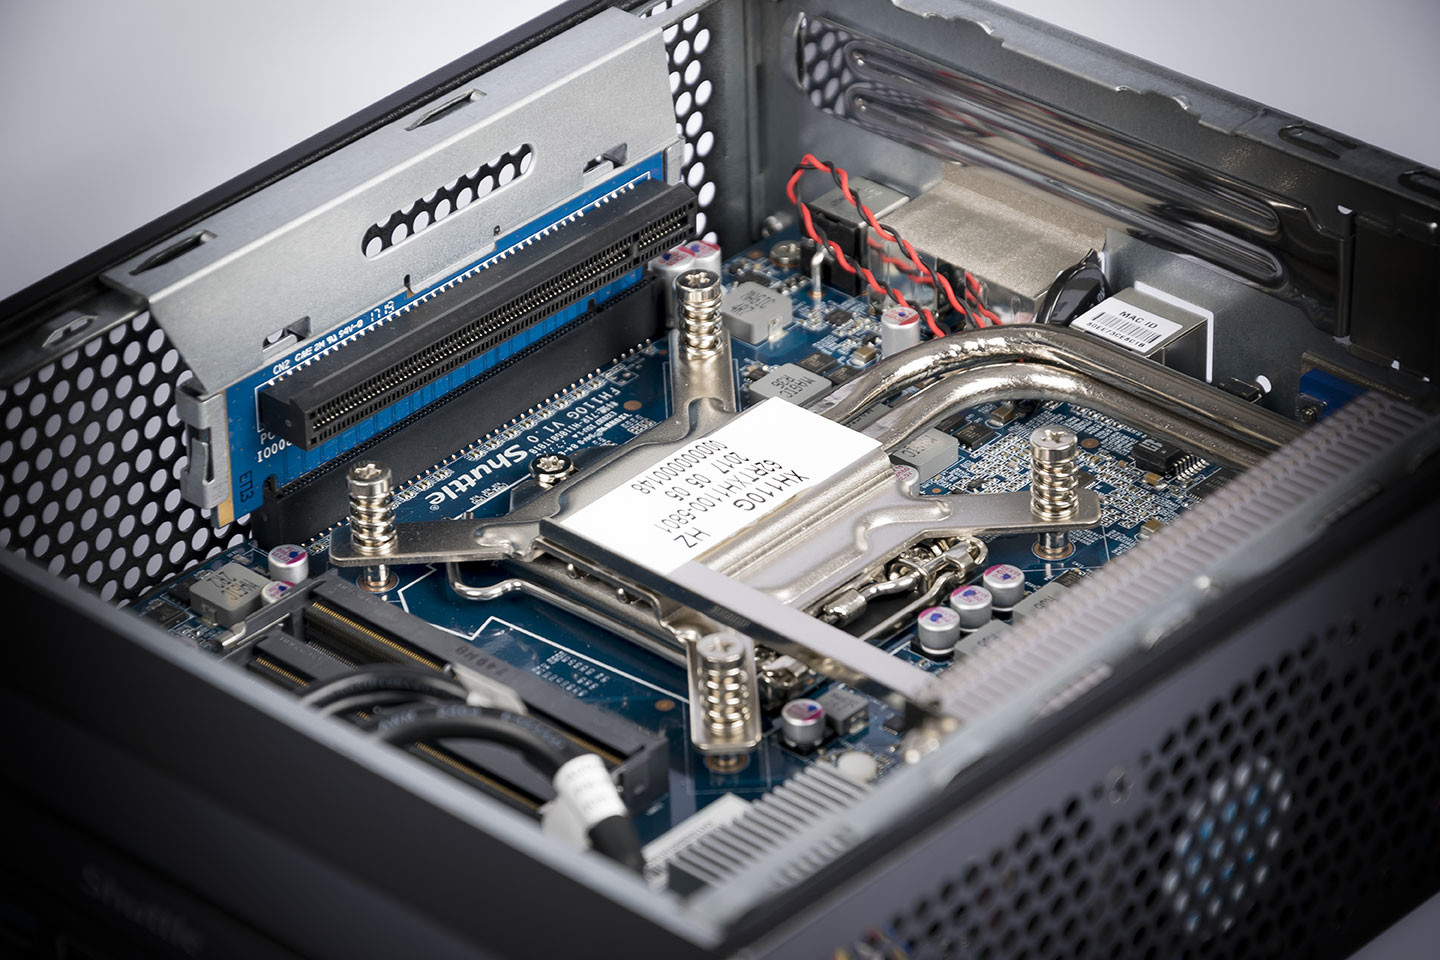
Identifying Available Expansion Slots
Mini PCs often come with limited expansion options. Check for available PCI Express (PCIe) slots, which is where you would insert a graphics card. Some Mini PCs may come with one or more Mini PCIe slots, which are smaller and may require specific compact graphics cards or adapters to fit.
Choosing the Right Graphics Card
Selecting a Compatible Model
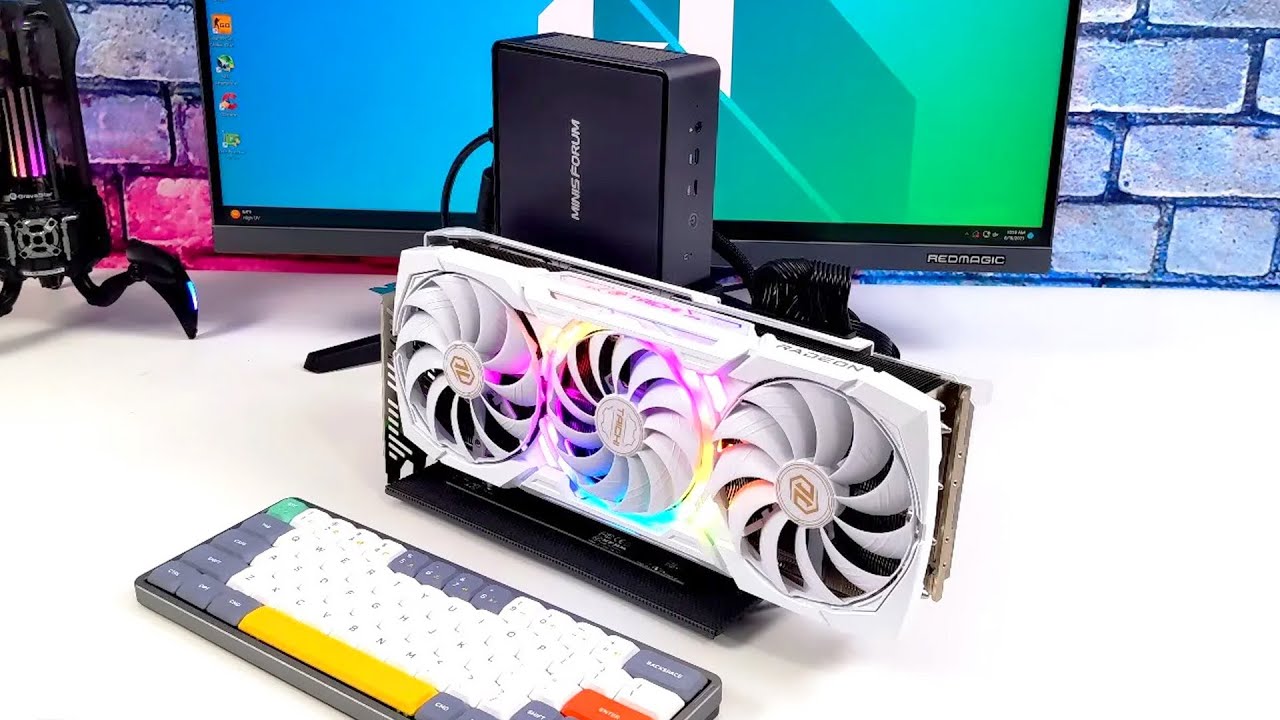
Selecting a graphics card that is compatible with your Mini PC’s form factor and power supply is essential. Look for low-profile graphics cards that are designed to fit into smaller slots. These models are typically shorter and less wide than standard cards but pack a substantial punch in performance.
Balancing Performance and Size
In choosing the right graphics card, you’ll have to balance performance with the physical size of the card. High-end cards may not fit in the compact space of a Mini PC or may require more power than your system can provide. Research and compare cards to find one that meets both your performance needs and physical constraints.
Preparing for the Upgrade
Gathering Necessary Tools and Accessories
Upgrading a Mini PC often requires precision screwdrivers and anti-static wrist straps to handle the components safely. Make sure you have the right tools before starting the process. Additionally, you might need a PCIe riser or extension cable if the space inside your Mini PC is too snug for a graphics card.
Creating a Backup
Whenever you make significant changes to your PC hardware, there’s a risk to the existing data. It’s wise to back up important files to an external storage device or cloud service. This ensures that you can restore your system in case anything goes wrong during the upgrade.
Installing the Graphics Card
Accessing the Internal Components
Power down your Mini PC, unplug all cables, and open the case to access the internal components. You’ll typically need to remove a few screws on the back or side of the unit. Handle all components with care, and consider using a static-free mat to lay out parts.
Placing the Graphics Card
Carefully align the graphics card with the available PCIe slot and insert it firmly until it clicks into place. If space is tight, you might need to manipulate the card gently to avoid damaging any internal parts. Once the card is in, secure it with screws if necessary and make sure it is stable.
Configuring the System
Adjusting BIOS Settings
After hardware installation, the next step is to configure your Mini PC’s BIOS settings to recognize the new graphics card. This may involve changing the primary graphics adapter setting or disabling the onboard graphics. Consult your Mini PC’s user manual for precise steps as they can differ between manufacturers.
Installing Drivers
For the graphics card to function correctly, you need to install the latest drivers. Visit the graphics card manufacturer’s website to download and install these drivers. They ensure your system takes full advantage of the card’s capabilities and often include software for further customization and optimization.
Testing and Troubleshooting
Monitoring Performance and Heat
Once you’ve installed your graphics card and drivers, monitor your Mini PC’s performance and temperature. Use software tools to check that the card is operating efficiently within the power and thermal limits of your rig. Look for any unusual signs, such as excessive noise or heat, and troubleshoot accordingly.
Resolving Potential Issues
If you encounter problems like system crashes, poor performance, or overheating, it may be necessary to re-evaluate your card choice or installation process. Make sure the card is properly seated in the PCIe slot, and the power supply can handle the added load. Additionally, check that your Mini PC’s cooling system is sufficient to dissipate the extra heat generated by the graphics card.
Enhancing Mini PC Cooling Systems
Upgrading to Support Graphics Card Heat Output
The addition of a graphics card in a Mini PC introduces significant heat output that the default cooling system may not handle effectively. Consider upgrading your cooling system with better fans or a more advanced solution like liquid cooling, if space permits. Ensure any new cooling components are compatible with your Mini PC’s chassis and power supply.
Managing Airflow for Optimal Performance
Proper airflow is crucial for maintaining temperature balance within a Mini PC. Arrange internal cables neatly and secure them away from air pathways to allow for unobstructed airflow. If your Mini PC supports it, adding small, high-quality case fans can significantly improve air circulation, helping to keep both the new graphics card and other components cool.
Extending Functionality and Uses
Exploring New Applications for Your Upgraded Mini PC
With your Mini PC now enhanced with a dedicated graphics card, a new realm of applications becomes accessible. You can venture into more graphics-intensive tasks such as video editing, 3D modeling, and gaming. The upgrade might also open up possibilities for multiple monitor setups, providing a more expansive digital workspace or entertainment system.
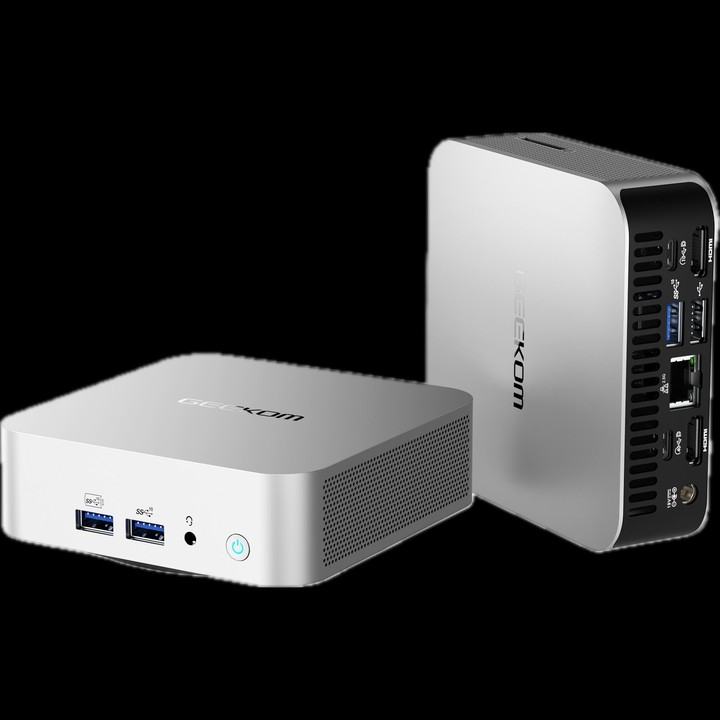
Considering Portability and Convenience
One of the signature advantages of a Mini PC is its portability and convenience. Despite the internal upgrade, these characteristics remain largely intact. You can easily relocate your Mini PC to different environments – whether it’s moving from room to room within your home, or transporting it to a workspace or LAN party. The addition of a powerful graphics card doesn’t take away from the inherent compactness that makes these machines appealing for users with mobile lifestyles.
Upgrading your Mini PC with a graphics card slot can transform your small rig into a more powerful machine capable of handling graphic-intensive tasks. By thoroughly understanding your system’s specs, selecting the right graphics card, and carefully undertaking the upgrade process, you can enjoy the benefits of expanded capabilities without the need for a larger setup. Remember to proceed with caution, follow safety practices, and be prepared to troubleshoot any post-installation issues. With a successful upgrade, your Mini PC will rise beyond its size and deliver an impressive performance that caters to your computing needs.