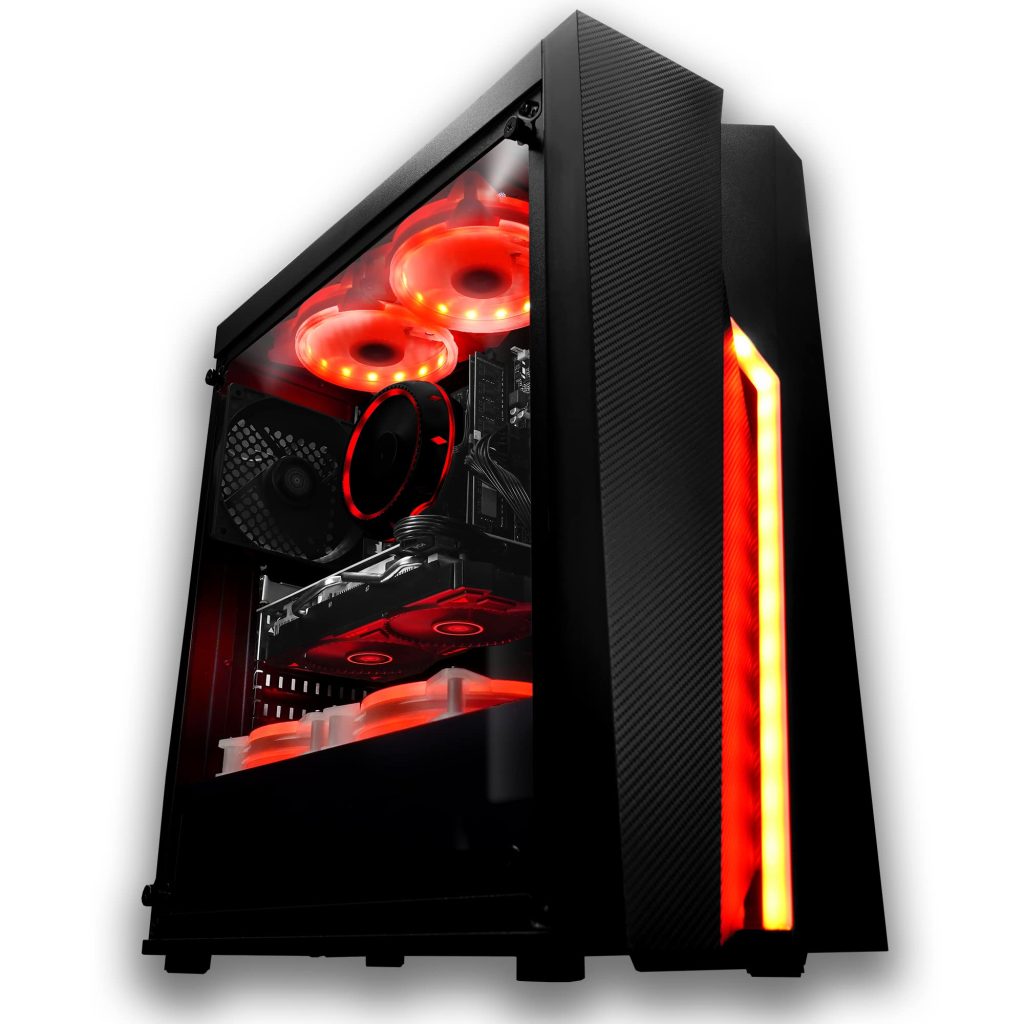
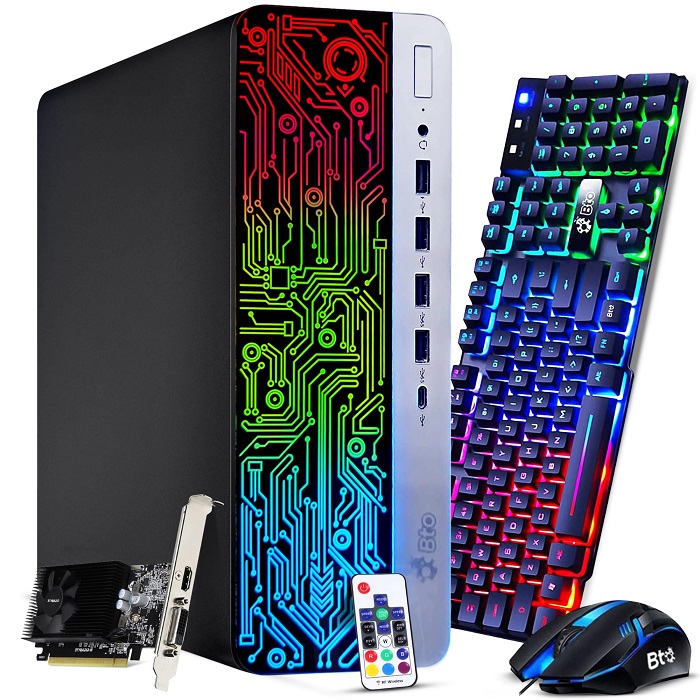
Can you change the graphics card in a prebuilt pc? When it comes to upgrading a prebuilt PC, one of the most common enhancements users consider is changing the graphics card (GPU). A better GPU can significantly boost the computer’s performance, especially in graphics-intensive tasks like gaming, 3D rendering, and video editing. However, upgrading a GPU in a prebuilt system presents a different set of challenges compared to a custom-built PC. This article provides an up-to-date, 2024 step-by-step guide to replacing the graphics card, compatibility considerations, and tips for a successful upgrade.
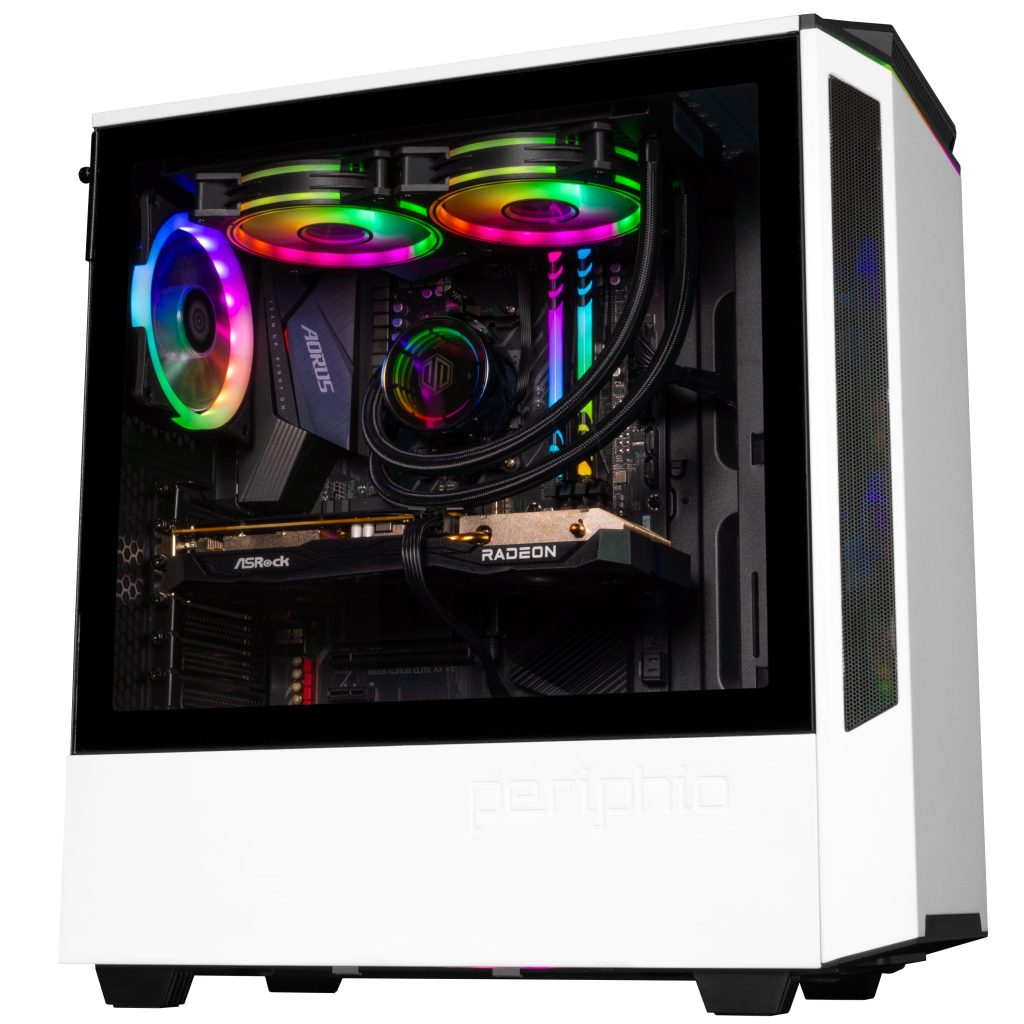
Understanding Compatibility and Power Requirements
Checking for Physical Compatibility
Can you change the graphics card in a prebuilt pc? Before you purchase a new GPU, it’s crucial to ensure it will physically fit inside your prebuilt PC’s case. Measure the available space, considering the length, width, and height of the slot where the current GPU sits. Compare these measurements with the dimensions of the new graphics card. Also, check the number of expansion slots it occupies on the back of the case as some high-end GPUs require more space.
Evaluating Power Supply Capacity
Another vital consideration is whether your prebuilt PC’s power supply unit (PSU) can handle the new GPU’s power requirements. Check the wattage and the availability of necessary power connectors. High-performance graphics cards often need one or two 6-pin or 8-pin power connectors and more wattage. If the PSU can’t meet these requirements, you might need to upgrade it as well.
Assessing Motherboard and BIOS Compatibility
Identify Motherboard Slot Types
The type of expansion slot available on your motherboard dictates the compatibility with the new graphics card. Most modern GPUs use a PCIe x16 slot. Confirm that your motherboard has this slot and that it is not obstructed or in use by another component.
Updating BIOS for Compatibility
Can you change the graphics card in a prebuilt pc? In some cases, especially with older prebuilt PCs, you may need to update your computer’s BIOS to ensure compatibility with newer GPUs. Visit the PC manufacturer’s website for instructions and download the latest BIOS version. Carefully follow the update process to avoid any system malfunctions.
Planning the Upgrade Process
Gathering the Right Tools
Ensure you have the appropriate tools on hand before you begin the upgrade. Typically, this includes a Phillips-head screwdriver to remove the screws from the rear bracket and to secure the new GPU in place. You may also need anti-static wristbands to avoid damaging sensitive components with electrostatic discharge.
Backing Up Important Data
Before making hardware changes, back up any important data. While changing a graphics card is unlikely to affect your data, it is always best to take precautions.
Executing the Graphics Card Swap
Removing the Old Graphics Card
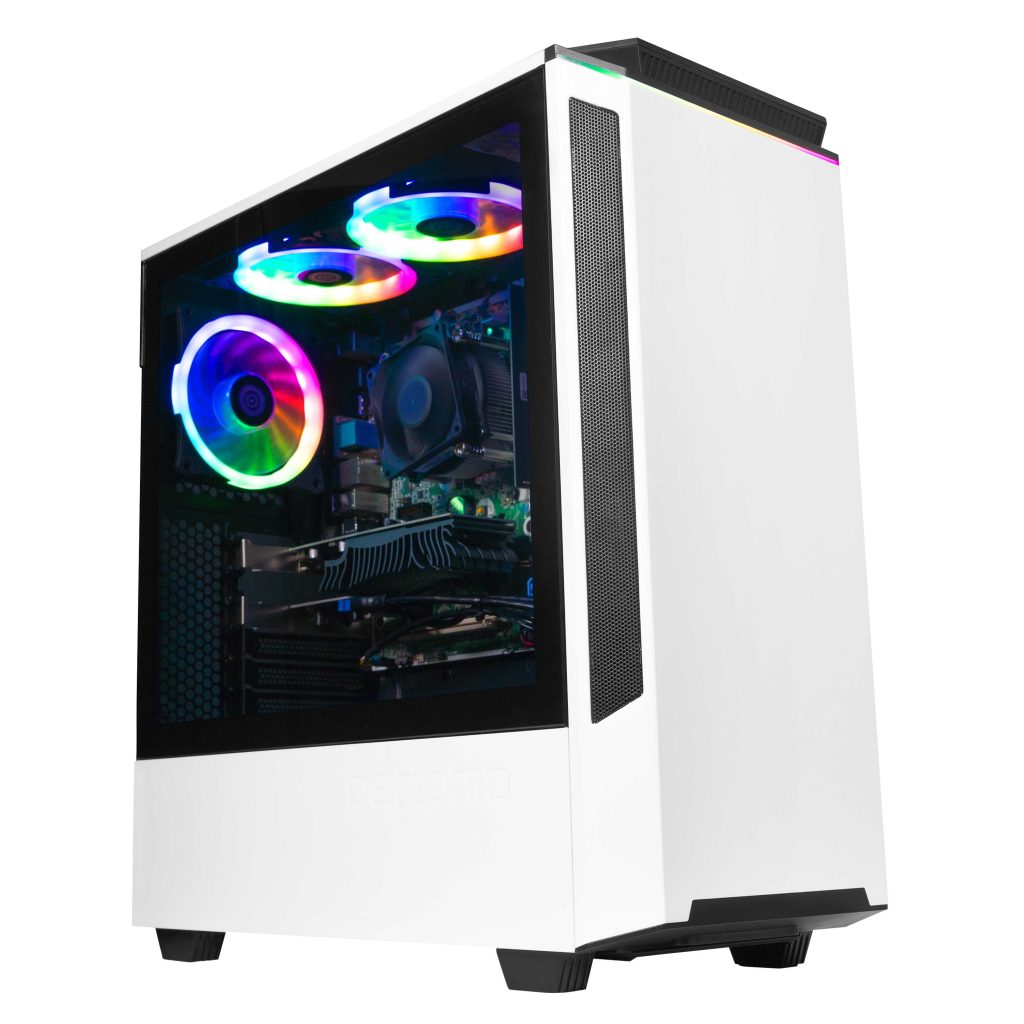
Power down the PC and unplug all cables. Remove the side panel to access the internal components. Detach any power connectors from the old GPU, unlock the PCIe slot clip, and gently pull out the card from the slot. If screws secure it to the case, remove them before attempting to pull out the card.
Installing the New Graphics Card
Align the new GPU with the PCIe x16 slot and apply even pressure to seat it firmly into place. Once secure, lock the PCIe slot clip, and screw the GPU’s bracket to the case. Connect the required power cables to the card, close up the case, and reconnect all external cables.
Troubleshooting Post-Installation Issues
Confirming the Display Output
Once you’ve installed the new GPU, turn on your PC. Initially, the display may default to a low resolution. Install the new graphics card drivers from the manufacturer’s website for optimal performance and to resolve any display issues.
Addressing Potential Errors
If the system doesn’t recognize the new GPU or refuses to boot, retrace your steps. Ensure that the GPU is correctly seated in the slot, the power connectors are secure, and any necessary BIOS updates are complete. Double-check compatibility issues between the GPU, PSU, and motherboard.
Maintenance and Testing the New Setup
Monitoring Performance and Temperatures
After successfully installing your new GPU, monitor the computer’s performance and temperatures to ensure everything is working correctly. Use software tools that can stress-test the GPU and check temperature readings to confirm that your system remains stable under load.
Staying Updated with Drivers
Keeping your GPU drivers up to date is critical for maintaining optimal performance and compatibility with new games and software. Regularly check for and install driver updates from the GPU manufacturer’s website.
Optimizing Software Settings After GPU Upgrade
Fine-Tuning Graphics Settings
With a new graphics card installed, you will want to optimize your software settings to take full advantage of your hardware upgrade. Adjust the graphics settings in your games and applications according to the capability of your new GPU. High-end cards will allow you to increase resolution, enable additional visual effects, and boost frame rates, while mid-range cards will offer a balance between performance and visual fidelity.
Updating Gaming Platforms and Software
Don’t forget to update your gaming platforms like Steam, Origin, or any standalone game clients. These platforms often detect hardware changes and can automatically adjust game settings for optimal performance. Keeping your software environment updated ensures compatibility and can often lead to smoother gameplay and better integration with your new hardware.
Considering Long-Term Upgrade Path
Future-Proofing Your PC
When integrating a new graphics card into your prebuilt PC, also consider your upgrade path for the future. A more powerful GPU may require additional upgrades down the line, such as a higher-capacity power supply, more cooling, or a faster processor to prevent bottlenecking. Plan for these potential needs to make your system more future-proof and ready for subsequent enhancements.
Making Incremental Upgrades Over Time
Upgrades don’t have to happen all at once. You can enhance your system incrementally, spreading out the cost over time. After a graphics card upgrade, assess which component might be next on the list. Perhaps an upgrade to an SSD for faster load times, additional RAM for better multitasking, or a new CPU for improved overall performance will be the logical next step.
Precautions for replacing computer graphics card
Replacing a computer’s graphics card is an excellent way to upgrade visual performance, enhance gaming experiences, and facilitate graphic-intensive tasks. However, undertaking such a task requires careful consideration and attention to certain crucial factors to ensure a successful replacement.
Compatibility with the System:
Ensure that the new graphics card is compatible with your computer’s specifications and requirements. Check the graphics card’s interface (usually PCIe), power requirements, and dimensions to ensure compatibility with your motherboard, power supply unit (PSU), and available space within the computer case. Additionally, verify that your operating system supports the new graphics card.
Power Supply Considerations:
Check the power supply unit’s wattage and available connectors to ensure it can adequately power the new graphics card. Higher-end graphics cards often require more power, and it is essential to ensure that your existing power supply can meet those requirements. Consider upgrading your PSU if necessary to prevent power-related issues and ensure stable performance.
Form Factor:
Pay attention to the physical dimensions of the new graphics card and ensure it fits within your computer case. Measure the available space in the case, including the length, height, and width, and compare it with the dimensions of the graphics card you wish to install. Additionally, consider the number and arrangement of PCIe expansion slots to ensure the new card can fit without graphics card obstructing other components.
Driver Updates:
Before replacing the graphics card, make sure to update your computer’s graphics drivers to the latest version. Visit the manufacturer’s website or use their driver update software to download the appropriate drivers for your new graphics card. This ensures compatibility with the new hardware and maximizes its performance.
Cooling Solutions:
Ensure that your computer’s cooling system, including case fans and heatsinks, can sufficiently dissipate heat generated by the new graphics card. High-performance graphics cards generate significant heat during operation, and inadequate cooling can lead to thermal throttling or reduced performance. Consider adding additional cooling solutions if necessary, such as case fans or an aftermarket GPU cooler.
Conclusion:
Can you change the graphics card in a prebuilt pc? Upgrading the graphics card in a prebuilt PC can rejuvenate an aging system and significantly improve performance. By ensuring compatibility, planning the upgrade process thoroughly, and carefully executing the swap, even users with limited technical knowledge can successfully upgrade their GPU. Following the upgrade, maintain the system with regular performance monitoring and driver updates to keep your prebuilt PC running at its best with its new graphics card.
