How to replace graphics card in pc? Upgrading your graphics card is a power move for enhancing your PC’s performance, especially if you’re a gamer or a professional who relies on high-end graphics for work. Not only can it boost your computer’s graphical output, but it can also breathe new life into an older system, making it feel brand new. This comprehensive guide, up to date in 2024, will walk you through the steps to replace your graphics card like a pro, from pre-planning and purchasing to installation and optimization.
Preparation Is Key
Ensuring Compatibility
The first vital step in upgrading your graphics card is to ensure that the new hardware is compatible with your current system setup. Check that your motherboard has the right slot – a PCIe x16 slot is standard for modern graphics cards. Equally important is verifying that your power supply unit (PSU) provides sufficient power for your new card, as high-performance GPUs can significantly increase your system’s power requirement. Remember to measure the available space in your PC case – high-end graphics cards tend to be larger, and you’ll need to make sure there’s enough room for installation without obstructing airflow.
Gathering Required Tools
Apart from the physical compatibility checks, gather the necessary tools for the replacement process: a Phillips-head screwdriver for unscrewing the case and the graphics card from the motherboard, and an anti-static wrist strap to minimize the risk of electrostatic discharge harming your PC’s internals. Preparing a clear, static-free workspace with good lighting will make the process smoother. Keeping small containers or bowls to hold screws temporarily can also prevent them from getting lost during the process.
Replacing the Graphics Card
Removing the Old Graphics Card
To begin, completely power down your PC and unplug all cables, grounding yourself to prevent static damage to delicate components. Carefully open the side panel of your PC case to access the innards. Identify the current graphics card in pc; you may need to first disconnect any power cables attached to it, then unscrew it from the case and gently release the latch at the end of the PCIe slot. Gently rock the card sideways if it resists immediate removal, pulling it straight out of the slot by its edges to avoid touching sensitive parts.
Installing the New Graphics Card
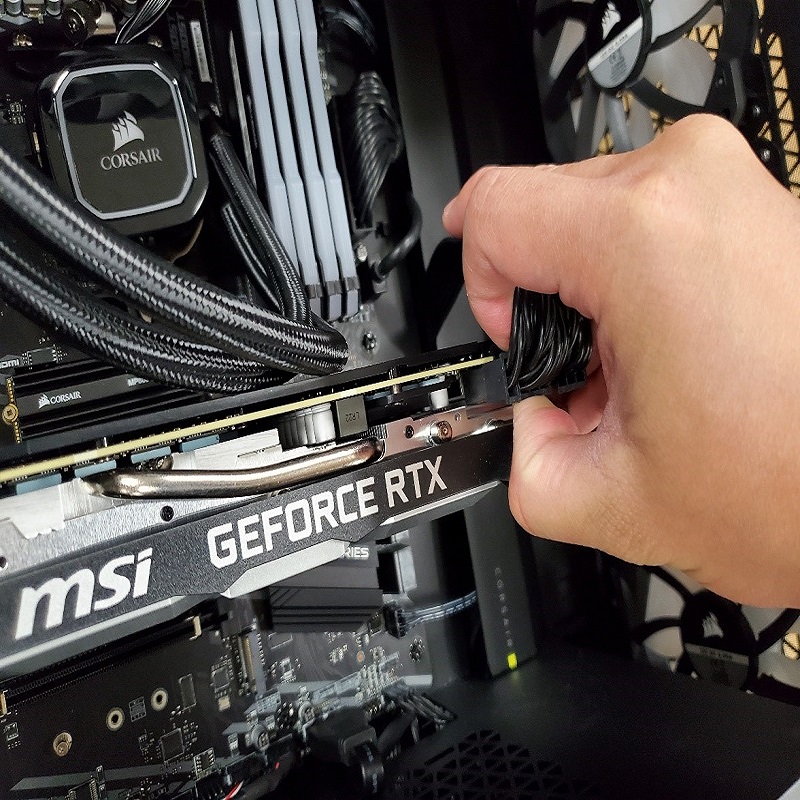
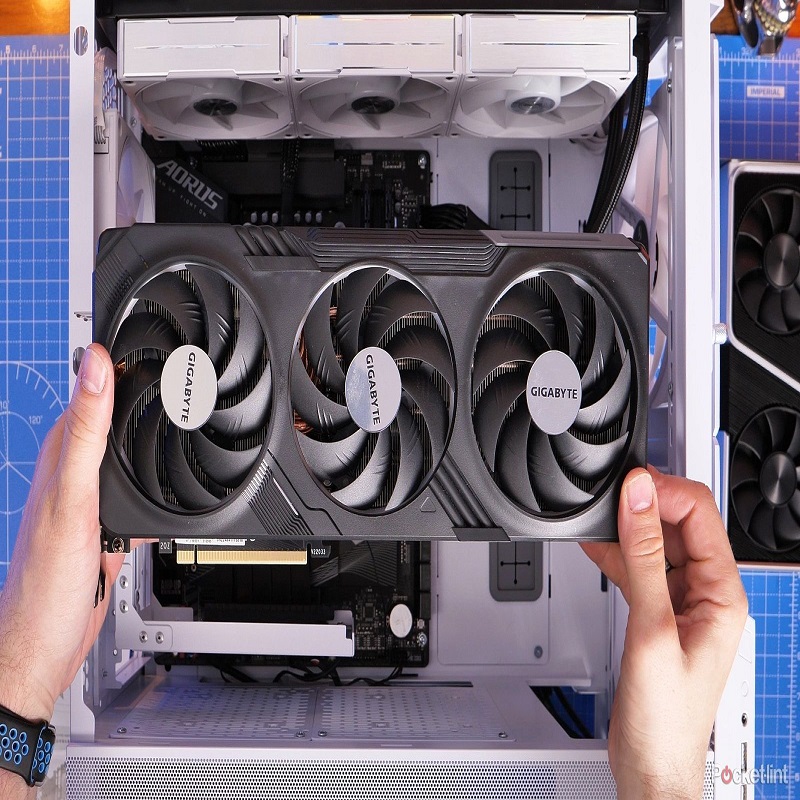
With the old card removed, take the opportunity to clean the immediate area using compressed air to remove any dust that might have accumulated, ensuring your new card operates in a clean environment. Unpack your new GPU, handling it carefully by its edges, and align it with the PCIe slot. Firmly press it into the slot until it clicks into place, ensuring it’s properly seated. Secure the card to the case using screws and reconnect the power cables, making sure they’re snugly attached.
Testing and Configuration
Booting Up and Driver Installation
Once your new graphics card is securely installed, close up your case, reconnect your PC to power and peripherals, and boot it up. Your system should recognize the new hardware—however, for the best performance, downloading and installing the latest drivers from the graphics card manufacturer’s website is crucial. These drivers are designed to unlock the full potential of your card, ensuring compatibility with the latest games and applications.
Fine-Tuning Your Setup
With the new drivers in place, spend some time adjusting the graphical settings in your favorite games and applications to take advantage of your new GPU’s capabilities. While automatic settings can provide a good starting point, manually fine-tuning specific options can enhance your experience, balancing performance and visual quality according to your preferences. Also, explore your GPU’s control panel for additional settings that can improve overall performance and visual output, like resolution scaling and texture filtering options.
Pro Tips
Keeping Your System Updated
To ensure ongoing optimal performance, regularly check for and install driver updates. Graphics card manufacturers frequently release updates that enhance performance, expand compatibility with new games, and resolve any lingering software bugs. Most driver suites offer automatic notifications of new updates, simplifying this process.
Advanced Performance Tweaking
For enthusiasts looking to extract every bit of performance from their new setup, overclocking can offer an additional boost. Tools provided by graphics card manufacturers, like MSI Afterburner or EVGA Precision X1, allow for safe and easy modification of clock speeds, voltages, and fan speeds, with built-in stress testing and temperature monitoring to ensure stability. However, proceed with caution—overclocking can increase wear and thermal stress on your GPU, potentially shortening its lifespan.
Maximizing the Potential
Understanding Power and Heat Dynamics
After installing a new graphics card, it’s essential to respect the power and thermal balance of your system. High-end graphics cards require more energy and dissipate more heat. Check that your PSU has enough overhead to not only power the new GPU but also to sustain it under load. If you anticipate any shortages, consider upgrading to a PSU with a higher wattage. Similarly, your PC’s cooling system must be robust enough to handle increased heat. Enhance your setup with additional case fans or upgrade to a liquid cooling system if temperatures seem too high during heavy use.
Streamlining Software Performance
Software plays a significant role in harnessing the full power of your new graphics card. Beyond installing the latest drivers, ensure that your operating system and game patches are up to date. Disable unnecessary background applications that could be hogging system resources, especially CPU and memory, to prevent potential bottlenecks. Many graphics cards come with software suites that offer game optimization features; utilize these to automate some of the performance-tweaking processes. They can analyze your hardware and software environment to recommend the most appropriate settings for each game.
Expanding Multi-Monitor and High-Resolution Gaming
With your new graphics card in place, you may want to explore multi-monitor setups. Alternatively, you might leap into higher resolution gaming, if your card supports it. A more powerful GPU allows for an immersive multi-display environment. You can also enjoy crisp, high-resolution displays without graphics card on frame rates. This is enticing for simulator games. It’s also beneficial for competitive gaming, where the field of view is crucial. Or it can enhance productivity by extending your digital workspace.
What are the materials of computer graphics cards?
Graphics cards play a crucial role in enhancing the visual performance of computers. Enabling smooth gaming experiences, accelerated multimedia processing, and efficient rendering of complex graphics. The construction of a graphics card involves utilizing various materials to ensure optimal performance, heat dissipation, durability, and compatibility.
Printed Circuit Boards (PCBs):
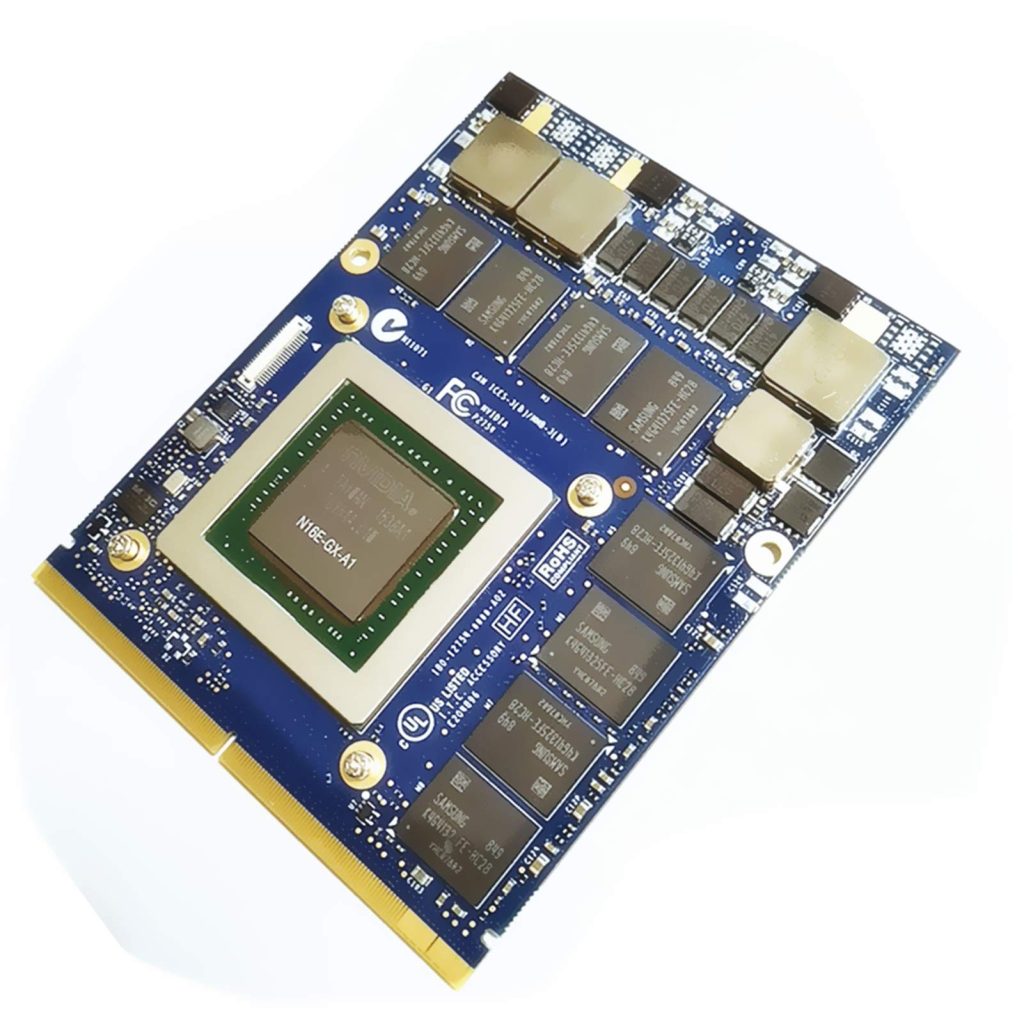
PCBs serve as the backbone of a graphics card, providing mechanical support. And electrical connections between various components. They are typically made of fiberglass or other laminates composed of epoxy resin and copper foil. These materials offer excellent thermal. And electrical conductivity while providing structural integrity to the graphics card.
Heat Sinks:
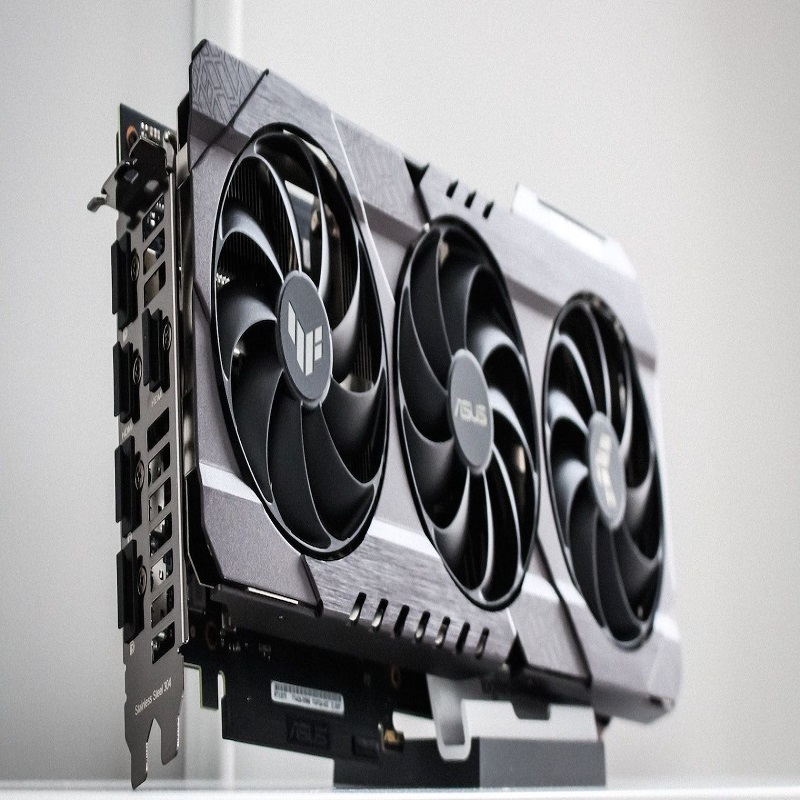
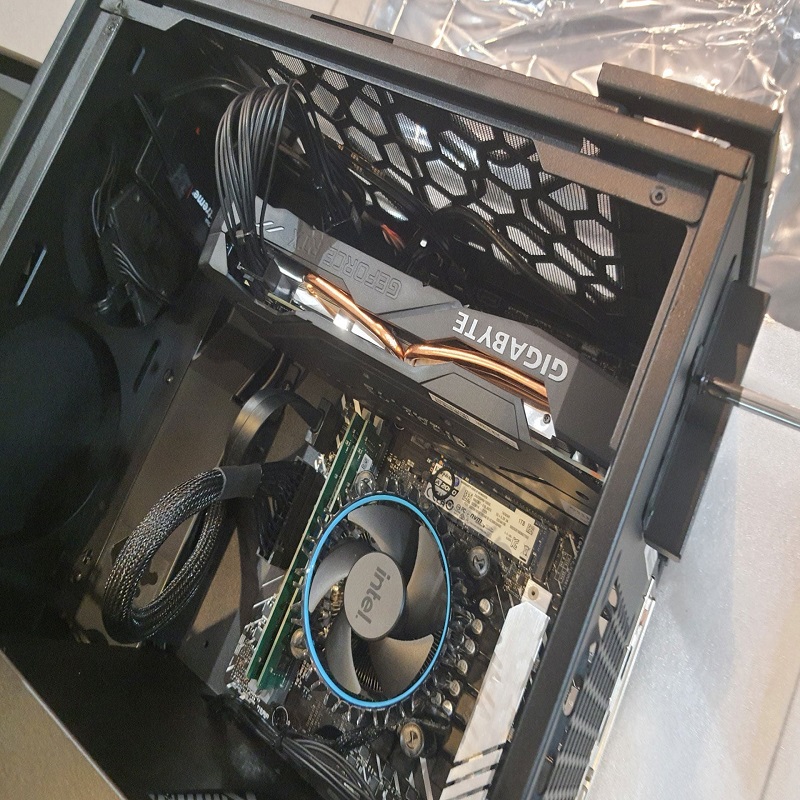
Heat sinks are crucial components that dissipate heat generated by the graphics processing unit (GPU) and other electronic components on the graphics card. They are commonly made of aluminum or copper due to their high thermal conductivity. The heat sink’s design, including fins or heat pipes, maximizes surface area to facilitate efficient heat dissipation and maintain optimal temperatures during intensive graphics processing.
Memory Modules:
Graphics cards utilize various memory modules to store and access data quickly. These memory modules, such as GDDR (Graphics Double Data Rate) or HBM (High Bandwidth Memory). Are typically housed on a separate PCB layer called the memory module or VRAM module. Memory modules consist of integrated circuits mounted on the PCB and are encapsulated in materials. Such as epoxy resin for protection against mechanical stress and environmental factors.
Capacitors:
Capacitors are critical components in graphics cards that provide stable. And filtered power to the GPU and other components. They store electrical energy and release it when required. Capacitors used in graphics cards are typically made using tantalum, aluminum. Or ceramic materials, allowing for efficient energy storage and discharge. As well as high tolerance to voltage fluctuations.
Connectors:
Graphics cards use various connectors for power supply input, video output, and communication. Power connectors, such as 6-pin or 8-pin connectors. Are commonly made of plastic or metal to ensure reliable power delivery. Video output connectors, such as HDMI, DisplayPort, or DVI. Are typically made of metal and plastic materials that provide secure and high-quality signal transmission. These connectors ensure compatibility with external displays or devices.
Finally
Replacing a graphics card is a significant yet manageable upgrade that can dramatically impact your PC’s performance. By carefully selecting a compatible GPU. First-timers can achieve professional-level results. Methodically performing the installation is key. Thoughtfully optimizing settings post-installation is crucial. An upgraded graphics card offers immediate improvements. These improvements are seen in gaming and application performance. It also extends the usable life of your entire system. Making it a smart investment for any PC user.
