Removing the graphics card from your PC is the first step in the upgrade process, but it must be done correctly to avoid damaging the PC or the graphics card itself. This guide provides a step-by-step method to ensure you can safely remove the graphics card and prepare your system for the 2024 model.
Preparing for Removal
Understanding the Risks
Before you touch any internal parts of your PC, it’s important to understand the risks involved. Components are sensitive to electrostatic discharge (ESD), which can damage them beyond repair. Knowing what you’re dealing with helps prevent accidents that might occur from handling these delicate parts.
Pre-Removal Checklist
To prepare for the removal of your graphics card:
- Power down your PC and unplug all cables.
- Remove the side panel of your case to gain access to the interior.
- Ground yourself to avoid static discharge by using an antistatic wrist strap or by regularly touching an unpainted metal surface.
Locating the Graphics Card
Identifying the Component
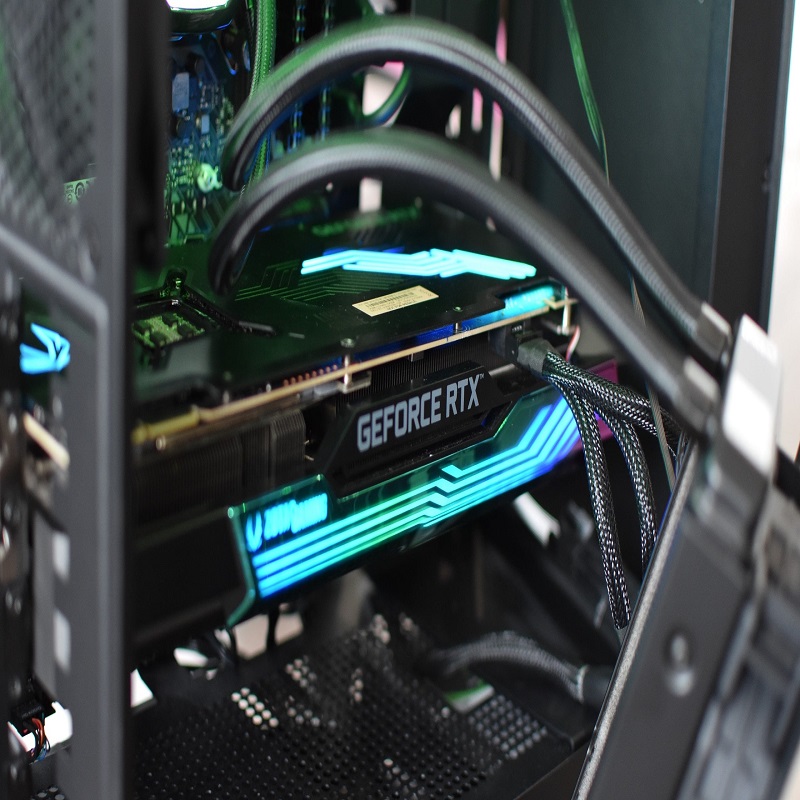
Locate the graphics card inside your PC case. It’s usually a large rectangular piece attached to the motherboard and can be identified by the monitor ports sticking out the back of the case. Confirm that you have identified the correct component before proceeding to ensure you do not inadvertently remove the wrong piece of hardware.
Noting the Connections
Take note of how the graphics card is fixed within your PC. Typically, it is secured by screws to the case and has a plastic latch at the motherboard slot. Knowing where these connections are will help you during the removal process.
Removing Screws and Cables
Detaching the Screws
Most graphics cards are secured to the PC case with screws. You will need to carefully remove these first. Keep the screws in a safe place as you will need them when installing the new card. Unscrew them gently to avoid dropping screws into the case or damaging other components.
Unplugging Power Connectors
If your graphics card has a power connector, which is likely for performance models, you need to detach this. Grip the plug firmly and pull straight out to avoid bending pins. Some connectors have a latch that must be depressed before removal, so check for this before pulling.
Releasing the Card from the Motherboard
Understanding Motherboard Slots
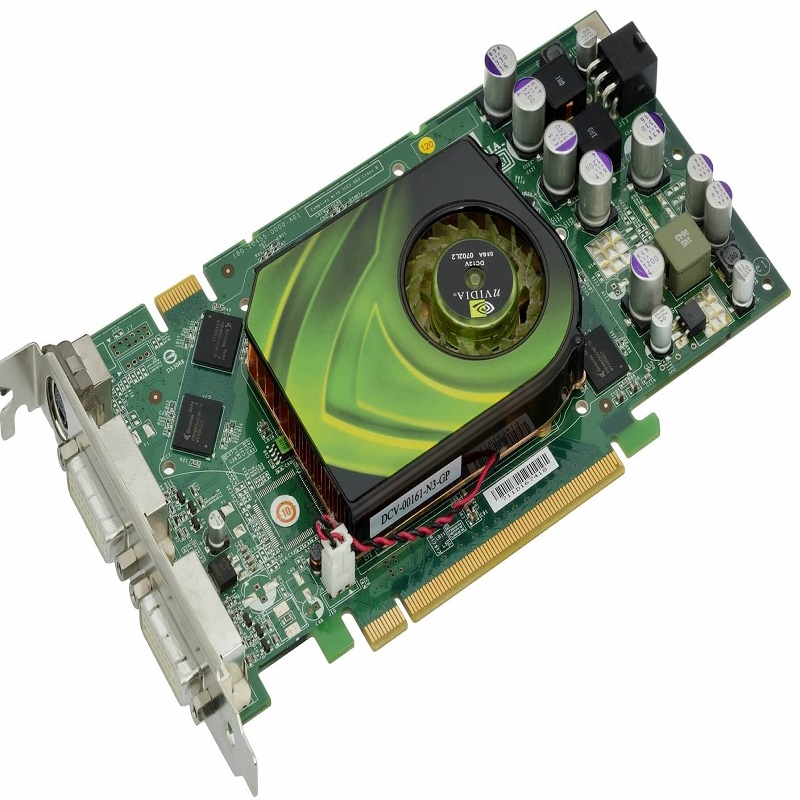
Graphics cards are typically inserted into the PCI-Express (PCI-E) slot on a motherboard. This connection is what interfaces the card with the rest of the computer. You will need to focus on this area to properly disengage the card.
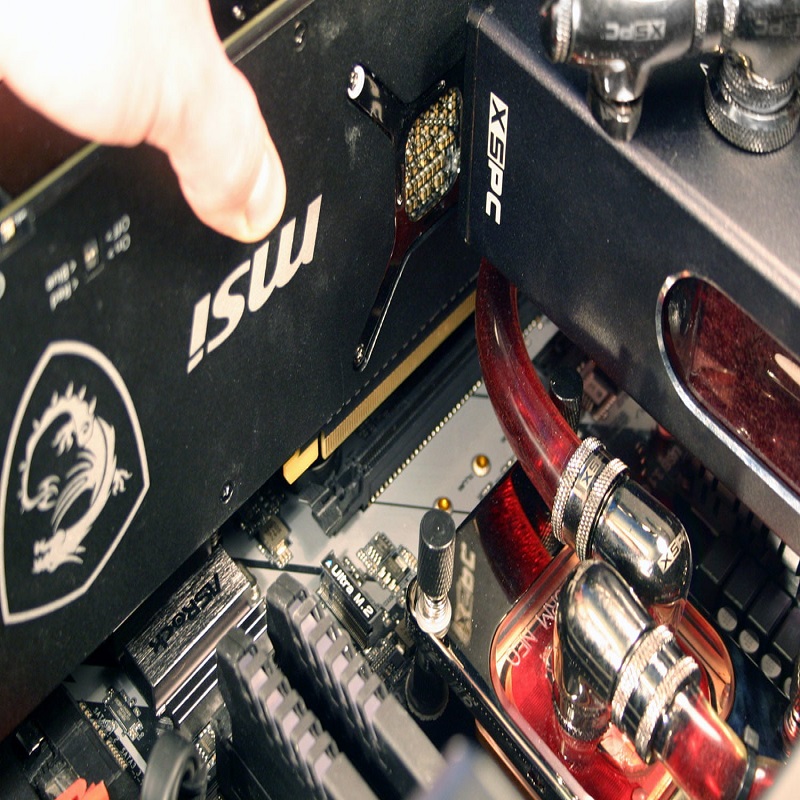
Engaging the PCI-E Latch
Most motherboards use a latch to lock the graphics card in place. Locate the latch—usually at the end of the PCI-E slot—and carefully disengage it. For some motherboards, this may require you to push down or to the side. Do this gently to avoid snapping the plastic or damaging the motherboard.
Carefully Removing the Card
Lifting Out of the Slot
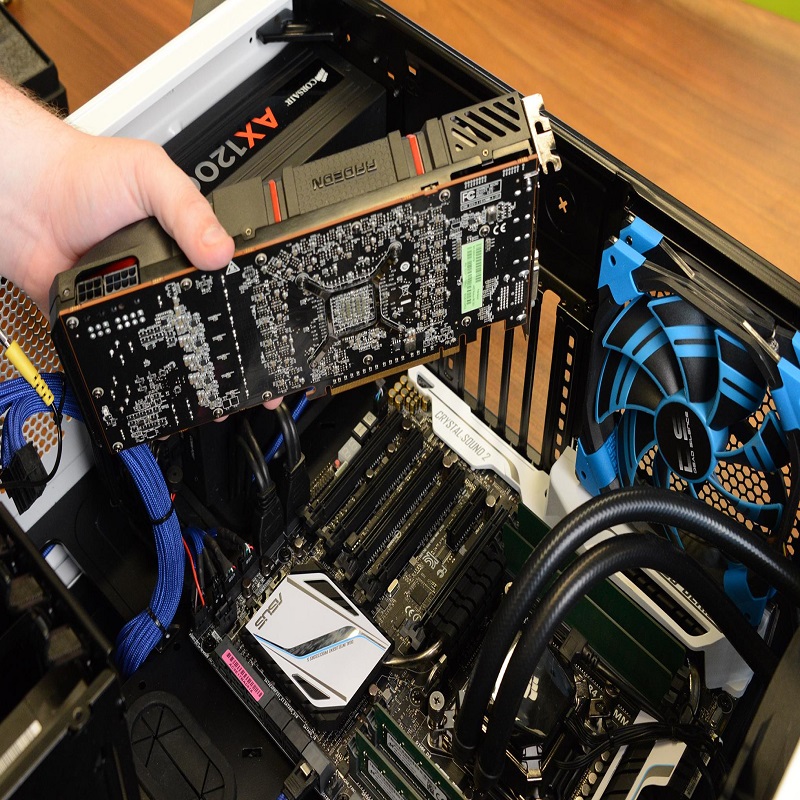
With the screws removed and the PCI-E latch disengaged, you can now lift the graphics card out of the motherboard slot. Grasp the card by its edges and gently lift it straight upward. Do not wiggle or twist the card to prevent damage to both the card and the slot.
Handling with Care
Once free from the slot, handle the card with care, touching only the edges to minimize the chance of static damage. Place it on an anti-static surface or in its original packaging if you plan to store it or sell it on.
Troubleshooting Common Issues
Stuck Latches or Screws
If you encounter latches or screws that won’t budge, do not force them. Instead, use the correct size screwdriver for screws, and gently manipulate the latch with a small tool if necessary. Forcing these parts can lead to breakage and potentially damage your motherboard or graphics card out of pc.
The Card Won’t Budge
If the graphics card seems stuck even with the screws and latch disengaged, ensure no cables are still attached. Confirm that you have fully released the PCI-E latch. If everything appears to be clear, gently rock the card end-to-end to help dislodge it from the slot. A card that has been seated for a long time may take a little coaxing to come out.
Post-Removal Measures
After removing the card, it’s prudent to protect the now vacant PCI-E slot. If available, replace the slot cover on your PC case to prevent dust from settling in. Securing the slot cover also maintains proper airflow within the case, which is crucial for thermal management when the new card is installed.
Keep the workspace clean and free from any potential contaminants that might have been dislodged during the removal process. If you have used tools like screwdrivers or tweezers, store them away safely to avoid losing them or causing any damage.
Preparing for New Hardware Installation
With the old card removed, take a moment to clean the area around the PCI-E slot. You can use a can of compressed air to blow out any dust that might have accumulated, ensuring excellent contact when installing the new card.
Review the procedure for inserting the new card, as installation is generally the reverse process of removal. Check the new card’s power requirements, as it might differ from the old one, and make sure your power supply can accommodate these needs.
Future Maintenance and Care
Regular maintenance of your PC’s internal components, including cleaning and checking connections, ensures long-term performance and reliability. Establishing a routine for this can prevent build-up of dust, which can impede airflow and cause overheating.
With the graphics card removed, now could also be a good time to consider if any other upgrades are needed. RAM, storage, or even a new CPU might also contribute to the improved performance and longevity of your PC.
The role of computer graphics cards
A graphics card, or GPU (Graphics Processing Unit), is a vital component in modern computer systems. It serves a crucial role in rendering and displaying visual content, enabling smooth gaming experiences, enhancing multimedia performance, and facilitating graphic-intensive tasks.
Accelerating Visual Processing:
One of the primary functions of a graphics card is to accelerate the visual processing capabilities of a computer. Utilizing specialized cores and algorithms, the graphics card offloads the computational burden from the CPU (Central Processing Unit) and performs complex calculations required for rendering and displaying images, videos, and 3D graphics in real-time.
Rendering Complex Graphics:
Graphics cards excel at rendering complex graphics by breaking down the rendering process into smaller tasks that can be executed simultaneously. Through parallel processing and the use of dedicated graphics memory, a graphics card can handle intricate calculations required for rendering high-resolution textures, applying complex lighting effects, and simulating realistic physics in games and other graphic-intensive applications.
Improved Display Quality:
A graphics card significantly enhances display quality by providing hardware acceleration for graphics processing. It enables features such as anti-aliasing, which smoothens jagged edges in visuals, texture filtering, which enhances the sharpness and clarity of textures, and post-processing effects like HDR (High Dynamic Range), depth of field, and motion blur. These features collectively improve visual fidelity and deliver a more immersive experience.
Multiple Monitor Setups:
Graphics cards support multiple monitor setups, allowing users to extend their desktops across multiple displays. This feature is particularly valuable for professionals, gamers, and multimedia enthusiasts who require a larger workspace or wish to multitask efficiently. With a graphics card, it becomes easier to run different applications, watch videos, and work on multiple projects simultaneously across multiple monitors.
Optimizing Virtual Reality (VR) Experiences:
Graphics cards play a vital role in optimizing virtual reality experiences. VR applications demand high-performance graphics processing to achieve low latency. And maintain a consistent high frame rate to prevent motion sickness. Graphics cards with VR-specific features, such as asynchronous reprojection and virtual reality audio. Ensure a smooth and immersive VR experience by reducing latency, enhancing rendering quality, and processing audio cues accurately.
GPU Computing:
Modern graphics cards are increasingly capable of performing general-purpose computing tasks through GPU computing frameworks like CUDA (Compute Unified Device Architecture) and OpenCL. This enables tasks traditionally limited to the CPU to be offloaded to the GPU, unlocking parallel processing capabilities and accelerating tasks such as scientific simulations, data mining, machine learning, and video encoding/decoding.
Ensuring a Safe Removal
Successfully removing a graphics card is a straightforward process if you approach it with patience and attention to detail. By preparing properly, identifying the connections. Removing screws and cables carefully, and safely disengaging and lifting out the card. You can prepare your PC for a hardware upgrade without causing any damage. If the process seems daunting or you encounter issues beyond simple troubleshooting. Consider seeking help from a professional to minimize the risk of damaging valuable components.