Removing your graphics card might seem daunting, especially if you’re relatively new to computer hardware. Whether you need to upgrade, troubleshoot, or replace your GPU, understanding how to do it safely is crucial. A graphics card is often one of the most valuable components in a PC, and improper handling can lead to damage. This guide will walk you through the necessary steps to safely remove your graphics card, ensuring you proceed with confidence and care.
Prepare Your Workspace
Choose a Suitable Location
Before diving into your PC, it’s essential to set up an appropriate workspace. Select a clean, dry, and well-lit area to work in, preferably a large flat surface like a table or a desk. This space should be devoid of clutter to minimize the risk of losing screws or small components during the process. A designated area allows you to focus on your task without distractions. Additionally, consider laying down a soft cloth to protect your case from scratches while you work.
Gather Your Tools
You’ll need a few basic tools to remove your graphics card safely. Most importantly, have a screwdriver on hand, typically a Phillips-head, as screws securing the GPU usually require this type. If possible, look for a magnetic screwdriver, which can make handling screws much easier and reduce the chance of dropping them into your case. You might also consider using an anti-static wrist strap if you’re concerned about static electricity damaging your components. If you don’t have a bracelet, grounding yourself by touching a large metal object, like the case, before touching the components can suffice. Preparing any additional tools or materials, such as zip ties for cable management, is also helpful if you plan to tidy up your system during this process.
Power Down and Unplug the Computer
Shut Down the System
This step may seem obvious, but many forget to power down their computer completely. Click on the shutdown option from your operating system and allow the machine to close all applications and shut down completely. Wait a few moments to ensure that the system has powered down entirely, as some systems may take a little time to discharge power. This precaution prevents any unexpected electrical issues while you work inside the machine. Modern computers can hold a small amount of residual power, and powering down helps eliminate risks.
Disconnect All Power Sources
Once the computer is powered down, unplug it from the wall socket. While you are at it, disconnect any peripherals like the keyboard, mouse, and monitor. Doing this not only provides better access to the case but also eliminates the risk of accidentally switching on the power during your work. If your power supply has a switch, it’s a good idea to switch it off as an additional precaution. Additionally, you might consider removing the power cable from the power supply when disconnecting peripherals to ensure that no power flows through any components.
Open Your Computer Case
Identify the Right Panel
Different computer cases have various designs and mechanisms for accessing the interior. Most cases have side panels that either screw on or slide off. Check your case for screws on the back or any latches that allow you to remove the side panels. If you’re unsure how to open your case, consult the manual or look up specific instructions online. Some cases feature a side panel with thumb screws, allowing easy access without needing tools, which can streamline the opening process.
Handle the Case with Care
Once you remove the side panel, be careful while handling the case. Avoid touching any exposed circuitry or components, as oils from your skin can damage sensitive parts. You can gently set the panel aside on a clean surface to prevent scratches. While you’re inside, take a moment to check for dust buildup or cable clutter, as these conditions can affect airflow and performance. A quick clean-up can improve cooling efficiency, which is vital for maintaining optimal operating temperatures for all components.
Locate Your Graphics Card
Identify the PCIe Slot
Your graphics card is usually located in a PCIe slot on the motherboard, often the longest slot available. It may also be the most accessible, as most motherboards cater to ease of installation for the GPU. Take a moment to identify the slot and check how your card is seated within it. In most setups, you’ll see a dedicated slot for the graphics card next to other expansion slots for components like sound cards or network cards. Familiarizing yourself with the layout of your motherboard will help avoid confusion during reinstallation.
Observe Cables and Connections
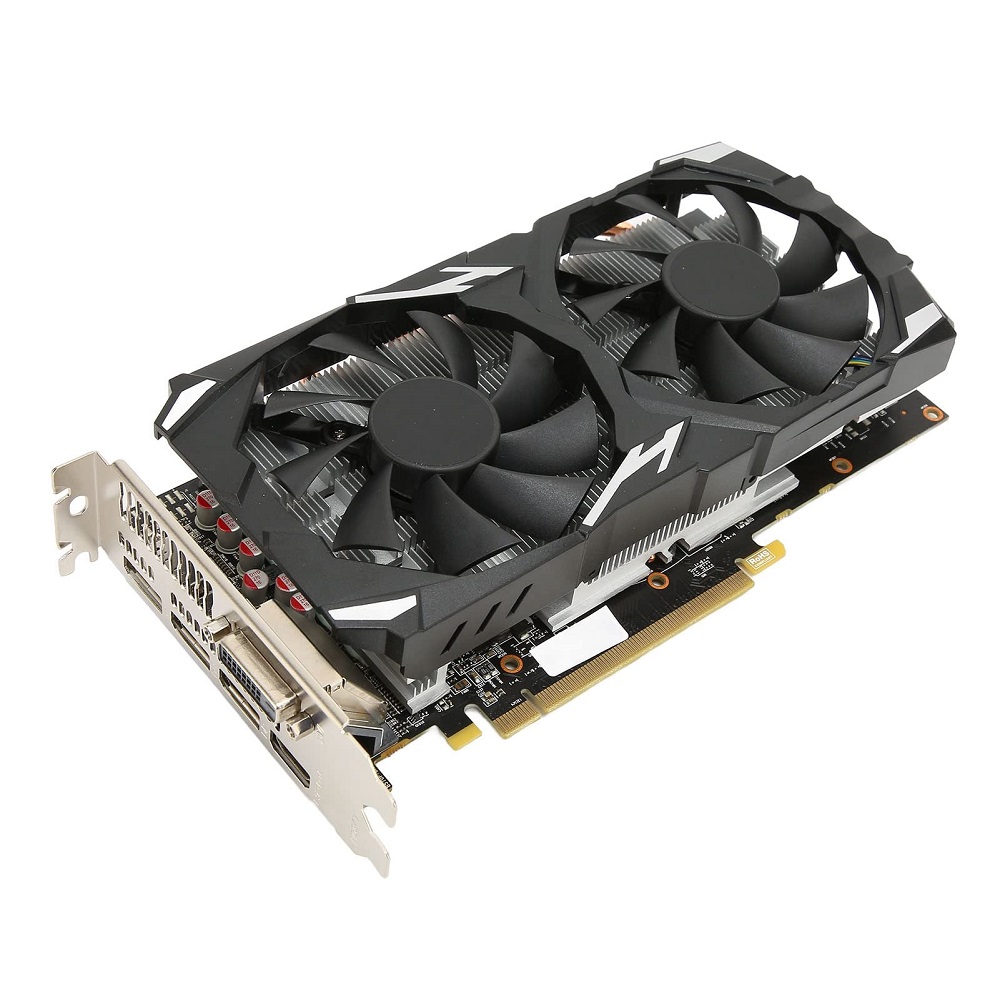
Before proceeding, examine the cables connected to your graphics card, especially if it has additional power connectors. These cables may be located on the side or top of the card. It’s also a good idea to note where these cables connect so you can easily reconnect them later. Understanding how the components connect will save you time and frustration after removing the card, especially if you’re dealing with multiple connectors.
Disconnect Power and Data Cables
Remove Power Connectors
Carefully disconnect any power cables from the graphics card. Gently squeeze the connector to release the latch or grip and pull it straight out. Avoid yanking or twisting, as this could damage the connectors or worse, the motherboard itself. Developing a steady hand and using controlled movements will help prevent any accidents. If you have difficulty pulling any connectors, double-check for any clips locking them in place before forcing them out. Patience and caution are key to avoiding breaks and damaging the connectors.
Detach Any Data Cables
In addition to power cables, if your graphics card connects to any other hardware via data cables, such as HDMI or DisplayPort cables, be sure to remove those as well. As with the power connectors, always pull directly on the connector body instead of the cable to avoid risking damage. Keeping these cables organized will help you remember where every cable goes when you’re ready to reinstall or replace the graphics card. You could label each connector or take a picture for reference, ensuring a smooth reconnection process.
Unscrew and Remove the Graphics Card
Locate and Remove Screws
With everything unconnected, check your graphics card for screws securing it to the case. Typically, these screws are located at the rear, holding the card in place and preventing it from coming loose during operation. Use your screwdriver to untighten and remove these screws, placing them in a small container to avoid losing them. Keeping all screws organized ensures you won’t struggle to find them when it’s time to reinstall. If your GPU has additional brackets or protective covers, don’t forget to remove those too.
Gently Remove the Card
Now, gently grasp your graphics card and lift it straight up from the PCIe slot. Make sure to apply an even amount of pressure; you don’t want to tilt the card, as this can damage the slot or the card itself. In some cases, gently wiggling the card back and forth as you lift can help release it from the slot properly. Once the card is out, place it on a non-static surface or inside an anti-static bag to protect it from static damage. Avoid placing it on a surface that can generate static electricity, like carpet.
Clean and Inspect the Area
Dusting and Maintenance
Now that the graphics card is removed, take the opportunity to dust the area inside your case. Use a can of compressed air to blow out any dust buildup, particularly from fans and heatsinks. Dust can inhibit airflow and cooling, leading to overheating issues in the future. Be sure to hold the can upright to avoid propellant from spraying on components. A good cleaning now not only helps performance but also makes any future upgrades easier, as you’ll be working in a cleaner environment.
Inspect for Damage
As you clean, take a moment to check for any signs of damage or wear on your components. Look at not just the motherboard but also the surrounding area for signs of dust accumulation, heat buildup, or physical wear. This includes examining the fan connections, cables, or any other exposed connectors. If you notice anything concerning, consider consulting a professional before reassembling your system. Identifying potential issues early can save you headaches down the line.
Conclusion
How to remove your graphics card safely requires preparation and careful handling to avoid damaging your components. By following this step-by-step guide, you can ensure a smooth process from start to finish. Remember to work in a suitable environment, gather the necessary tools, and take your time during each phase.
Once you have safely removed your graphics card, whether for replacement or further troubleshooting, you can look forward to improved performance or a smoothly functioning computer. With a little patience and care, you can tackle this task confidently and efficiently. Keep your workspace organized and maintain a focus on your components to best protect your hardware. Always consult relevant support resources or application documentation if you’re unsure about any steps, particularly when dealing with hardware. Happy upgrading!
