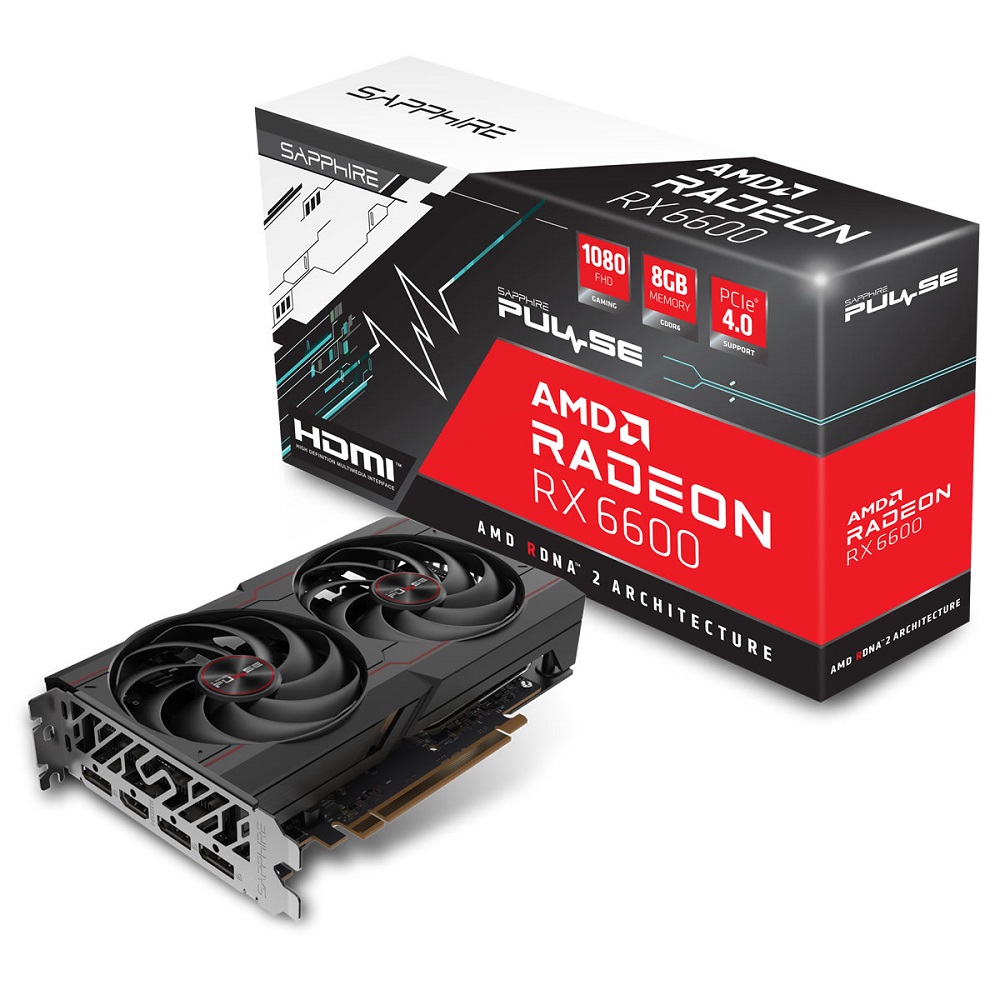
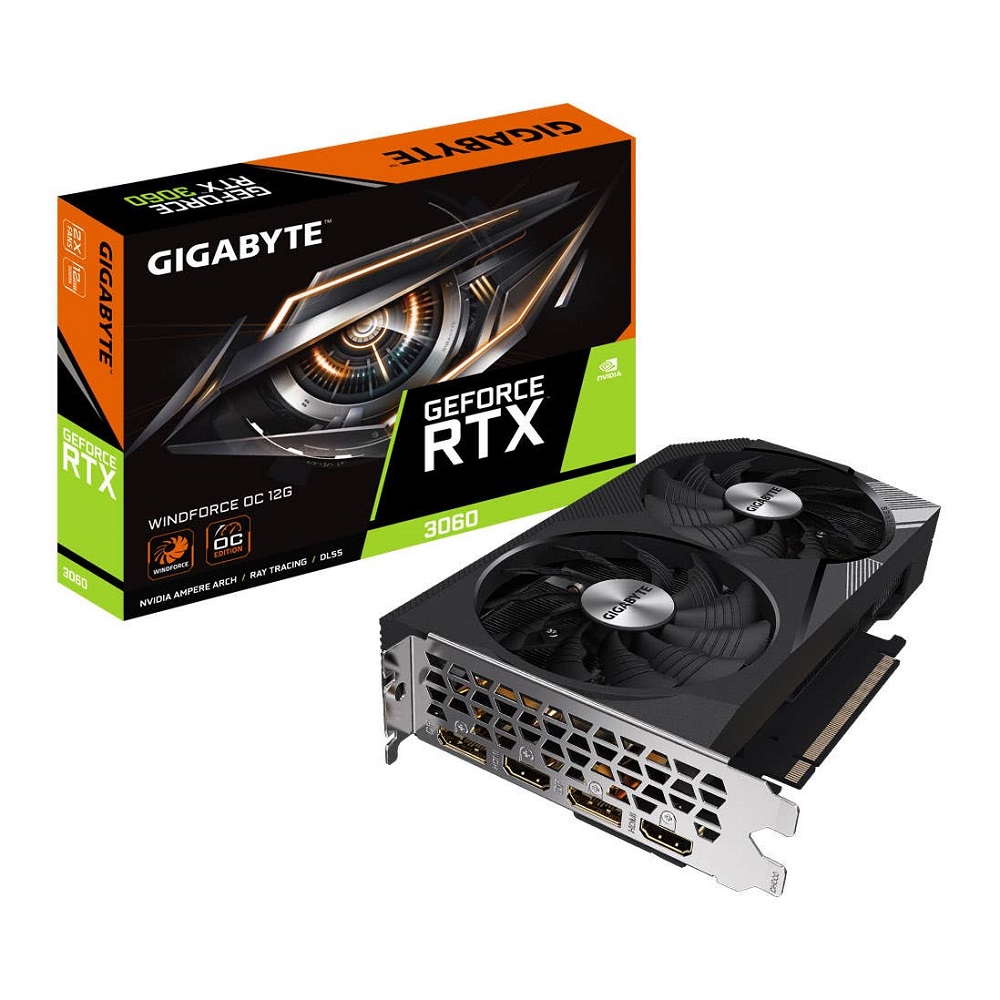
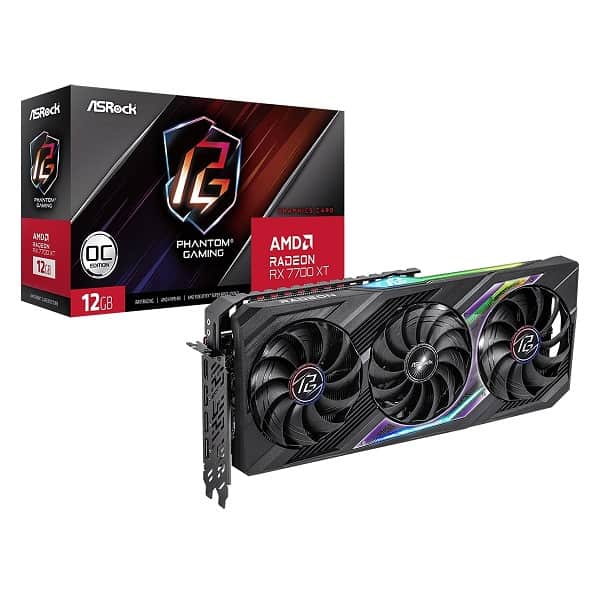
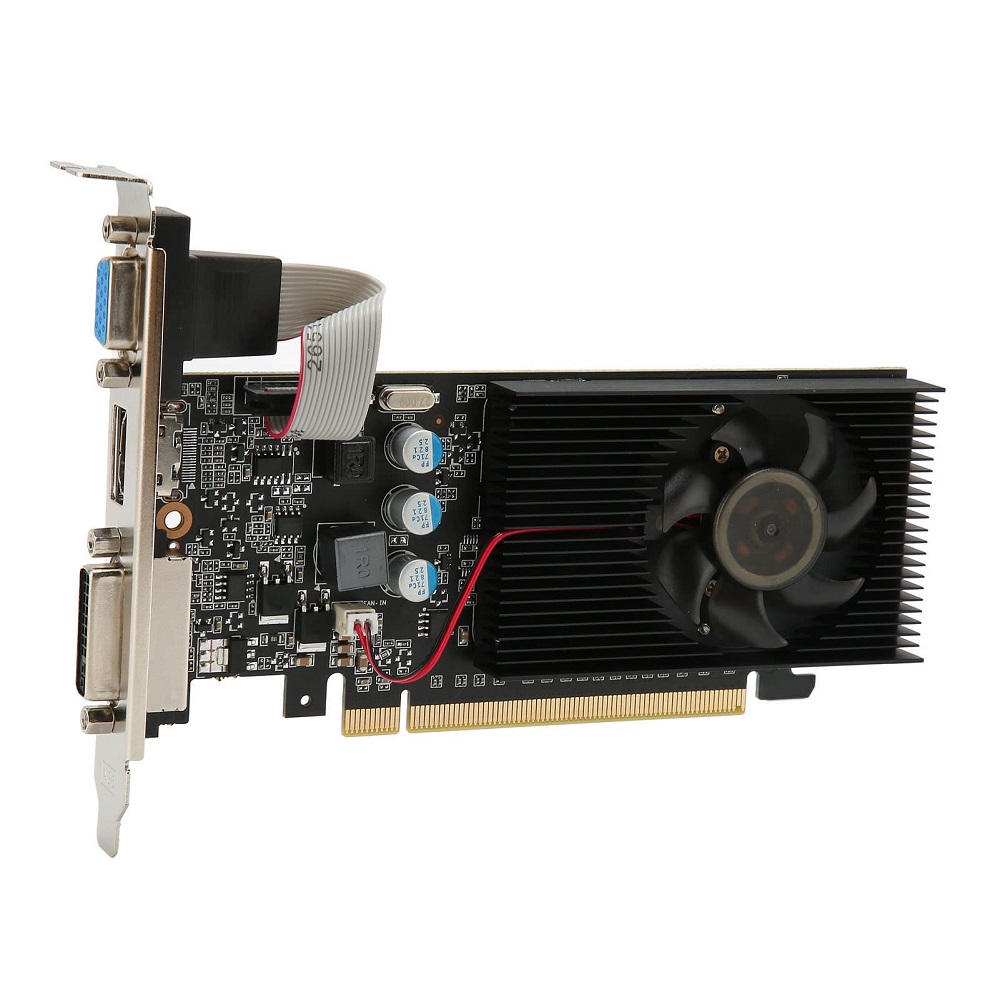
Upgrading your graphics card (GPU) can breathe new life into your computer and drastically improve its performance for gaming, graphic design, and video editing. How to change graphics card is an essential skill for anyone looking to enhance their computing experience. Whether you want better graphics for gaming or require more graphical power for professional software, this guide will walk you through the step-by-step process of how to change graphics card.
Preparing for the Upgrade
Gather Your Materials
Before you begin changing your graphics card, make sure you have all the necessary materials at hand. You’ll need your new graphics card, a Phillips-head screwdriver, and an anti-static wrist strap to prevent damaging your components with static electricity. It’s always wise to keep a clean, organized workspace set up for this task. You might also want a flashlight on hand for better visibility inside your case and a microfiber cloth to clean any dust that may have accumulated. Taking the time to prepare ensures a smoother installation process.
Read System Requirements
Before purchasing a new graphics card, it’s crucial to verify that it meets your needs and is compatible with your system. Check your computer’s specifications using system information tools or software like CPU-Z. This information will help you ensure your motherboard has an available PCIe slot, and you’ll also need to note your power supply’s wattage and connector types—some graphics cards require additional power connectors. Research the minimum requirements for your new card and compare them to your current setup to ensure compatibility.

Power Down and Disconnect
Shut Down Your PC
Once you have everything ready, power down your computer entirely. Go to the Start menu, select “Shut Down,” and wait for the device to turn off completely. Unplug the power cable from the electrical outlet, and wait a few moments to ensure all components have dissipated any residual power. This step is critical to ensure your safety while working inside your computer and preventing any damage to the components.
Disconnect Peripherals
After shutting down your computer, disconnect all peripherals. This includes the monitor, keyboard, mouse, and any other devices connected to the computer. Disconnecting these items not only helps ensure your safety, but it also gives you more room to work inside the case. By removing the monitor, you’ll eliminate the risk of any accidental impacts during the installation process, and less clutter will help you focus on the job at hand.
Open the Computer Case
Removing the Side Panel
To access the internal components of your computer, you’ll need to open the case. Using the Phillips-head screwdriver, remove the screws securing the side panel. Most cases have two or three screws on the back that need to be taken out. Make sure to keep these screws in a safe place since you’ll need them later to reattach the panel after installation. Once the screws are out, gently slide the panel off, exposing the internal components. You might notice dust buildup inside the case at this point; cleaning it out will ensure better airflow and overall performance.
Assess the Interior Layout
Once you open the case, take a moment to familiarize yourself with the internal layout. Locate the old graphics card, which typically resides in the PCIe slot on the motherboard. You may need to remove any cables or components that could obstruct your access to the graphics card. Identifying the layout beforehand will help you plan the next steps effectively and prevent any mishaps when you start uninstalling components.

Remove the Old Graphics Card
Unscrew the Existing Card
Now, focus on removing your existing graphics card. It will have screws securing it to the metal bracket at the back of the case. Use your screwdriver to remove these screws. Be careful not to drop them inside the case, as retrieving them later could be troublesome. Once the screws are off, the card should still be seated in the PCIe slot; you will need to handle it carefully as you progress to the next step.
Disconnect Power Cables
Next, locate any power cables connected to the old graphics card. You might need to squeeze a tab or gently pull a connector to disconnect them. Depending on the age and model of the card, there may be one or two connectors to remove. After unplugging the power cables, grip the card firmly and gently wiggle it while pulling it straight out of the PCIe slot. Use caution during this step, as applying too much force can damage the motherboard or other components.
Install the New Graphics Card
Align and Insert the New Card
With the old graphics card removed, it’s time to install the new one. Carefully take the new graphics card out of its packaging. To avoid damaging the card, hold it by the edges without touching the circuitry. Align the card’s connectors with the PCIe slot on the motherboard. Make sure the card is oriented correctly, matching the positioning of the old card. Gently press it into the slot until you hear a click, indicating that it is securely seated within the PCIe connector.
Secure the New Card with Screws
Once the new graphics card is firmly in place, take the screws you removed earlier and secure the card to the metal bracket. This will stabilize the card and keep it from shifting during operation. Tighten the screws gently but securely; don’t overtighten them, as doing so may stress the card or the case.
Connect Power Cables
After securing the card, connect any required power cables from your power supply to the new graphics card. Make sure the cables are fully inserted into their corresponding connectors to ensure proper power delivery during operation. Depending on the graphics card model, it may require one or more power connectors, so always check your specific card’s documentation for guidance.

Close Up the Computer Case
Reattach the Side Panel
With the new graphics card installed and connected, it’s time to close the case. Carefully slide the side panel back into place, aligning it properly with the chassis. Reinsert the screws you removed earlier, securing the panel. Tightening these screws ensures that the panel remains in place and contributes to the overall integrity of the case.
Reconnect Cables and Peripherals
Reconnect the power cable to the wall outlet and plug in all the peripherals you disconnected earlier. Make sure that all connections are secure and properly seated to avoid any issues during startup. Note that you should also check that the monitor cable is connected to the new graphics card and not the motherboard’s video output port. This ensures you get the best performance from the new graphics card.
Power Up and Install Drivers
Boot your Computer
With everything connected and secured, power up your computer. Press the power button and watch as your system initiates the startup process. You might see the BIOS screen, and after a few moments, Windows should begin to load. If any issues arise, such as beeping sounds or error messages, double-check your connections, ensuring everything is seated securely and properly.
Install the Latest Drivers
Once your system boots successfully, it’s important to install the latest drivers for your new graphics card. Visit the manufacturer’s website—this may be NVIDIA, AMD, or another brand—and download the appropriate driver for your specific model. Follow the installation instructions provided to ensure the driver is correctly set up. After installation, it’s a good practice to restart your computer to finalize changes. Keeping your drivers updated is crucial for maximizing performance and ensuring compatibility with the latest games and applications.
Conclusion
Changing your graphics card might seem overwhelming at first, but following this step-by-step guide makes the process manageable and straightforward. With careful preparation, attention to detail, and a bit of patience, you can significantly enhance your computer’s performance for gaming, graphic work, or any other graphics-intensive tasks. Remember to gather all the necessary materials, handle components with care, and research compatibility requirements to ensure a successful upgrade.
Now that you know how to change your graphics card, you can enjoy improved visuals, enhanced gameplay, and a better overall computing experience. As technology continues to evolve, consider mastering more DIY computer upgrades, and enjoy the satisfaction that comes with boosting your system’s capabilities. Happy computing!
