Introduction to Graphics Card Removal
Removing your graphics card can be a crucial step. It is necessary for various reasons such as upgrading to a more powerful model, solving hardware conflicts, or simply cleaning your PC interior. This guide is designed to walk you through each step of how to remove a graphics card safely and efficiently.
Understanding how to remove a graphics card is vital to avoid damaging your PC or the card itself. Each graphics card is fitted within a specific slot type on the motherboard with attached power cables and possibly other connections depending on your setup. Proper removal involves careful handling to ensure none of the sensitive components are harmed.
Throughout this guide, you will learn not just how to physically remove the card, but also how to prepare for the removal, what tools you might need, and how to handle the card once it is removed. This ensures that whether you are a seasoned tech enthusiast or a first-time PC builder, you can achieve this task with confidence.
Preparing to Remove Your Graphics Card
Before you start the removal process, proper preparation is key to ensure a safe and successful outcome. To prepare for removing your graphics card, you should first gather the necessary tools and materials, and follow safety precautions to protect both yourself and your PC components.
Tools and Materials Needed
You will need a few basic tools for this task:
- Phillips-head screwdriver: To loosen screws that secure the graphics card to the case.
- Anti-static wrist strap: To prevent static electricity from damaging the sensitive components.
- Clean, soft cloth: For handling the graphics card and cleaning any dust.
- Plastic container or box: To safely store screws and the graphics card.
Make sure these items are within reach before you begin, as this will streamline the process and reduce the risk of damage.
Safety Precautions
Follow these safety precautions to ensure a harm-free environment:
- Turn off your PC: Make sure to shut down your computer completely before doing any work inside it.
- Unplug power cables: Disconnect all power cables from the back of the PC to prevent any accidental power surge.
- Ground yourself: Wear the anti-static wrist strap, or keep touching a metal part of the case to discharge any static electricity.
By following these steps, you’ll be ready to proceed safely with the removal of your graphics card. In the next section, we’ll guide you through locating the graphics card in your PC.

Locating the Graphics Card in Your PC
After preparing your tools and following safety precautions, the next step is to find the graphics card inside your PC. This process is straightforward, but knowing exactly where to look will save you time and effort.
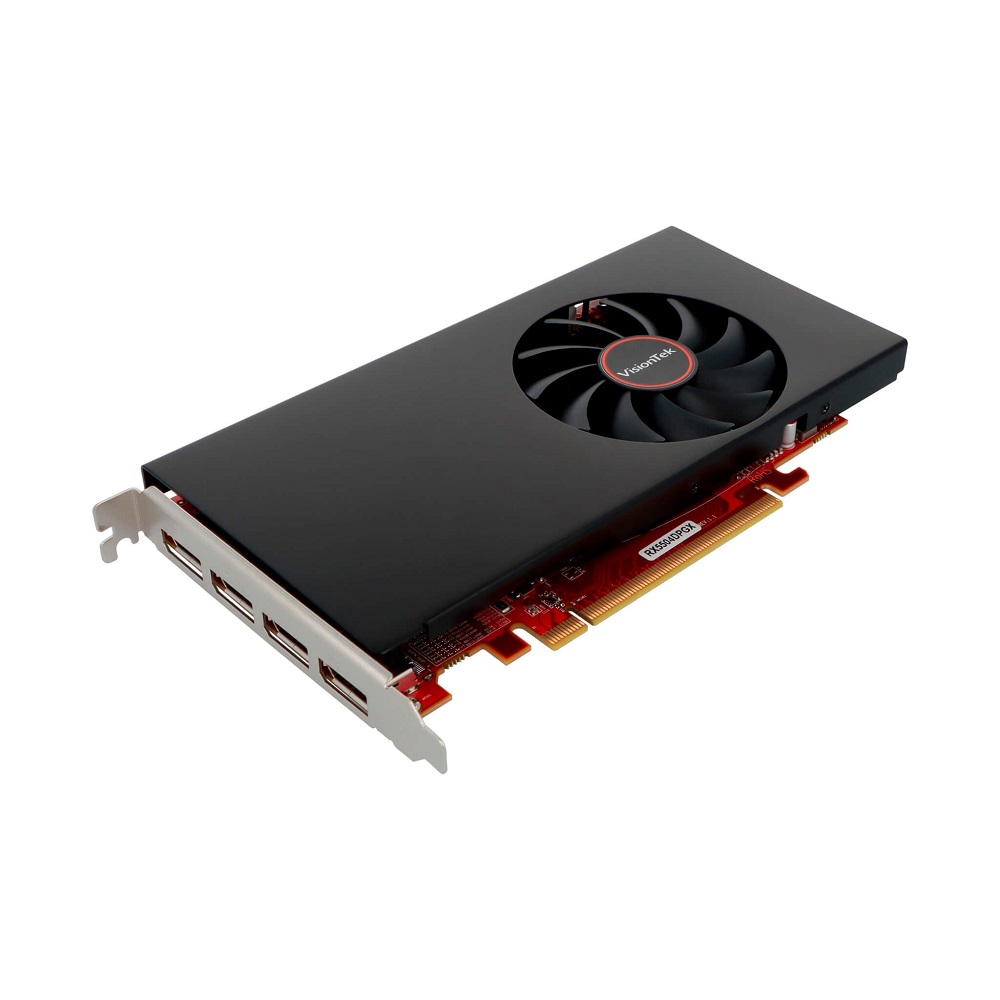
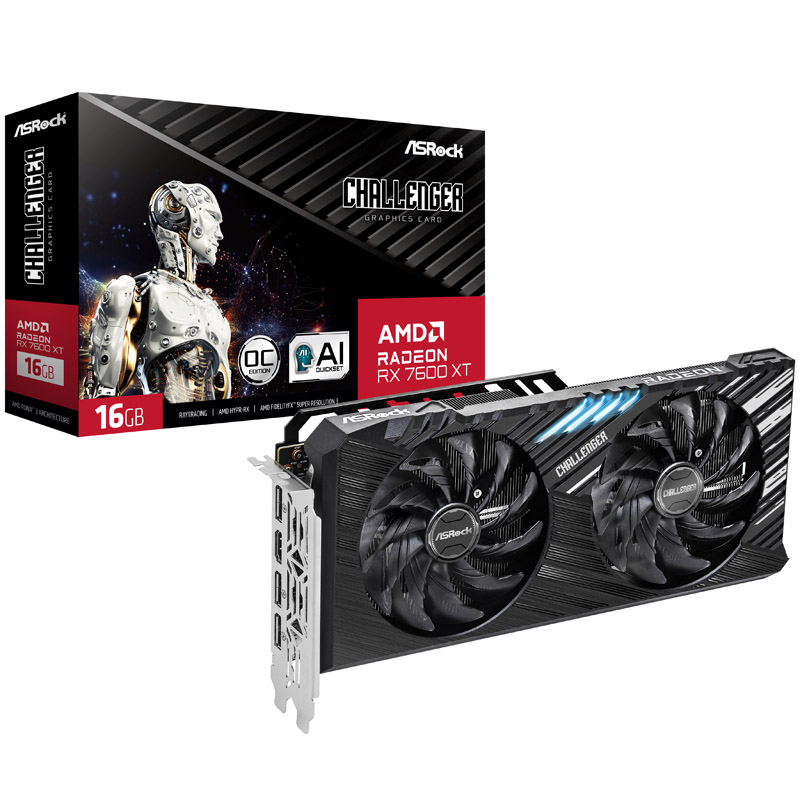
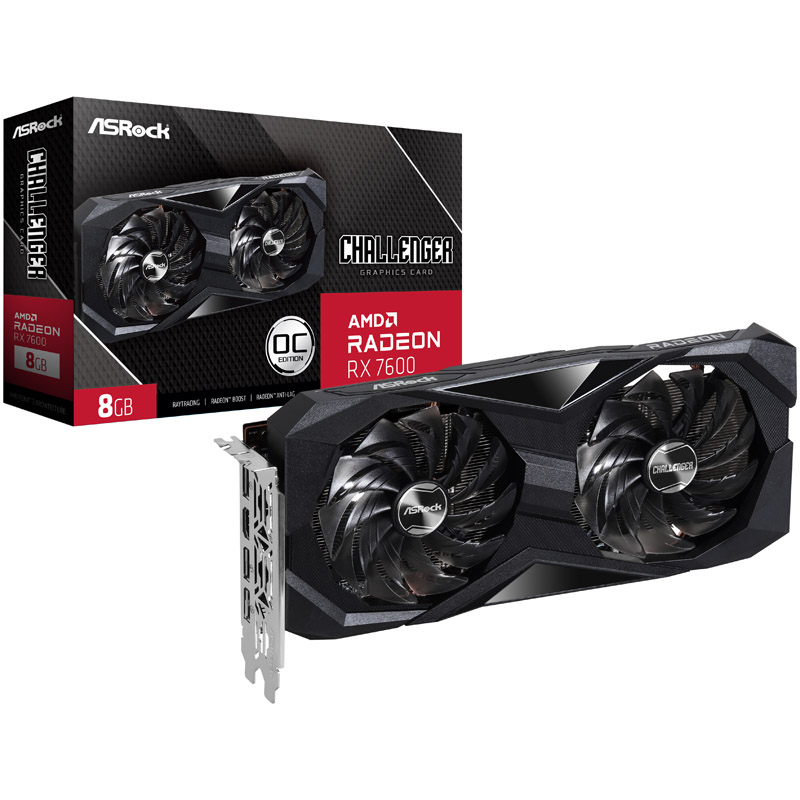
Most desktop computers house the graphics card in an expansion slot on the motherboard. Typically, it’s near the rear of the case, aligned with the display connectors sticking out of the back. Look for the large, rectangular component that has a series of ports. These can include HDMI, DisplayPort, or DVI connectors, which are used to connect your computer to its display.
To ensure you are looking at the right component, check for the cooling fans or heatsinks that sit on top of the graphics card. These are usually noticeable due to their size and distinct appearance compared to other motherboard components.
Once you have positively identified the graphics card, you can proceed to the next steps of safely disconnecting and removing it from your PC. Handling the graphics card correctly is crucial to avoid damage, so make sure to proceed with caution as outlined in subsequent sections.
Disconnecting Power and Other Cables
The next critical step in how to remove a graphics card involves disconnecting its power supply. Graphics cards often have one or more power cables connected to the power supply unit (PSU). They feed the card with the energy needed for operation. Start by carefully locating these cables. They usually stick out from the end or side of the card.
Follow these steps to disconnect power cables safely:
- Identify the PCIe power connectors: These typically come in 6-pin or 8-pin varieties. Your card may have one or both types.
- Hold down the release latch (if present): Some connectors have a latch that secures them in place. Gently press down on this latch.
- Gently pull out the connectors: Grasp the plug (not the cable) and ease it out of the socket. Avoid rocking back and forth to reduce stress on the motherboard.
After power cables, look for other connections such as SLI or CrossFire bridge connections if you’re using multiple graphics cards. These are usually found at the top of the card. Release any latches and disconnect gently.
Lastly, remember your anti-static precautions: keep your wrist strap connected or touch a metal part of the case frequently to stay grounded. Proceed methodically and with patience to ensure a safe and damage-free removal of your graphics card.
Releasing the Graphics Card from Its Slot
After disconnecting all cables, the next step is to release the graphics card from its slot. Follow these clear steps:
- Locate the securing screw: Find the screw that locks the card to the case. It’s at the back end of the slot.
- Use the Phillips-head screwdriver: Unscrew carefully to avoid dropping it inside the case.
- Press the PCIe slot release: Find the small lever at the end of the PCIe slot. Gently push it down or to the side to unlock the card.
- Gently wiggle the card: Lightly rock the card from side to side to loosen it. Do this with care to avoid strain on the slot.
- Lift the card out of the slot: Grasp the edges of the graphics card firmly. Pull it up and out of the slot smoothly.
Keep your steps slow and steady throughout this process. This will help to prevent any damage to the PCIe slot, the graphics card, or any nearby components. Now you can safely handle and store the graphics card.

Handling and Storing the Graphics Card After Removal
After successfully removing your graphics card, handling and storing it properly is crucial to avoid any damage. Here are steps to ensure that your graphics card is preserved in the best condition for future use.
- Handle with care: Always hold the graphics card by its edges. Avoid touching the circuits or components directly. This prevents oils from your skin or static from damaging the sensitive parts.
- Use a soft cloth: When laying it down, place the graphics card on a clean, soft cloth. This will protect the card’s surface from scratches or rough contact with hard surfaces.
- Static-free storage: Store the graphics card in a static-free bag, especially if you do not plan to reinstall it immediately. This bag protects it from static charges that can cause damage over time.
- Keep in a safe place: Choose a dry, cool place away from direct sunlight to store the graphics card. Fluctuations in temperature and exposure to heat can degrade its performance and longevity.
- Label the storage container: If using a plastic container or box for storage, label it. This is useful if you have multiple spare parts and helps in quickly identifying the content without having to open it.
By following these steps, you ensure that your graphics card is kept in optimal condition, ready for re-installation or a potential upgrade in the future.
Tips for Replacing or Upgrading Your Graphics Card
Once you have removed your old graphics card, you may be considering a replacement or upgrade. Here are some tips to keep in mind during this process:
- Check Compatibility: Before buying a new card, ensure it is compatible with your motherboard and power supply unit. Look for the right interface, such as PCIe, and the required power connectors.
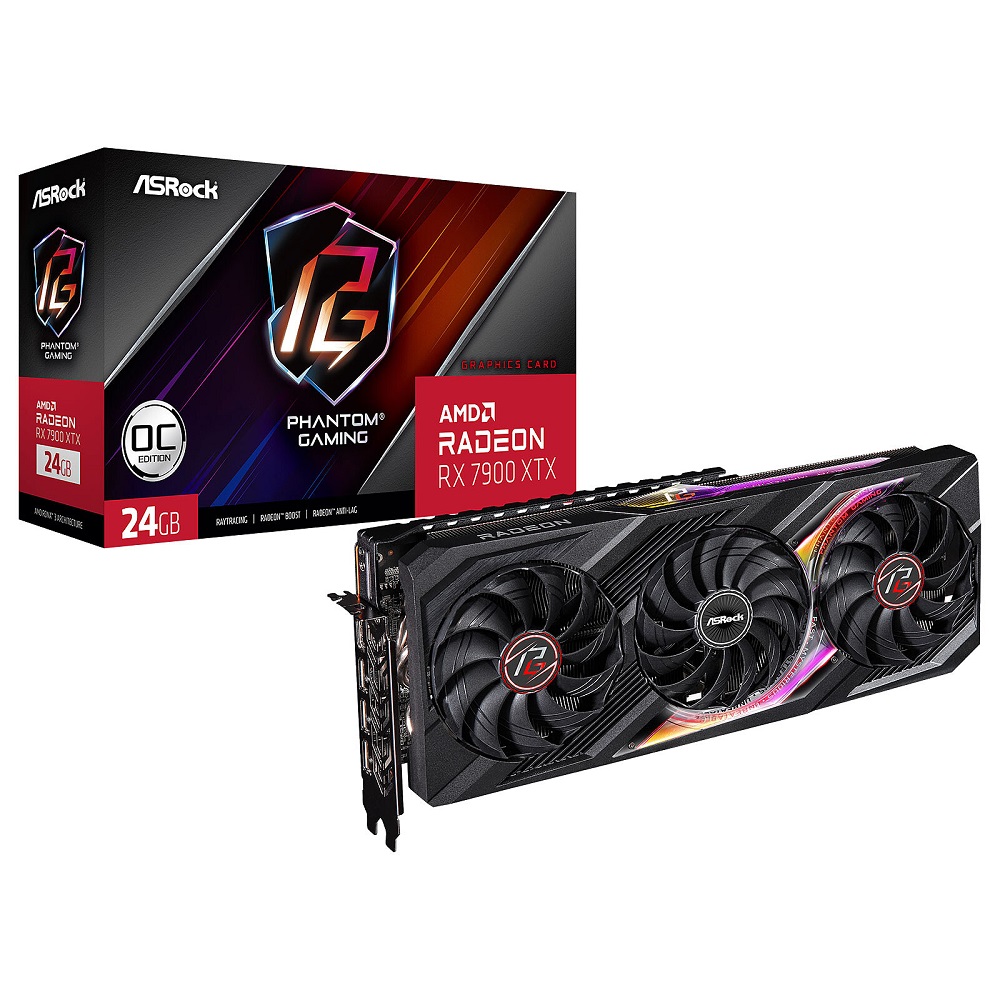
- Size Matters: Make sure the new graphics card will fit inside your case. Some high-end cards are very large and may not fit in smaller cases.
- Performance Needs: Evaluate what performance level you need for your tasks. Gamers will want high-performance cards, while general users may need less power.
- Power Requirements: Check the wattage requirement of the new card and whether your PSU can handle it. Consider upgrading your PSU if necessary.
- Driver Updates: After installing the new card, remember to download and install the latest drivers from the manufacturer’s website for optimal performance.
- Monitor Connections: Make sure the graphics card has the right type and number of ports for your monitors.
- Budget: Graphics cards can vary widely in price. Determine your budget beforehand and find the best card within that range.
By following these tips, you’ll be able to choose and install a new graphics card that meets your needs and enhances your PC’s performance.

Troubleshooting Common Graphics Card Removal Issues
When removing a graphics card, you may face certain issues. Here’s how to troubleshoot common problems:
Recognizing and Overcoming Removal Challenges
- Stuck Power Connectors: If power connectors won’t come loose, press the latch again. Pull them gently but firmly.
- Graphics Card Won’t Budge: Ensure you’ve unscrewed all screws. Press the PCIe slot release again. Wiggle the card very gently.
- Damaged Release Latch: If the latch on the PCIe slot breaks, proceed with caution. Gently lift the card out, being careful not to put stress on the slot.
Dealing with Installation Errors After Removal
- PC Won’t Start: Recheck all power connections. Make sure the PSU switch is on. Ensure other components weren’t loosened during removal.
- No Display After Reinstallation: Confirm the card is seated properly in the slot. Check the monitor’s connection to the card.
By addressing these issues with patience and care, you’ll be well-equipped to handle any setbacks during the remove of your graphics card.
