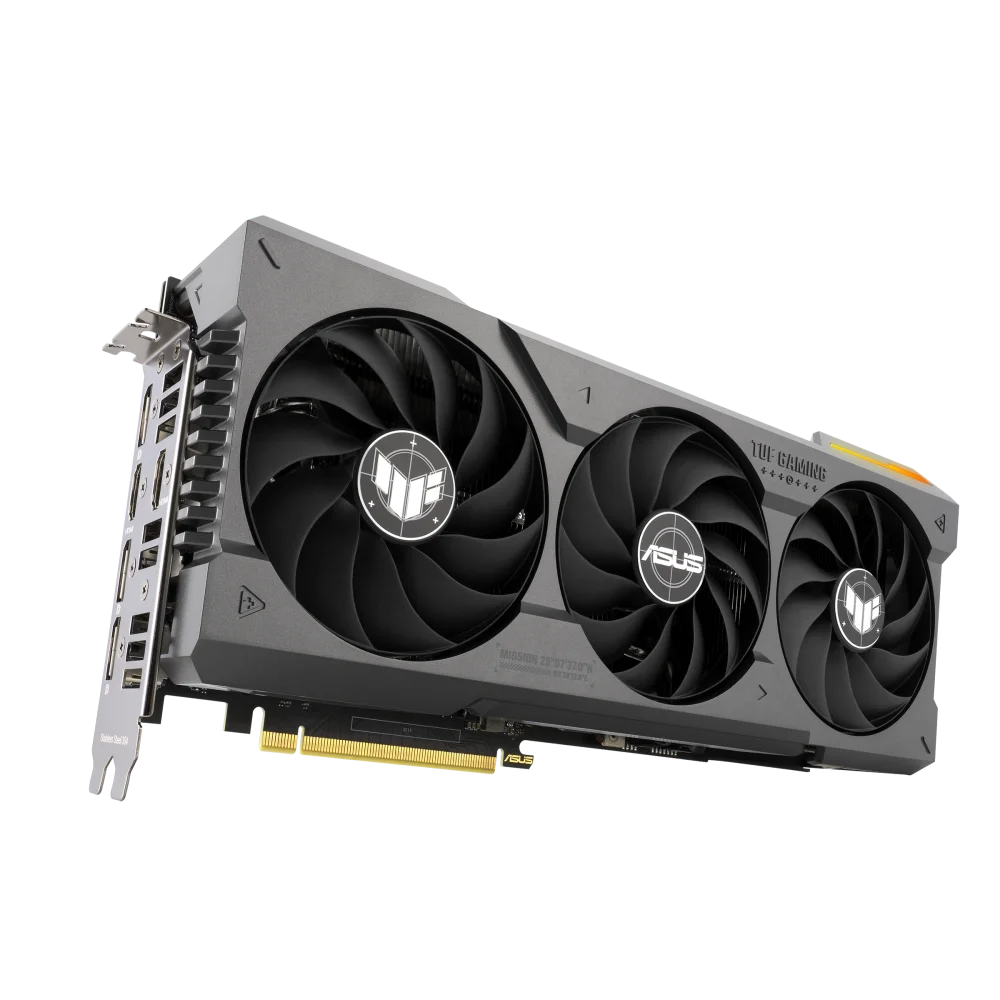
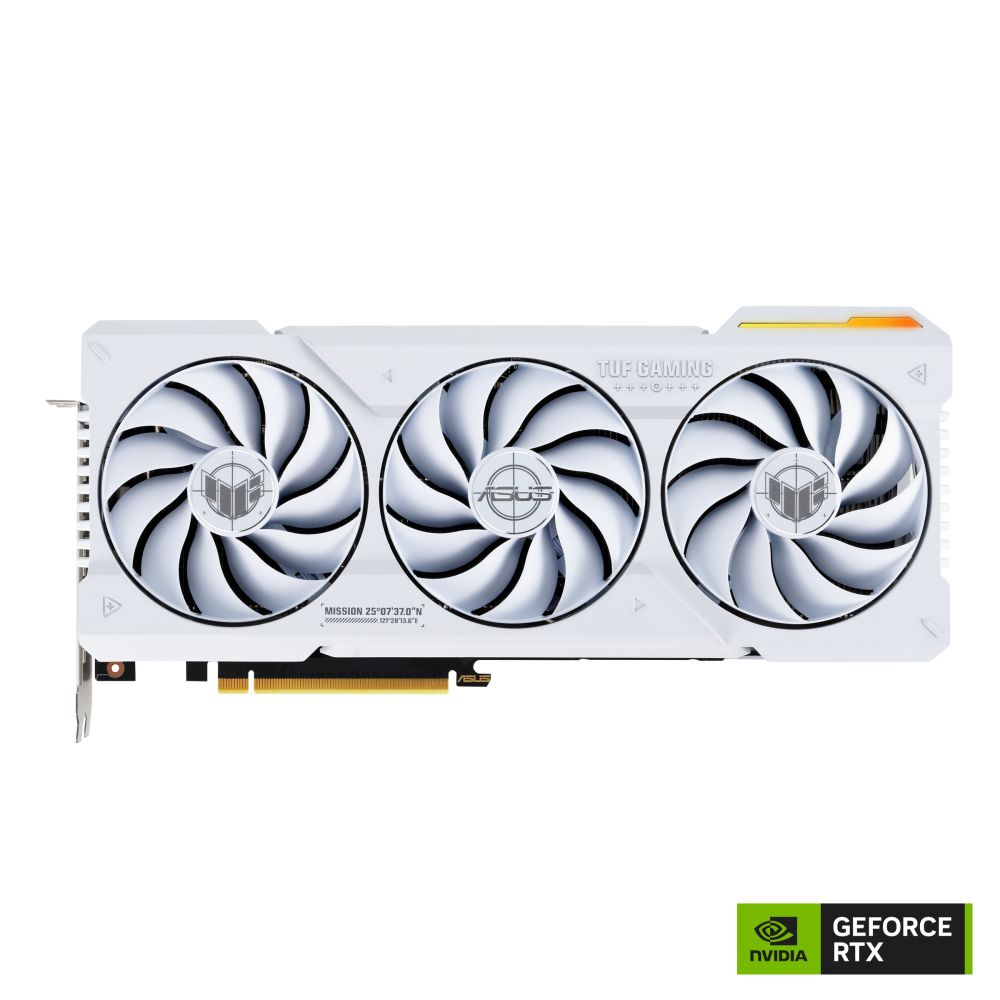
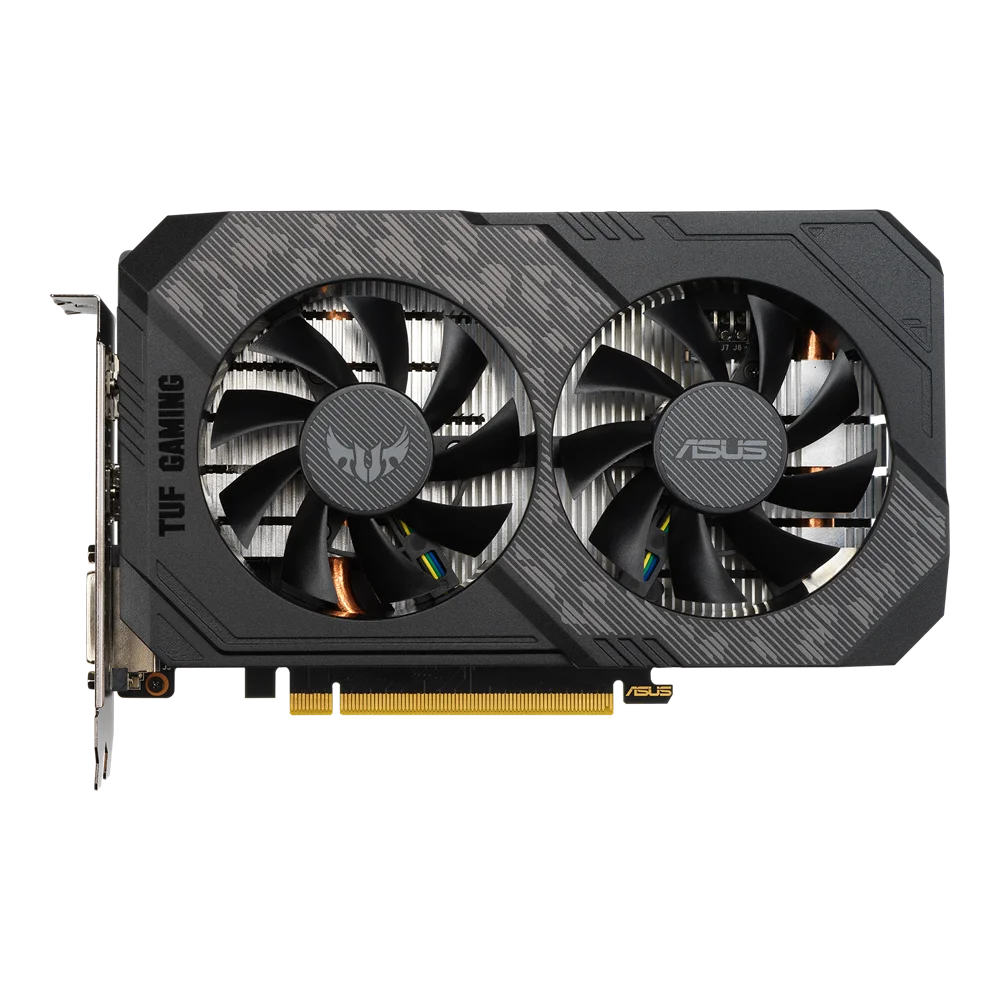
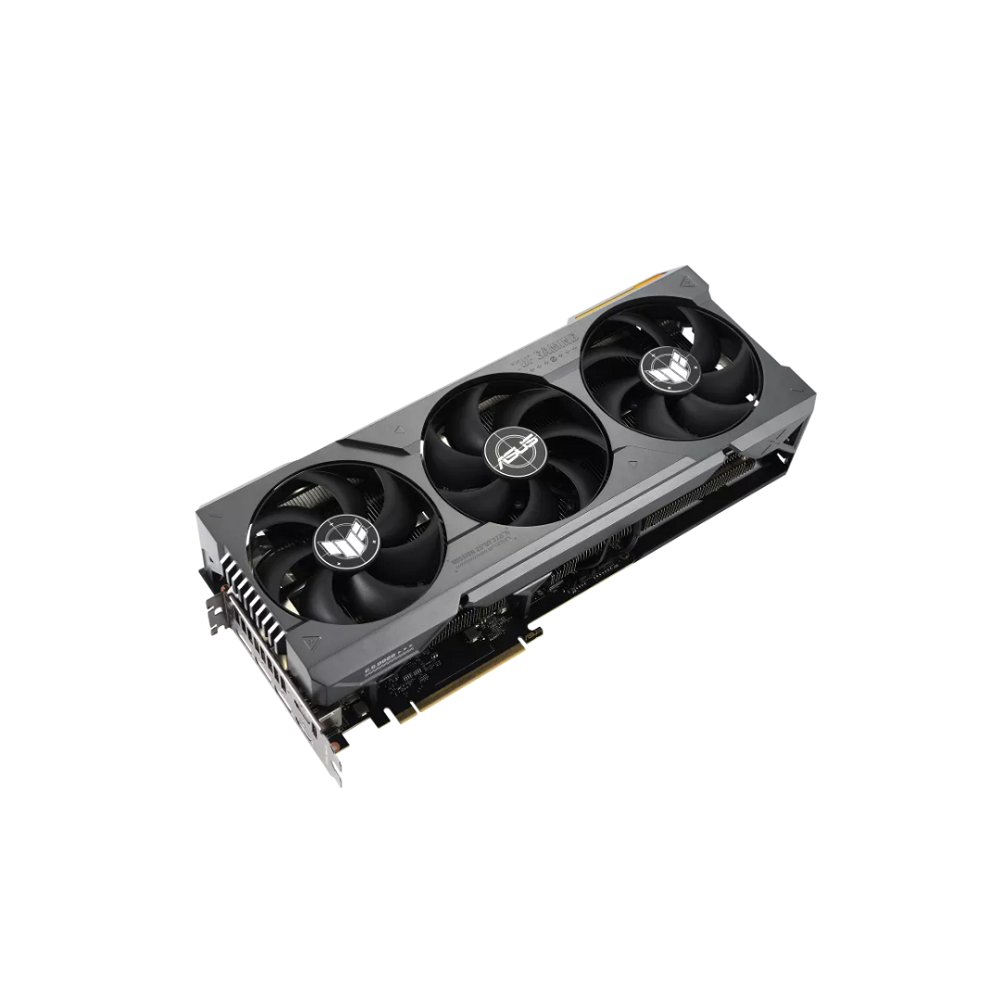
A graphics card, often referred to as a GPU (graphics processing unit), plays a crucial role in your computer’s performance, particularly if you’re into gaming, graphic design, or video editing. Testing your graphics card can help you diagnose performance issues, ensure it operates correctly, and optimize your system’s overall efficiency. How to test graphics card? This step-by-step guide will walk you through the essential processes to effectively test your graphics card.
Preparing for the Test
Gather Necessary Tools
How to test graphics card? Before diving into testing your graphics card, gathering the necessary tools is crucial. You will need a few software applications to help you evaluate performance. Consider downloading programs like GPU-Z, MSI Afterburner, and benchmarking tools like 3DMark or Unigine Heaven. These tools provide information about your GPU’s specifications, temperatures, and performance metrics.
Additionally, make sure you have a reliable method for monitoring temperatures and performance data while testing. You can use built-in features of the monitoring software or a secondary device to track your results. This preparation sets the stage for a comprehensive testing process.
Ensure Your System Is Updated
Before testing, verify that your operating system and GPU drivers are up-to-date. Regular updates often include performance enhancements and bug fixes that can impact how your graphics card operates. For Windows users, navigate to Settings > Update & Security > Windows Update to check for any pending updates.
Also, visit the manufacturer’s website for your GPU (NVIDIA, AMD, or Intel) to download the latest drivers. Keeping your system updated ensures you get the most accurate results possible during your tests, offering a clearer view of your GPU’s performance.

Monitoring Your Graphics Card
Install Monitoring Software
Using monitoring software provides valuable insights into how your graphics card performs under various loads. Tools like GPU-Z and MSI Afterburner can display real-time information about your GPU, including clock speeds, memory usage, temperature, and fan speeds.
To install and set up GPU-Z or MSI Afterburner, follow these steps:
- Download the software from the official website.
- Follow the installation prompts to complete the setup.
- Launch the program and familiarize yourself with its interface.
Adjust the windows so that important stats are easily visible during your testing process. Keeping track of these metrics helps assess how well your graphics card handles various tasks, allowing you to spot any potential issues.
Setting Up Stress Testing
A stress test pushes your graphics card to its limits to ensure it operates efficiently under high load. Many testing programs come with built-in tools to perform these stress tests. For example, MSI Afterburner has a benchmarking feature that allows you to test performance while monitoring various metrics.
Choose a tool like Heaven Benchmark or FurMark for thorough stress testing. These programs run simulations that put a heavy load on your GPU, enabling you to gauge its performance in a controlled environment.
Running Benchmarks
Choosing a Benchmarking Tool
After preparing your monitoring system, it’s time to select a benchmarking tool. Various options exist, but two popular choices are 3DMark and Unigine Heaven. Each tool offers distinct features and tests that allow you to evaluate GPU performance across different scenarios.
3DMark focuses on overall performance across various graphics tests, while Unigine Heaven provides a detailed rendering test that simulates real-world gaming scenarios. Whichever tool you choose, ensure it aligns with your goals for testing the GPU.
Conducting the Benchmark Test
To run a benchmark, follow these steps:
- Launch the chosen benchmarking tool.
- Select the desired preset quality (e.g., low, medium, high, or ultra).
- Start the test and allow it to complete. Most benchmarks run for a few minutes to several minutes.
- Once the test finishes, the software will generate a score based on the performance metrics observed.
Take note of the score and any metrics provided, such as frame rates, temperatures, and rendering times. This data becomes essential for analyzing how your graphics card holds up under pressure.

Stress Testing for Stability
Setting Up Stress Tests
Stress testing measures your graphics card’s stability under extreme conditions. This process is especially important if you experience crashes or performance hitches during gaming or high-demand applications. Using tools like FurMark can simulate intense graphical demands, allowing you to identify potential issues.
To set up a stress test:
- Open FurMark and configure settings according to your preferences.
- Adjust the resolution and settings for your stress test.
- Begin the testing process by starting the benchmark.
Keep an eye on the metrics displayed during the stress test. Pay attention to any fluctuations in temperature and frame rates, as these indicators reflect how well your graphics card manages high loads.
Monitoring During Stress Tests
During the stress test, monitor key variables such as temperature and frame rates closely. A good graphics card should be able to handle stress tests without overheating. Aim to keep temperatures below 85°C for optimal performance. If the temperature exceeds this threshold, it could result in thermal throttling, a situation where the GPU reduces its performance to avoid damage from overheating.
Use your monitoring software to maintain a constant view of critical stats throughout the test. Make sure to take notes, as these observations become relevant when interpreting the results after the test concludes.
Analyzing Results
Interpreting Benchmark Scores
Once you complete the benchmarks and stress tests, it’s time to analyze the results. Compare your scores against similar devices or manufacturer specifications to see how your graphics card performs. Benchmark scores vary significantly from one model to another, so it’s essential to have established reference points.
If your scores fall significantly below expectations, it could indicate an underlying issue. Common causes for low scores may include inadequate power supply, insufficient cooling, or outdated drivers.
Troubleshooting Performance Issues
If you encounter performance issues, start troubleshooting to identify the root cause. Begin by examining the following areas:
- Cooling: Check if the GPU’s fan system works correctly. Dust accumulation can block airflow and decrease cooling efficiency.
- Power Supply: Ensure your power supply unit (PSU) adequately supports your graphics card. Insufficient power can lead to underperformance.
- Driver Updates: Confirm that you have the latest drivers installed for your graphics card. Nvidia and AMD frequently release updates that can enhance performance and stability.
By systematically evaluating these components, you can diagnose performance-related issues and take action to improve your graphics card’s operation.

Optimizing Graphics Card Performance
Improving Cooling Solutions
Proper cooling can enhance your graphics card’s performance and longevity. If you noticed high temperatures during stress testing, consider upgrading your GPU cooling solution. Options include adding additional case fans, applying a new thermal compound to the GPU, or investing in an aftermarket cooling solution.
Ensure your computer case has enough airflow and clearance around the GPU for optimal cooling. Managing cables and organizing components inside the case can also improve overall airflow and keep temperatures in check.
Tweaking Settings for Better Performance
You can tweak various settings to enhance your graphics card’s performance. Use tools like MSI Afterburner to adjust clock speeds and power limits, allowing for overclocking if your specific model supports it. Moderate overclocking can yield notable improvements in gaming and rendering performance.
Experiment with the settings gradually, monitoring temperatures to avoid thermal issues. Making incremental changes helps ensure that you maintain system stability while aiming for better performance.
Regular Maintenance and Monitoring
Creating a Maintenance Schedule
Regular maintenance is essential to keep your graphics card functioning optimally. Create a schedule that includes routine cleaning and performance checks. At least once a month, take the time to clean the dust buildup around the GPU and check for any signs of wear on the fan or components.
This proactive approach keeps your system running smoothly and extends its lifespan. Additionally, perform benchmarks and stress tests at regular intervals to assess performance trends over time.
Using Monitoring Software for Ongoing Checks
Continue utilizing your monitoring software for ongoing evaluation of your graphics card’s performance. Set up alerts for temperature thresholds and keep historical data to spot any trends in performance degradation.
By remaining vigilant and proactive, you can catch potential issues early, ensuring your graphics card continues to perform well for all your gaming and multimedia needs.
Testing for Optimal Performance
How to test graphics card? Testing your graphics card is a key aspect of maintaining your computer’s performance. By following this step-by-step guide, you can identify issues, make necessary adjustments, and maximize your graphics card’s capabilities. From preparing your system to performing stress tests and analyzing results, this comprehensive approach results in a smoother, more enjoyable experience when gaming, creating, or simply enjoying high-definition content.
Make testing and monitoring a routine part of your computer maintenance strategy. Adopting a proactive mindset helps you and your graphics card enjoy peak performance for all your digital activities.
