Integrated graphics have become an essential feature in most modern computers, providing valuable visual processing capabilities without the need for a discrete graphics card. Whether you want to save power on a laptop, troubleshoot issues with a dedicated graphics card, or simply improve your system’s performance for everyday tasks, enabling integrated graphics can be a smart move. This article outlines how to enable integrated graphics effectively, offering practical tips and tricks to ensure a seamless setup.
Understanding Integrated Graphics
What Are Integrated Graphics?
Integrated graphics refer to the graphics processing unit (GPU) that is built directly into the CPU (central processing unit). They provide sufficient performance for basic tasks such as web browsing, video streaming, and productivity applications like word processing and spreadsheets. This design has become increasingly popular in laptops and compact desktops due to its efficiency and space-saving advantages.
Integrated graphics consume less power compared to dedicated graphics cards, making them ideal for portable devices where battery life is a priority. Moreover, fewer hardware components mean compact designs and reduced production costs, allowing manufacturers to create affordable systems for users.
Key Features and Limitations
While integrated graphics can handle everyday computing tasks with ease, they do have limitations. Users may experience lower performance for graphically demanding applications like gaming, 3D rendering, or video editing. For these tasks, a discrete graphics card offers superior performance. However, recent advancements in integrated graphics technology have led to significant improvements in their capabilities, making them suitable for casual gaming and light creative work.
Understanding these features and limitations will help you determine when to enable integrated graphics and when it might be appropriate to invest in dedicated solutions.

Checking System Compatibility
System Requirements
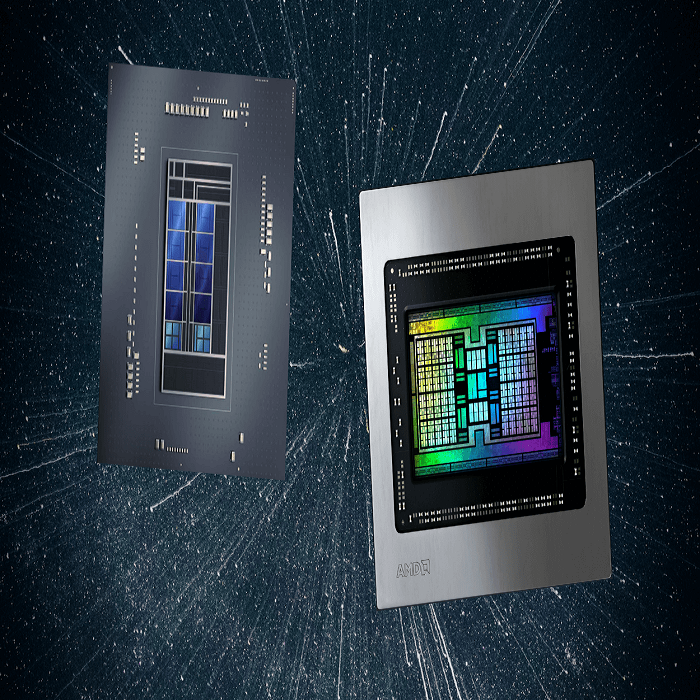
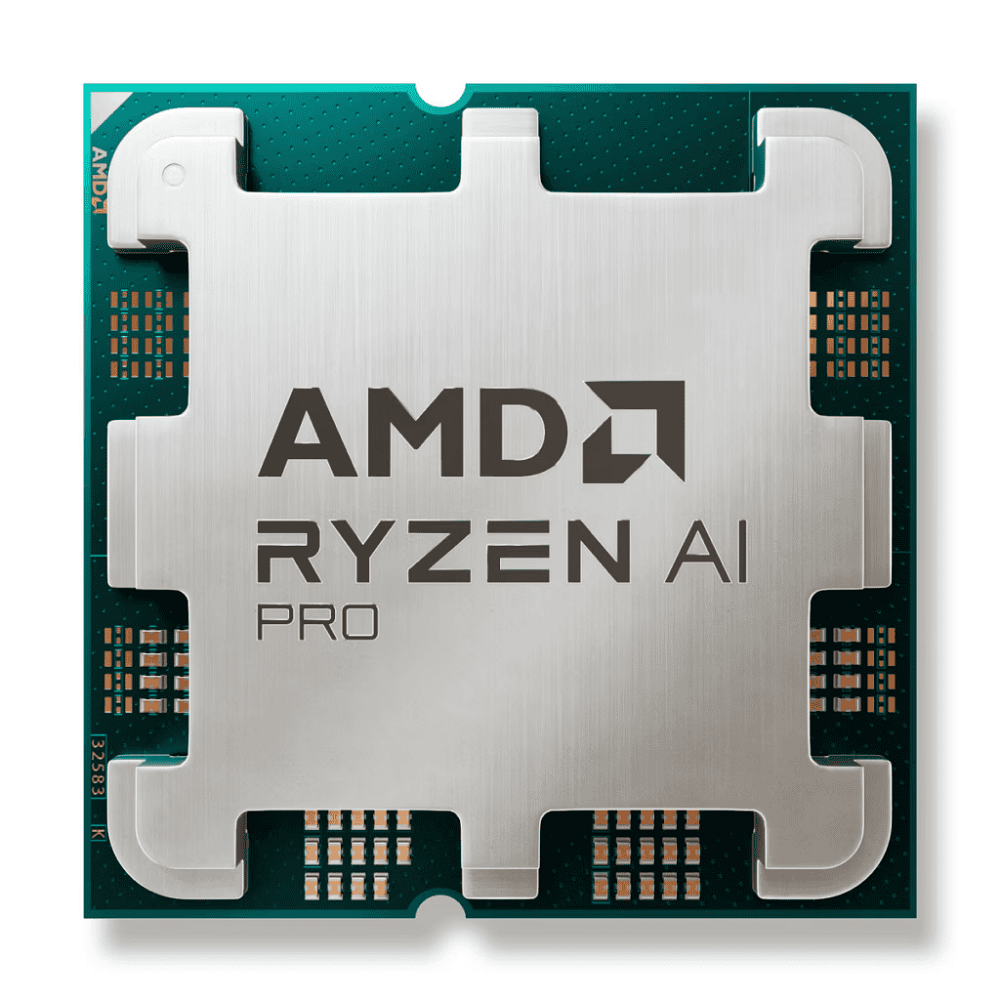
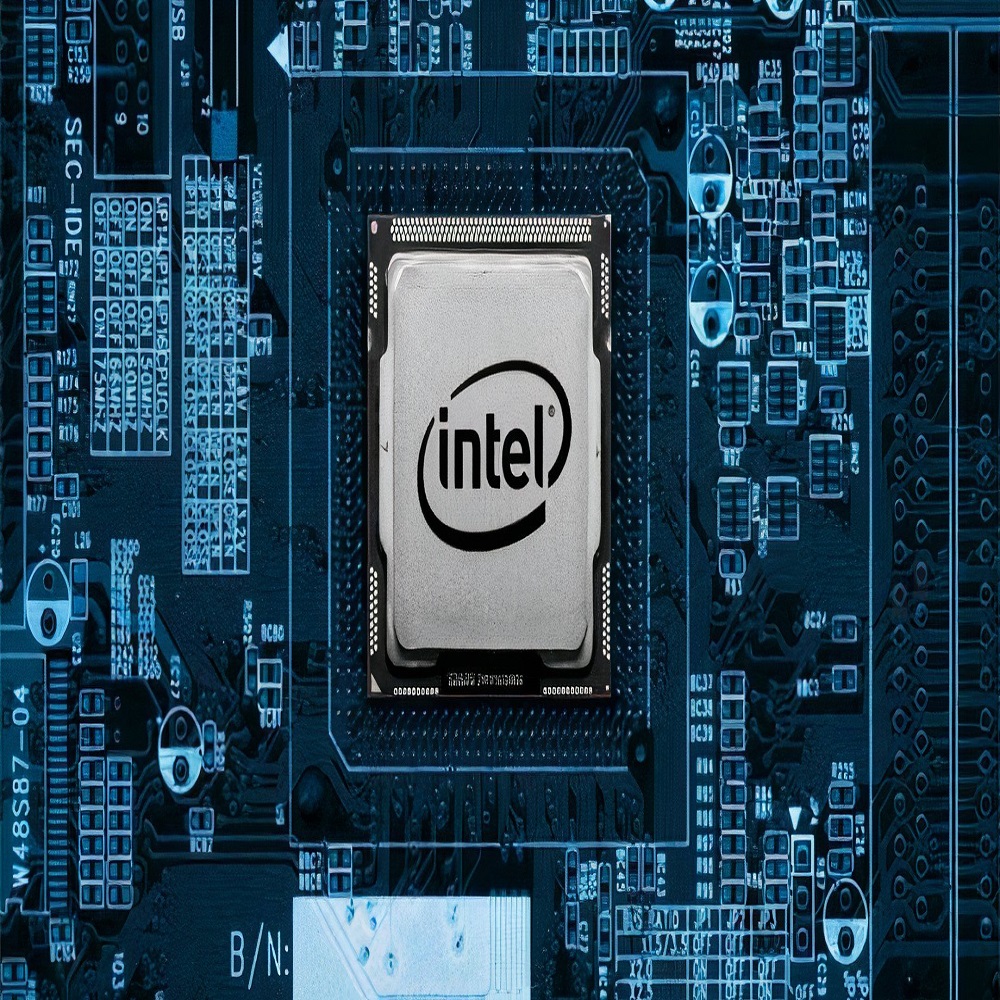
Before enabling integrated graphics, verifying that your system supports this feature is crucial. Most modern CPUs come with integrated graphics, but it’s best to check the specifications of your processor. If you have an Intel processor, you will likely find Intel HD Graphics or Intel Iris Graphics integrated into the CPU. For AMD users, look for AMD Ryzen APUs, which contain Radeon Graphics alongside the processing power.
To find more about your CPU and its integrated graphics capability, visit the manufacturer’s website or consult resources like CPU-Z or Speccy, which provide detailed information about your hardware configuration.
Updating BIOS/UEFI
Sometimes integrated graphics may be disabled by default in your computer’s BIOS or UEFI settings. To enable integrated graphics, you may need to access the BIOS/UEFI during boot-up. Restart your computer, and when prompted, press the key specific to your motherboard (often F2, DEL, or ESC) to enter the BIOS setup.
Once you’re in the BIOS/UEFI, navigate through the settings to find the option related to Graphics Configuration or Video Settings. Make sure the integrated graphics feature is enabled. Updating your BIOS/UEFI to the latest version can also ensure any compatibility issues are resolved by the manufacturer. Follow the manufacturer’s instructions carefully to avoid any mishaps during the updating process.
Enabling Integrated Graphics in Windows
Accessing the Display Settings
In Windows, enabling integrated graphics involves a few straightforward steps. First, right-click on your desktop and select “Display settings” from the drop-down menu. Here, you can check if your integrated graphics are recognized by the operating system. Scroll down to find the graphic settings section.
For Windows 10 and later versions, click on “Advanced display settings.” You will see a dropdown menu that lists your display devices, including your integrated graphics if they’re enabled. If your integrated graphics are not listed, follow the steps below to enable them through the Device Manager.
Using Device Manager
- Press Windows + X and select Device Manager from the list.
- In Device Manager, expand the “Display adapters” section. Here, you will see all graphics adapters, including both integrated and dedicated options.
- If you see your integrated graphics listed but they are greyed out or disabled, right-click on it and select Enable device. This action will activate the integrated graphics.
If you don’t see integrated graphics listed, ensure that the integrated graphics feature is enabled in BIOS/UEFI, as discussed in the previous section. Sometimes, your motherboard might require you to set which graphics adapter to prioritize. Consult the motherboard manual for more detailed instructions if necessary.

Optimizing Performance Settings
Adjusting Graphics Settings
Once you have enabled integrated graphics, it’s essential to optimize your settings for better performance. On Windows, you can set which applications use the integrated GPU versus a dedicated GPU for those who have both. Open the Graphics settings from the Display settings menu. You can choose between “Classic app” or “Universal app” and add the desired application to customize which graphics processor to optimize.
In many cases, you may want lightweight applications to use integrated graphics while reserving your dedicated graphics for more demanding applications. This switch can help balance performance and energy usage, extending battery life for laptops.
Fine-Tuning Power Settings
Integrated graphics often consume less power, which is beneficial for laptop users. To maximize battery efficiency, adjust the power settings on your device. Go to Control Panel > Hardware and Sound > Power Options. Choose a power plan that focuses on energy efficiency or create a custom plan. Under the plan settings, you can set how your integrated graphics handle power during idle times. Setting the processor to use minimal power when idle can help enhance overall battery life.
Troubleshooting Common Issues
No Display Output
In some cases, you may encounter issues where integrating graphics does not provide a display output. If your monitor remains blank after enabling integrated graphics, first check cable connections. Ensure your display cable is connected to the right port, especially if your system has both integrated and dedicated options.
If all appears correct, double-check BIOS/UEFI settings to ensure that integrated graphics is set as the primary output device. If your dedicated GPU is still the primary adapter, your system might default to it instead. Switch the settings, save changes, and restart the computer.
Drivers and Updates
Having the correct drivers installed is crucial for smooth operation. After enabling integrated graphics, visit the manufacturer’s website (Intel or AMD) to download the latest drivers for your integrated graphics. Keeping drivers up to date enhances performance and resolves any potential compatibility issues.
To update drivers, you can also use the Device Manager:
- Right-click on the integrated graphics in the Device Manager.
- Select Update Driver and choose “Search automatically for updated driver software.”
This approach will allow Windows to search for the latest drivers, ensuring your integrated graphics will function optimally.

Maximizing Integrated Graphics for Gaming
Casual Gaming Options
While integrated graphics may not rival dedicated graphics cards in extreme gaming scenarios, you can still explore various casual gaming options with impressive performance. Many less-demanding games like indie titles and older AAA games run smoothly on integrated graphics. Titles like “Stardew Valley,” “Celeste,” or “Undertale” provide enjoyable gaming experiences without taxing your system’s resources too much.
When playing games, adjust the settings within the game menus to lower graphics quality if you encounter lag. Reducing the resolution and disabling high-end graphical features can enhance frame rates, making for smoother gameplay.
Streaming and Media Consumption
Integrated graphics are also capable of efficiently handling streaming media and web browsing. Many users prefer using integrated graphics for platforms like Netflix, Hulu, or YouTube. These services often adjust their stream quality based on your system’s capabilities, allowing you to enjoy high-definition content without significant strain on your laptop’s resources.
Furthermore, if you are working with applications such as Adobe Premiere Pro or Lightroom for basic editing, integrated graphics can be sufficient for light tasks. They support hardware acceleration, allowing smoother video playback and rendering, especially when it comes to handling multiple sources of content.
Conclusion
Enable integrated graphics offers a range of benefits for users, from saving power to optimizing performance for everyday tasks. By understanding how integrated graphics work, you can maximize your setup effectively. Whether you are gaming casually, watching videos, or completing work tasks, integrated graphics can provide the efficiency needed for smooth performance.
Remember to check system compatibility, get familiar with settings, and make use of performance optimization tools for the best experience. With a little attention and care, integrated graphics can enhance your computing experience significantly, making your system versatile enough to handle various tasks with ease. Embrace the power of integrated graphics and enjoy how they can enhance your daily computing needs.
