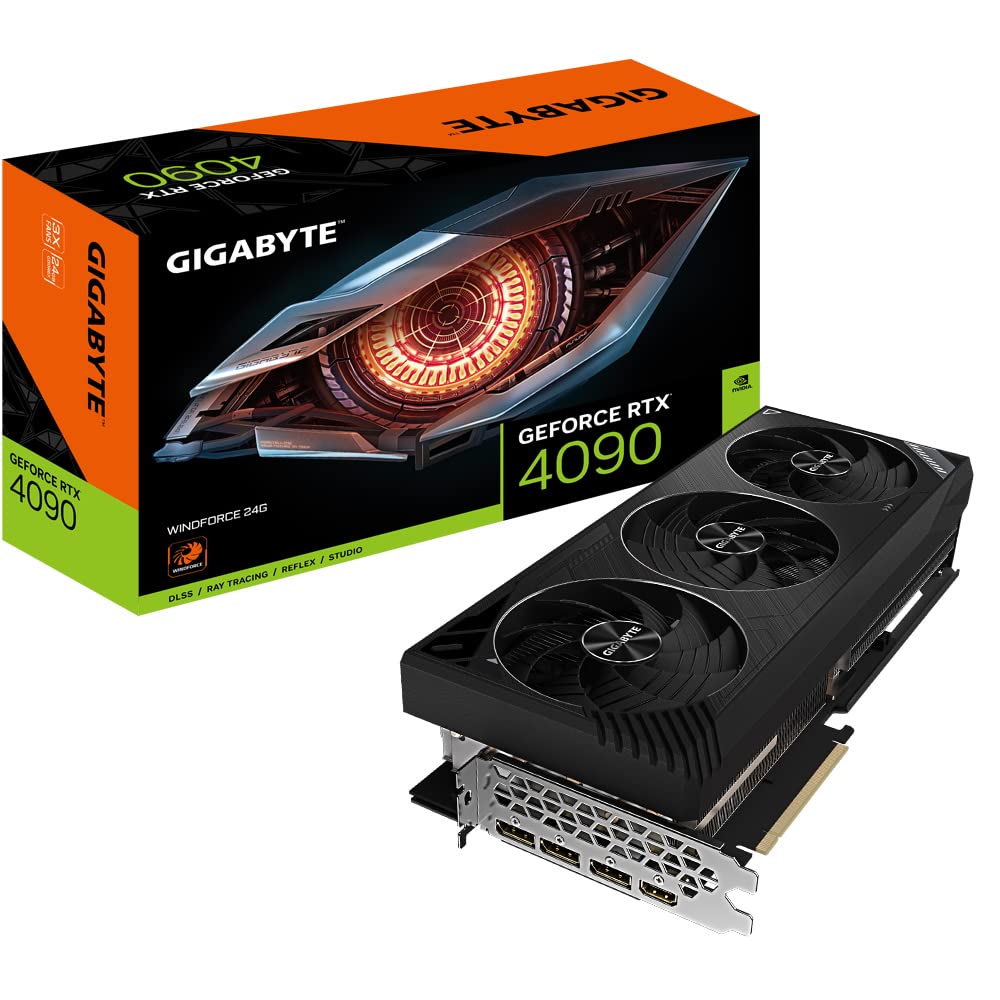
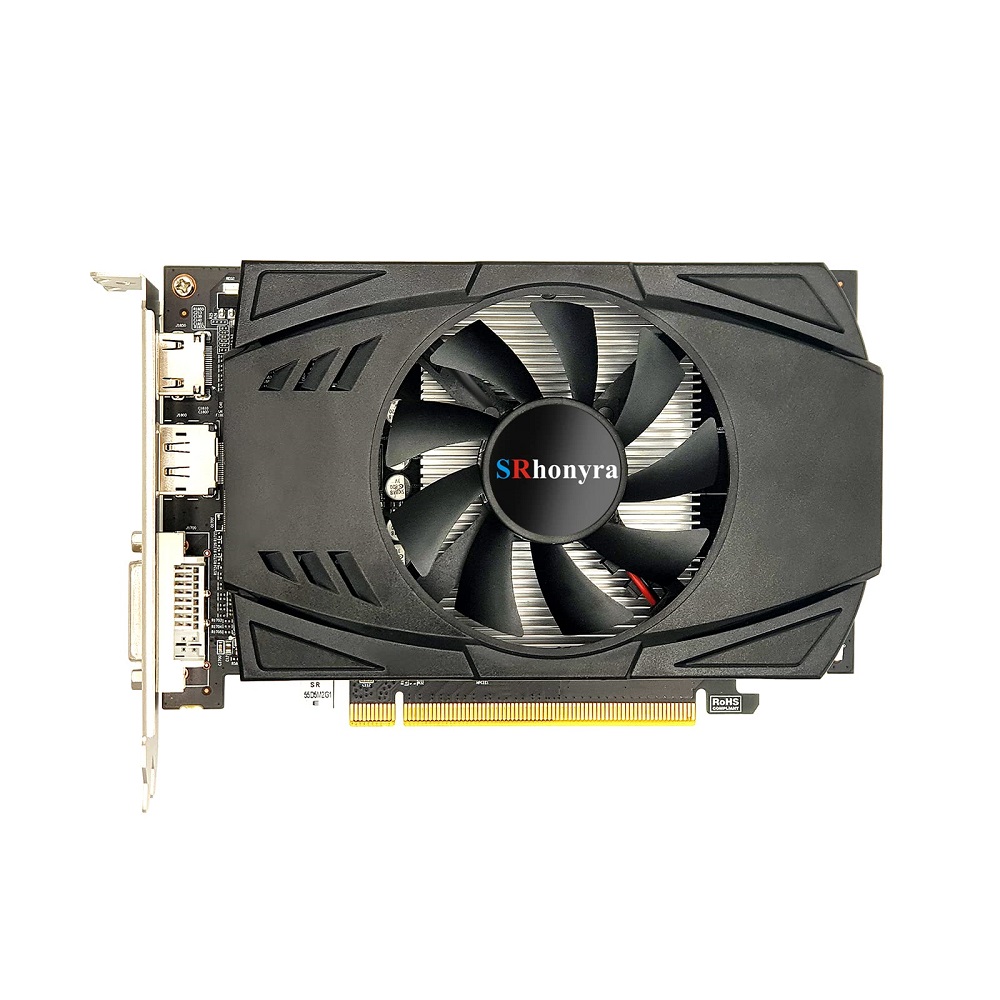
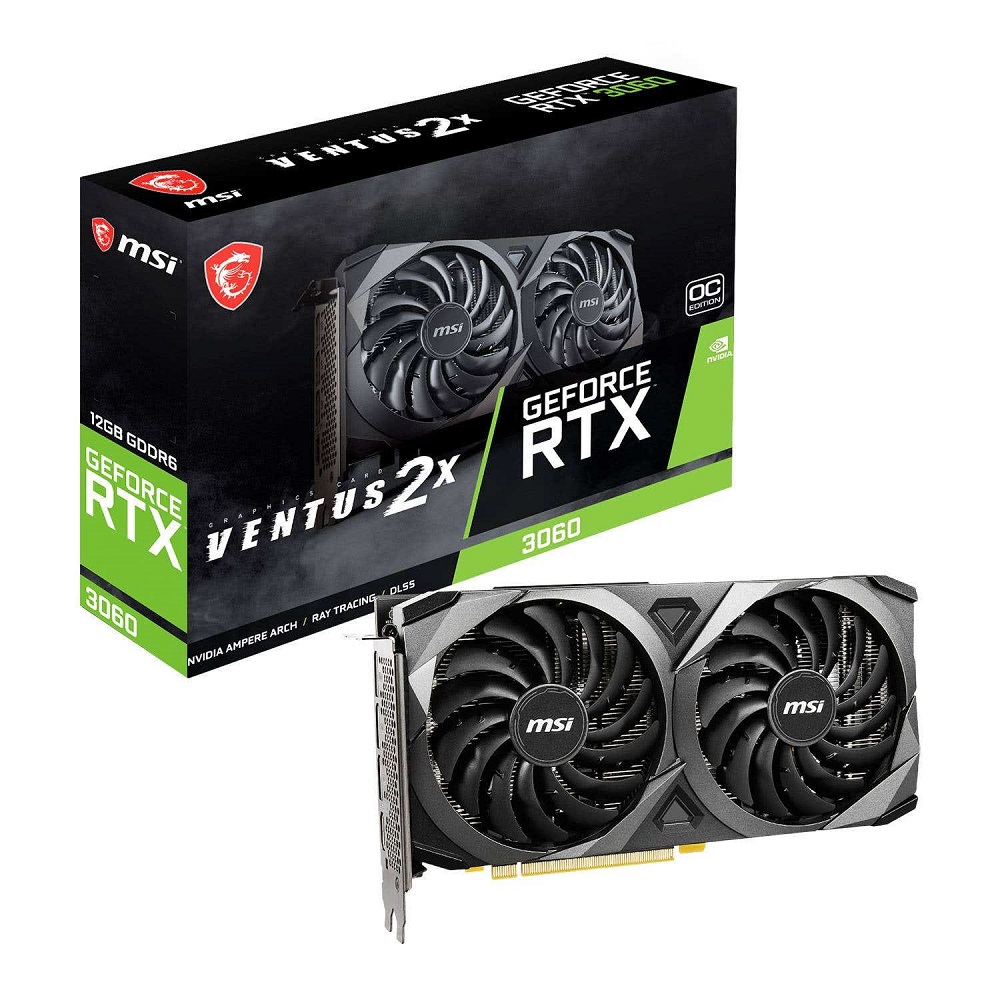
How to take out graphics card from a computer may seem like a daunting task for many, especially for those who are not used to handling computer hardware. However, with the right tools and a bit of knowledge, it can be done safely and efficiently. Whether you are upgrading your system, performing maintenance, or troubleshooting issues, knowing how to take out graphics card is an essential skill for anyone interested in DIY tech. In this guide, we will discuss the necessary tools, steps, and tips for removing a graphics card like a pro.
Gathering the Necessary Tools
Essential Tools for the Job
Before starting the process of removing a graphics card, you need to gather a few essential tools. First and foremost, a Phillips screwdriver is necessary for loosening screws holding the card in place. Most graphics cards are secured with one or two screws that connect to the case. In some cases, an anti-static wrist strap is recommended. This device helps to prevent static electricity from damaging your components.
A flashlight can be beneficial for illuminating the interior of your case. This light will enhance visibility while you work, especially in tight space conditions where light may not reach adequately. Lastly, a soft cloth or a static-free bag should be used to store the graphics card safely once it has been removed. This will keep the card dust-free and protected until you are ready to install it or store it away.
Preparing Your Workspace
Having a clean and organized workspace is just as important as possessing the right tools. Make sure to clear your work area of any clutter that might get in the way. It can be beneficial to set up your workspace in an area with ample lighting to assist visibility.
Also, ensure that you have enough room to maneuver comfortably. It may help to put down a soft surface to protect your computer case and components from scratches. By preparing your workspace, you lay the groundwork for a successful hardware removal process.

Powering Down and Disconnecting
Shutting Down Your Computer
Before you begin any work on your computer, the first step is to power it down completely. Choose “Shut Down” from your operating system’s menu. Allow a few moments for the computer to power down entirely before proceeding. This ensures safety while working on the internal components and prevents accidental damage.
Disconnecting the Power Supply
After your computer is turned off, disconnect it from the power source. Unplug the power cord from the wall outlet, and if applicable, remove any power strips you might be using. This will reduce the risk of electric shock or short circuiting while you work inside the case. Additionally, it is wise to wait for a few minutes to allow any residual charge to dissipate in the system.
Next, it is also essential to disconnect the monitor and any other peripheral devices connected to the computer. This allows you to move the case as necessary while ensuring that nothing hinders your access to the internal components of the system.
Opening the Computer Case
Identifying the Right Side
Most computer cases have screws on the back that hold the side panels in place. Depending on your case design, you may be required to remove either the left or right panel to access the graphics card. Typically, the side opposite the motherboard is where the GPU resides, but each design may vary. Consult your case manual if you are unsure.
Removing the Side Panel
Using your Phillips screwdriver, remove the screws securing the side panel of your computer case. Place the screws in a safe location where you can easily retrieve them later. Once the screws are removed, carefully slide or lift off the side panel and set it aside. This step will give you clear access to the internal components of your computer.
After you have removed the panel, take a moment to observe the layout of the components. It helps to familiarize yourself with where everything sits inside the case. Making mental notes about the position of components can help streamline the removal process.

Accessing the Graphics Card
Locating the Graphics Card
After opening the case, locate the graphics card on your motherboard. Most likely, it will be situated in one of the PCIe slots near the bottom of the motherboard. The GPU is generally the largest card in the system, and it typically has the power connectors attached to it.
Before proceeding, make sure to check if there are any additional components or cables blocking access to the graphics card. Ensure that you have sufficient space to work around it. This may mean temporarily moving other cables or components if necessary.
Removing Power Cables
Once you have accessed the graphics card, the next step is to disconnect any power cables attached to it. Most modern graphics cards require an external power source, which is usually connected via a 6-pin or 8-pin cable. Gently press the tabs on the connectors and pull them away from the card. Taking your time during this step is crucial to avoid damaging the cable or connector port.
If you encounter any resistance while unplugging the cables, do not force them. Instead, inspect the connector for locked tabs or clasps that need to be released before removal. Properly disconnecting power cables will ensure a safer removal process for the graphics card.
Unscrewing and Take out Graphics Card
Unscrewing the Retaining Screws
Once the power cables are disconnected, proceed to unscrew the screws securing the graphics card to the case. As you did when removing the side panel, use your Phillips screwdriver to remove these screws. Most graphics cards utilize one or two screws that anchor it to the frame of the computer case.
After removing the screws, ensure you place them in a safe and visible place to avoid losing them. When you’re finished, give the card a gentle wiggle to check for any remaining resistance that may indicate it is still secured.
Gently Removing the Graphics Card
Now that the screws and power connections are removed, you can carefully pull the graphics card straight out of the PCIe slot. Grip the card firmly by its edges and avoid touching the exposed contacts on the bottom to prevent any static discharge. Pull the card straight upwards rather than at an angle, as this can risk damage to the connector pins or the slot itself.
If you encounter resistance while pulling it out, double-check that all screws and connections are completely removed. Once you have successfully removed the GPU, place it on a static-free surface or inside an anti-static bag to protect it. Remember to handle the card delicately, as the components inside are sensitive.

Inspecting and Cleaning Components
Checking for Damage
After removing the graphics card, take a moment to inspect both the GPU and the PCIe slot on the motherboard for any signs of damage. Look for bent pins, dust buildup, or scratches. Any damage should be addressed before installing a new card or reinserting the existing one.
If you notice accumulated dust on the GPU, or the interior of the case, it’s the perfect time to clean that area. Use a can of compressed air to carefully blow out dust particles and debris, ensuring that you clean around sensitive components without causing damage. Keeping the system clean promotes better airflow and overall performance.
Reapplying Thermal Paste (If Needed)
If you plan to re-install the same graphics card, consider checking the thermal paste on the GPU. In some cases, the thermal paste might need replacement, especially if the card has been used for an extended period. If you notice any signs of drying or cracking, carefully remove the old thermal paste using isopropyl alcohol and a lint-free cloth. Afterward, reapply a small amount of high-quality thermal paste before installing the card again.
Reinstalling or Upgrading the Graphics Card
Installing the New Card
If you are replacing an old graphics card with a new one, the installation process is similar to the removal process. Align the new card with the PCIe slot and gently press it down until it clicks into place. Make sure it is firmly seated in the slot before proceeding to the next step.
Once the card is securely in place, screw it back into the case. Reattach the power cables and double-check that everything is connected correctly. Properly securing the new card prevents movement or disconnection as you operate your system.
Closing the Case and Testing
After the graphics card is installed and connected, it’s time to close the computer case. Gently put back the side panel that you removed earlier and secure it with the screws. Ensure that all cables are organized and do not obstruct any fans or ventilation areas.
Finally, reconnect your power supply and peripheral devices. Power up your computer and verify that the new graphics card is recognized by the system. Install any necessary drivers or software that came with the new card. Testing the new installation is crucial to confirm that everything is functioning as intended.
Conclusion
How to take out graphics card like a pro requires careful planning, the right tools, and a bit of patience. By following the steps outlined in this guide, beginner DIY enthusiasts can perform this task with confidence. Gathering tools, preparing your workspace, checking compatibility, and performing a thorough inspection are all part of the process.
As you gain experience with handling computer hardware, tasks like these will become more intuitive. The skills learned from removing a graphics card can extend to other hardware components, further enhancing your capability as a DIY tech enthusiast. Every successful task brings new knowledge and the opportunity to troubleshoot and repair your system effectively. With practice, you will navigate your tech projects like a pro, ensuring that your computer continues to run smoothly and efficiently.
