Removing a graphics card from a computer may seem daunting, especially for beginners. However, whether you are upgrading, cleaning, or troubleshooting your system, taking out the graphics card is a skill every computer enthusiast should master. This article provides a step-by-step guide on how to take out a graphics card successfully. We will cover essential tips for both beginners and professionals, ensuring you feel confident throughout the process.
Understanding Your Setup
Identify Your Graphics Card
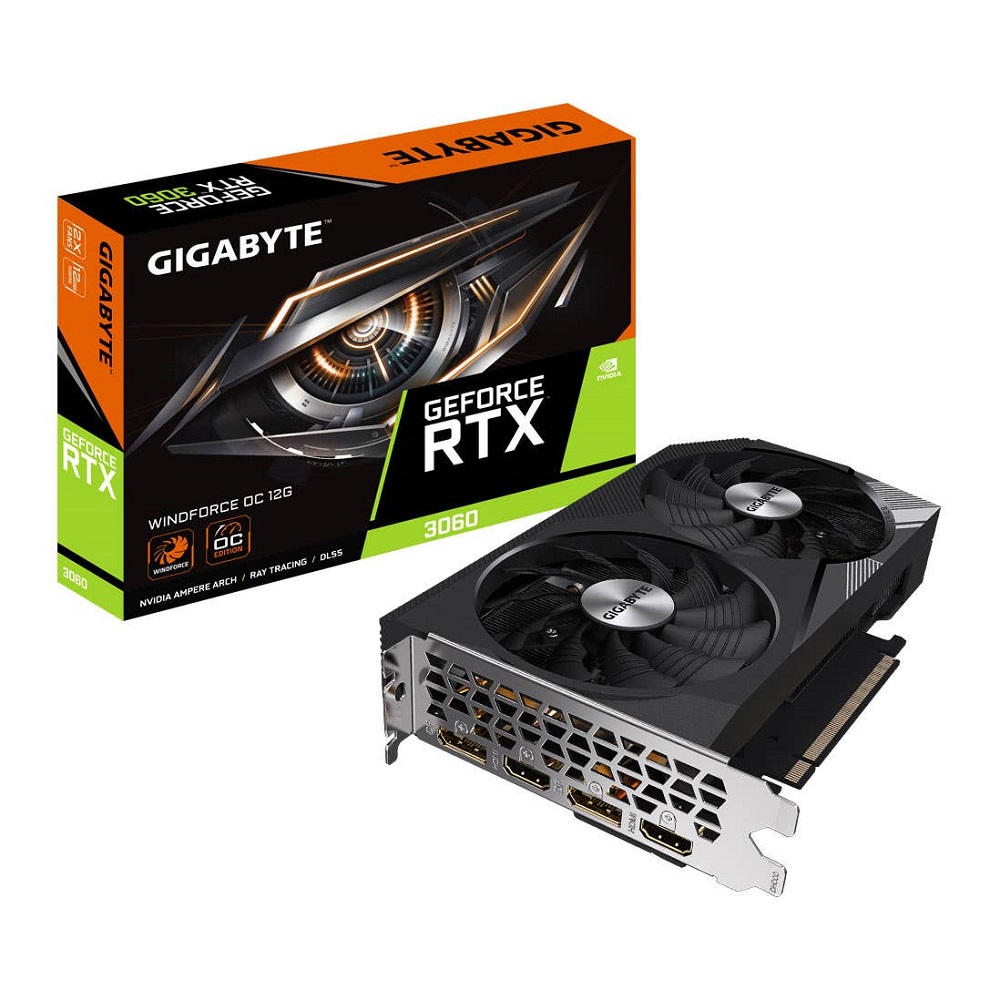
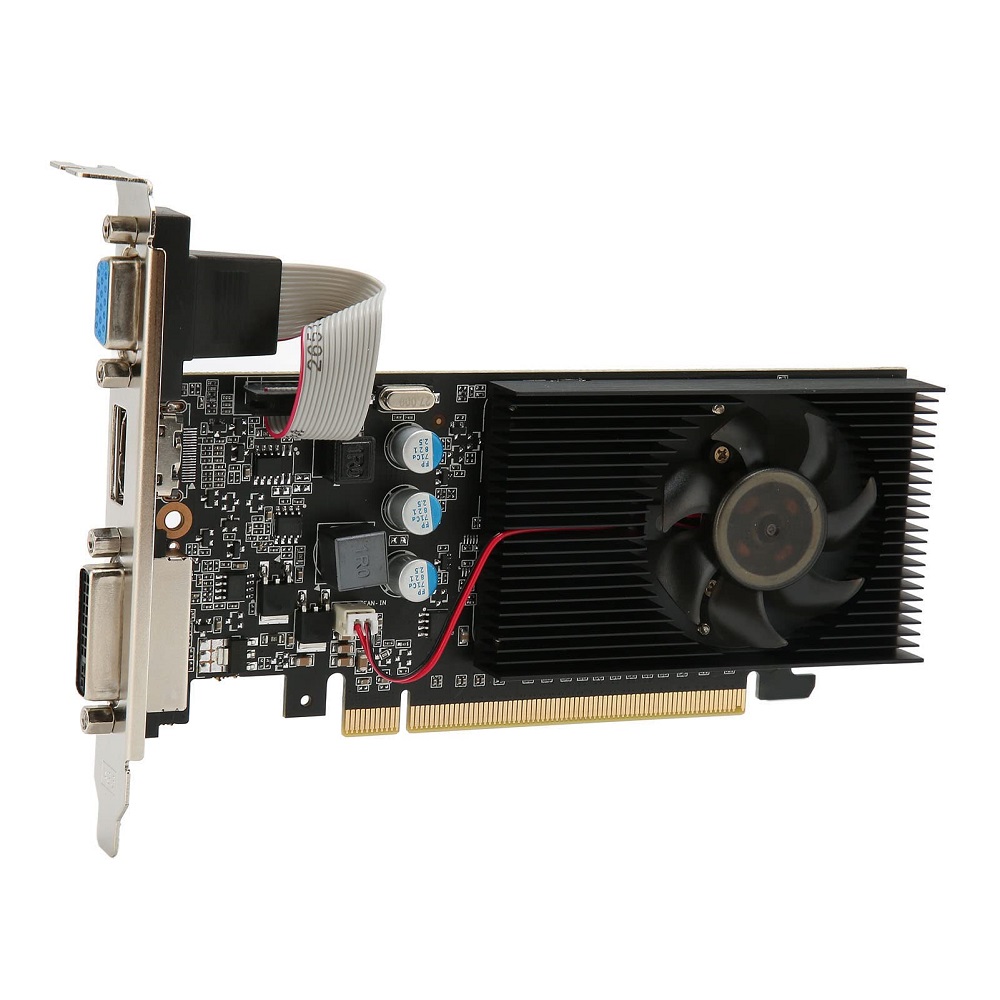
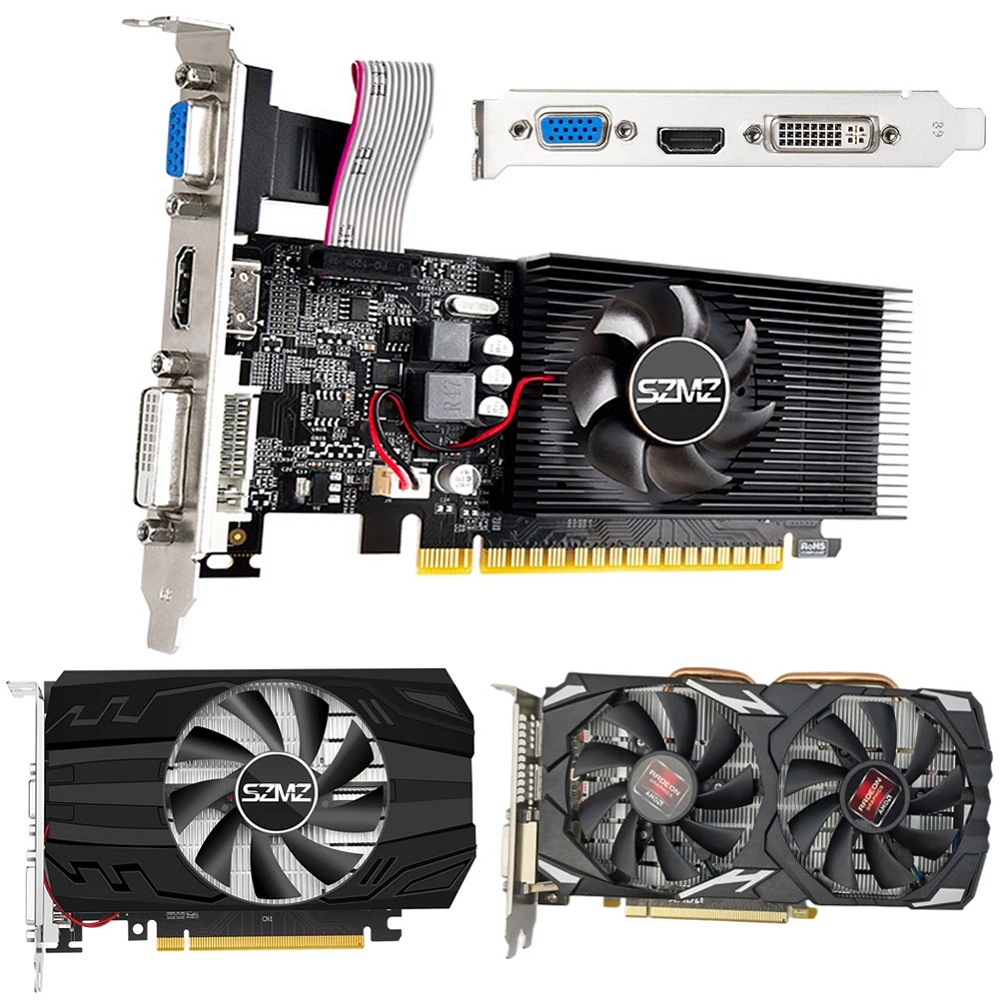
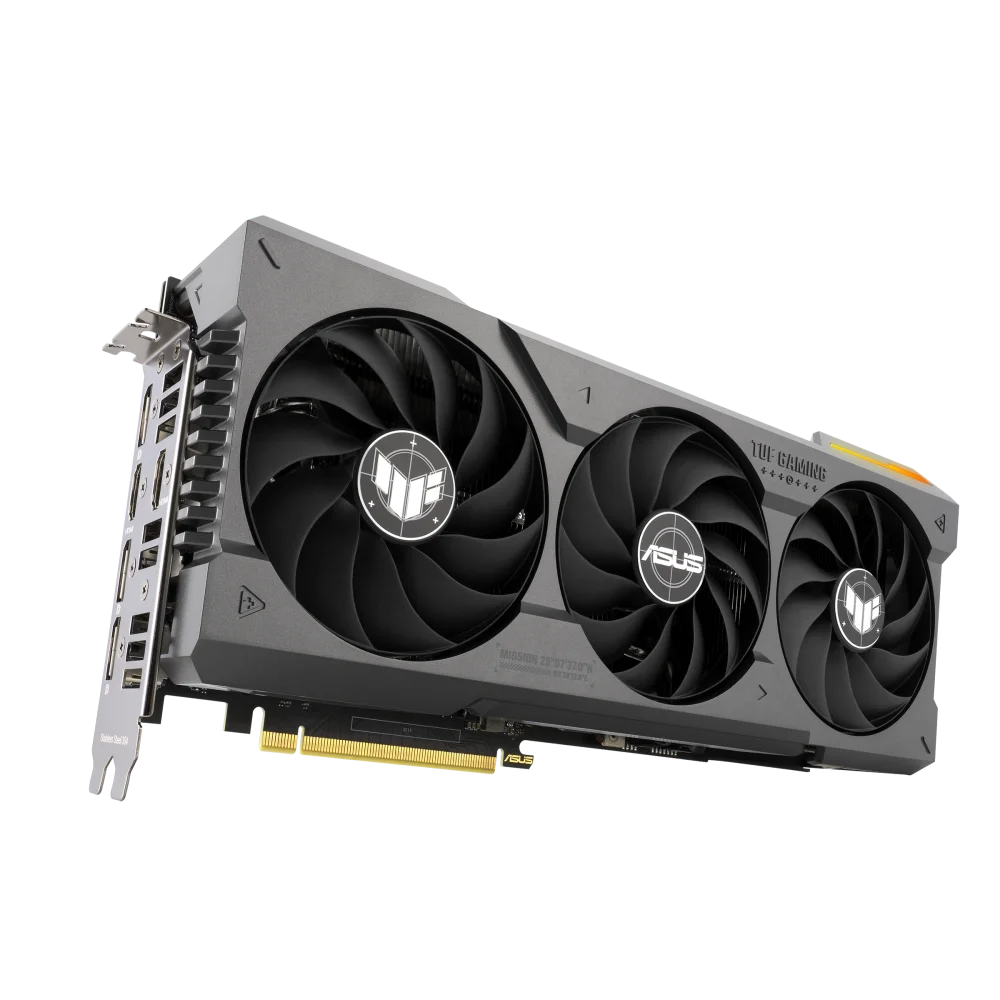
Before attempting to remove your graphics card, it is essential to understand your computer’s setup. Most graphics cards are located in the PCIe (Peripheral Component Interconnect Express) slot on the motherboard. They come in various shapes and sizes depending on the model and manufacturer. By identifying your specific graphics card model, you will be better prepared for removal.
You can see your graphics card by opening the side panel of your computer case. This usually involves unscrewing a few screws or pressing a lever to release the side panel. Once you have access, take note of how the graphics card connects to the motherboard and other components. Familiarizing yourself with its placement will make the removal process smoother.
Gather Necessary Tools
Before starting the removal of your graphics card, gather the necessary tools to make the process easier. Some common tools you may need include:
- A screwdriver (usually a Phillips head)
- An anti-static wrist strap (optional, but recommended)
- A small plastic container (to hold screws)
- A flashlight (for visibility inside the case)
Having these tools organized and ready will help streamline the process. Ensuring that you have everything on hand can prevent unnecessary delays and mistakes during the removal.

Preparing for Removal
Turn Off the Computer
Safety should always be your priority when working with computer hardware. Start by turning off your computer completely and unplugging it from the electrical outlet. This step ensures no residual power flows through the components while you are working.
Additionally, wait a few minutes after powering off to allow any remaining electricity to dissipate. This practice reduces the risk of electric shock or damaging components. Taking this precaution is often overlooked but is crucial for safeguarding both you and the hardware.
Ground Yourself to Prevent Static
Static electricity can cause severe damage to sensitive components such as graphics cards. To prevent static discharge, ground yourself before touching any internal components. You can do this in a couple of ways:
- Use an Anti-Static Wrist Strap: If you have one, wear the strap and connect it to a grounded metal object.
- Touch a Metal Part of the Case: If you don’t have a wrist strap, simply touch an unpainted metal surface of your computer case to discharge any static electricity.
By following these steps, you can protect your graphics card and other components from potential damage.
Removing the Side Panel
Locate the Screws or Fasteners
Once you have grounded yourself, it is time to locate the screws or fasteners that hold the side panel of your computer case. Depending on the design of the case, the screws may be on the back or sides. Look for any visible screws and check to see if they require a Phillips screwdriver or another tool.
Some cases employ tool-less designs with levers or latches. In this case, simply press or pull to release the side panel. This design allows for easier access and makes it simpler to work on your computer without the need for additional tools.
Remove the Side Panel
With the screws or fasteners located, carefully remove the side panel. If you encounter resistance, ensure that all screws or fasteners have been removed before proceeding. Once the panel is removed, set it aside in a safe space where it won’t get scratched or damaged.
Having access to the internal components of the case will now allow you to see your graphics card and other hardware clearly. Take a moment to familiarize yourself with the layout inside your computer. Recognizing the arrangement of cables and components will aid in the removal process.

Disconnecting Cables
Identify Connected Cables
Before removing the graphics card, check for any cables connected directly to it. Many graphics cards require additional power connections to function. Usually, these cables are either 6-pin or 8-pin connectors. It’s essential to identify and disconnect these cables to avoid damaging the graphics card or the connectors.
Use your flashlight to illuminate any dimly lit areas and ensure visibility throughout this process. Recognizing which cables are attached will help streamline the removal and prevent confusion.
Disconnect Power Cables
Carefully unplug any power cables connected to the graphics card. Most connectors should come out with gentle pressure without requiring excessive force. If a connector feels stuck, double-check to ensure you are releasing any locking mechanisms present on the connector.
Take care not to pull on the cables themselves; instead, grip the connector to avoid damaging the wires. Once fully disconnected, set the cables aside. Keeping the area organized will allow for easy reattachment if you plan to install a new graphics card later.
Unscrewing the Graphics Card
Locate the Mounting Screws
With the cables disconnected, look for mounting screws securing the graphics card to the case. These screws are typically located at the rear of the card, where it connects to the back panel of the computer case. The number of screws may vary depending on the model, but typically there are one or two.
Using your Phillips screwdriver, carefully unscrew these mounting screws. Keep these screws in a small plastic container to avoid losing them. This small organizational tactic can save considerable time and frustration during the reassembly process.
Remove the Card from the PCIe Slot
Once the mounting screws are removed, it is time to remove the graphics card from the PCIe slot. Most graphics cards have a little latch at the end of the PCIe slot. Press down gently on this latch to release the card. Once the latch is disengaged, you can lift the card upward and out of the slot.
Always lift the card straight up to avoid bending any pins or damaging the motherboard. If there is any resistance, ensure that the latch is fully released, as forcing the card out can lead to damage. With the graphics card properly released, you can set it aside in a safe location.
Cleaning and Inspection
Inspecting the Graphics Card
After removing the graphics card, take a few moments to inspect it for any signs of damage. Check for dust, debris, or physical imperfections. Cleaning your graphics card can significantly improve its performance and lifespan.
Use compressed air to blow away any dust that may have accumulated on the card or within the PCIe slot. This step will help keep everything functioning smoothly and prevent overheating issues in the future. Regular cleaning enhances the overall performance of your components.
Cleaning the PCIe Slot
While you have access to the PCIe slot, consider cleaning it as well. Dust buildup in the PCIe slot can interfere with the connection when reattaching the graphics card. Use a soft brush or compressed air to clear away any dust or debris.
Be gentle when cleaning to avoid damaging the contacts within the slot. After cleaning, take a moment to inspect the motherboard for any additional dust or debris that may require attention. Keeping your components clean will help ensure optimal performance in your computer.

Reinstalling or Upgrading Your Graphics Card
Installing a New Graphics Card
If you have removed the graphics card for an upgrade, installation is the next step. Start by carefully aligning the new card with the PCIe slot. Make sure you are matching the card correctly with the slot, as this ensures a solid connection.
Once aligned, gently push down on the card until you hear a clicking sound. This sound indicates the latch has secured the card in place. After installation, replace the mounting screws to secure the card to the case firmly. Double-check that everything is tightly fastened.
Connecting Power Cables
After securing the graphics card, reattach any power connectors required for operation. Ensure that each connector is firmly plugged in and fits snugly. Proper connections guarantee that your new graphics card receives the necessary power to function without issues.
Once all connections are secured, consider replacing the side panel of your computer case. Screw it back into place, ensuring not to overtighten the screws. Lastly, connect your computer back to the power supply and switch it on. With everything properly in place, you are ready to enjoy your upgraded graphics card.
Mastering Graphics Card Removal
In conclusion, removing a graphics card might seem intimidating, but with the right steps and precautions, anyone can do it. Whether you are a beginner or a seasoned professional, mastering this skill will enhance your confidence in working with computer hardware. Following the outlined steps, you’ll be able to safely and effectively remove and reinstall graphics cards from your computer setup.
Familiarizing yourself with the layout of your components and ensuring you have the right tools will make the process smoother. Taking the time to clean and inspect your hardware can lead to improved performance and longevity. Whether performing repairs, upgrades, or maintenance, knowing how to handle your graphics card is essential in today’s technology-driven world.
With practice, you’ll find yourself becoming more comfortable with hardware modifications. Embrace the opportunity to learn, and don’t hesitate to explore further advancements in technology. Enjoy the journey of becoming a knowledgeable computer enthusiast!
