
Installing a new graphics card (GPU) into your PC can be a game-changer for boosting performance, especially for tasks like gaming, video editing, and rendering. Upgrading your GPU can seem daunting if you’re new to DIY computer upgrades, but with the right guidance, you can install a new card quickly and safely. This article offers a step-by-step guide on how to correctly install a graphics card, detailing the prerequisites, installation process, driver updates, and troubleshooting tips.
Preparing for Installation
Verify Compatibility and Gather Tools
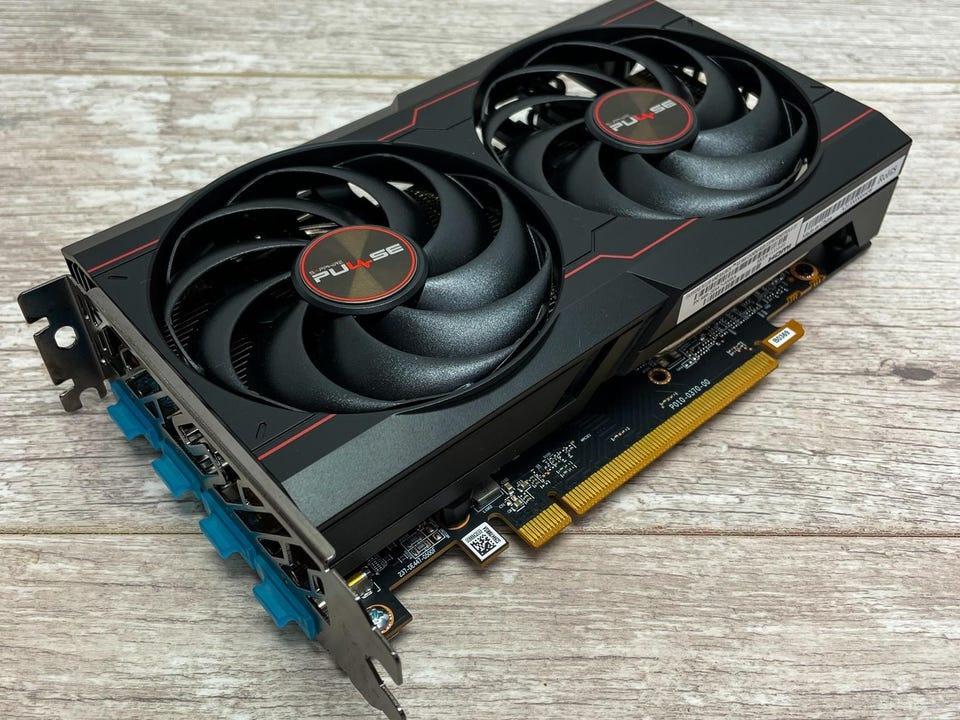
Before purchasing a new graphics card, confirm that it’s compatible with your motherboard, fits within your case, and doesn’t exceed the capacity of your power supply. Once you have the right card, gather the necessary tools, typically just a screwdriver. If you’re working with a pre-built system, consult the manual to understand any model-specific requirements or proprietary components.
Create a Safe Work Environment
Ensure you’re working in a clean, static-free environment to prevent damaging sensitive computer components. Discharge any static electricity before you begin by touching a grounded metal object. It’s also helpful to keep small containers or bags on hand for screws and other small parts removed during the process.
The Installation Process
Removing the Old GPU (If Applicable)
If replacing an old card, first disconnect the monitor cables from your current GPU. Open the PC case, locate the GPU, and disconnect any power connectors. Unscrew the card from the case bracket and gently release any clips holding the card to the motherboard before lifting it out of the PCIe slot.
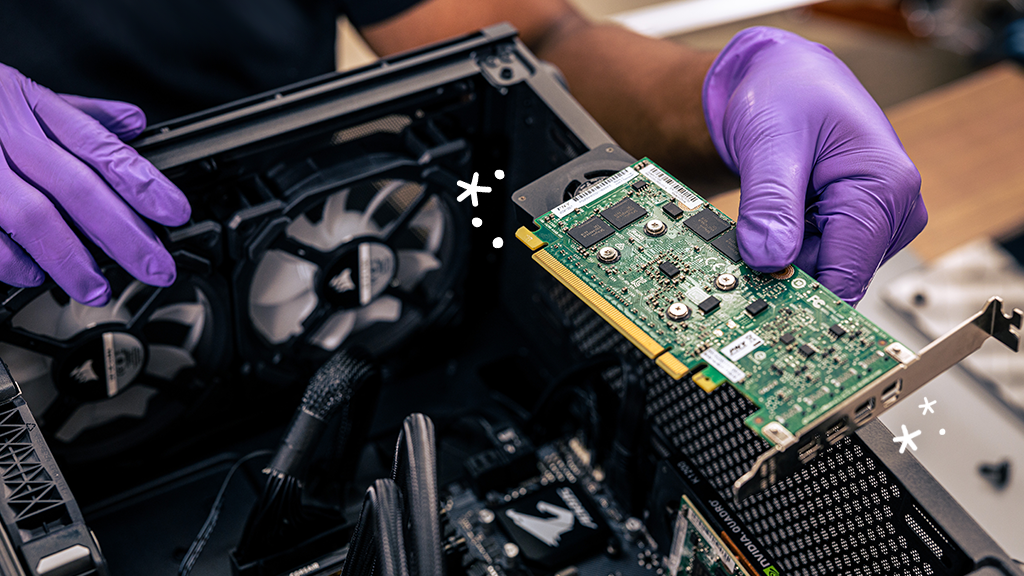
Seating the New Graphics Card
Start by removing the backplate covers on the case for the new card’s output ports. Carefully align the new GPU with the PCIe x16 slot and press down evenly and firmly until the card is fully seated and the PCIe slot clip clicks into place. Secure the GPU to the case with screws and attach any necessary power connectors from the power supply to the card.
After Installation: Driver Installation and Updates
Remove Old Drivers
For best performance, eliminate old graphics drivers that could conflict with the new card. In Windows, you can uninstall drivers through the ‘Device Manager’ or use dedicated software like Display Driver Uninstaller (DDU) for a more thorough approach.
Install the Latest Drivers
Once the old drivers are removed, install the latest drivers for your new graphics card. Go to the GPU manufacturer’s website to find and download the newest drivers. Following the on-screen prompts and instructions will complete the installation. A system reboot after driver installation is typically required to activate the new drivers.
Troubleshooting Common Issues
Double-Check Connections
If you experience issues like the PC not booting or the new GPU not being recognized, double-check all connections. Ensure the GPU is properly seated in the PCIe slot and that all power connectors are securely attached. Verify that the GPU is firmly screwed into the case and doesn’t move.
Review Power and Display Settings
Ensure that your power supply is adequate for the new GPU. If the system power is insufficient, the PC may fail to boot. Additionally, check your display settings. If the monitor is not connected to the new GPU but to the motherboard’s onboard graphics output instead, you won’t see the benefit of your new card.
Pre-Installation Checklist
Ensuring System Readiness
Before installing your new graphics card, it’s crucial to prepare your system. Start by powering down your PC and unplugging all cables, including power cords. Remove the side panel of your computer case for access to the internal components. This might require a screwdriver or could involve a tool-less design depending on your case model. Additionally, clear any dust from the case and the area where you’ll be installing the new GPU with compressed air or a soft brush to promote better airflow and cooling.
Backing Up Important Data
It’s always wise to back up your important files before undertaking any major hardware changes. While GPU installation typically doesn’t involve data risk, it’s good practice to safeguard your data against any unexpected occurrences that could arise during the upgrade process, like power surges or user error.
Installing the New Graphics Card
Prepping the Motherboard and Case
Examine your motherboard to identify the PCIe x16 slot, which is usually the longest slot and may be differently colored. Remove the corresponding rear metal case brackets that align with the GPU’s I/O panel, making space for display and other connector ports. Some cases use screws to secure the brackets, while others have a locking mechanism.
Securing the New GPU
Align the edge connector of the graphics card with the PCIe slot, ensuring that the I/O panel faces the back of the case. Press down gently but firmly until the card clicks into place. Most motherboards have a locking tab that secures the GPU’s end to the slot. Finish by securing the card to the case with screws or an alternative provided mechanism, and connect the power cables from the PSU to the card’s power input(s).
Software Configuration and Optimization
Adjusting BIOS Settings if Necessary
After installation, boot up your PC. Check the BIOS. Ensure that the PCIe slot with the new GPU is set as the primary display adapter. This is necessary if you’re using multiple slots. This step is crucial for systems with onboard or integrated graphics. It ensures the computer uses the discrete graphics card for video output.
Finalizing Software and Settings
Once you boot into your operating system, adjust the display settings to match your monitor’s resolution and refresh rate to the capabilities of the new GPU. This ensures you are getting the best visual performance from your new hardware. You might also want to explore additional GPU-specific control panels like NVIDIA Control Panel or AMD Radeon Settings for further customization like performance tuning, color settings, or managing multiple displays.
In conclusion, installing a new graphics card in your PC can be straightforward if you follow these steps. Confirm compatibility, create a safe work environment, remove the old card if necessary, seat the new GPU correctly, and manage your drivers to boost your system’s performance. Troubleshoot any issues by double-checking connections and settings. With your new graphics card installed, you’ll have a more powerful and capable computer. This computer will be ready to handle the demands of modern applications and games. Remember, upgrading your PC requires patience. It also requires careful attention to detail. These will ensure a successful upgrade. And they will lead to the best possible outcomes.