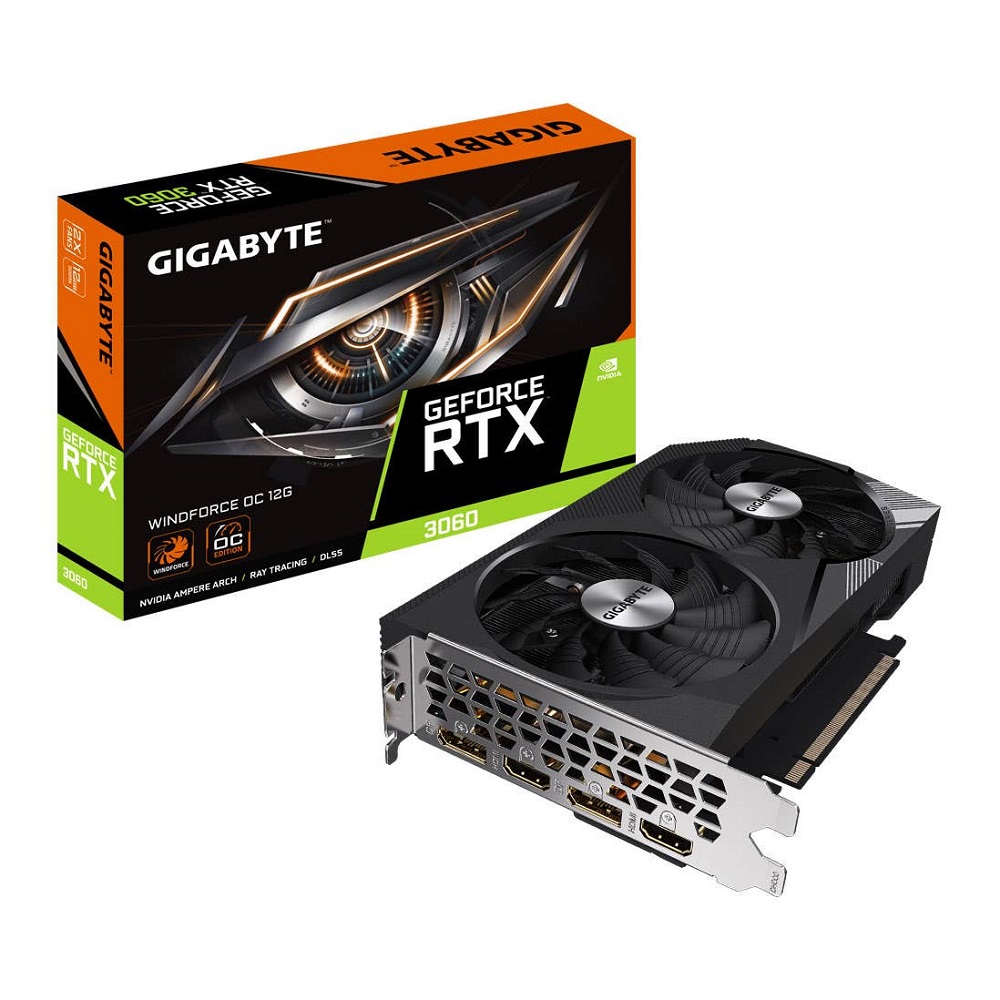
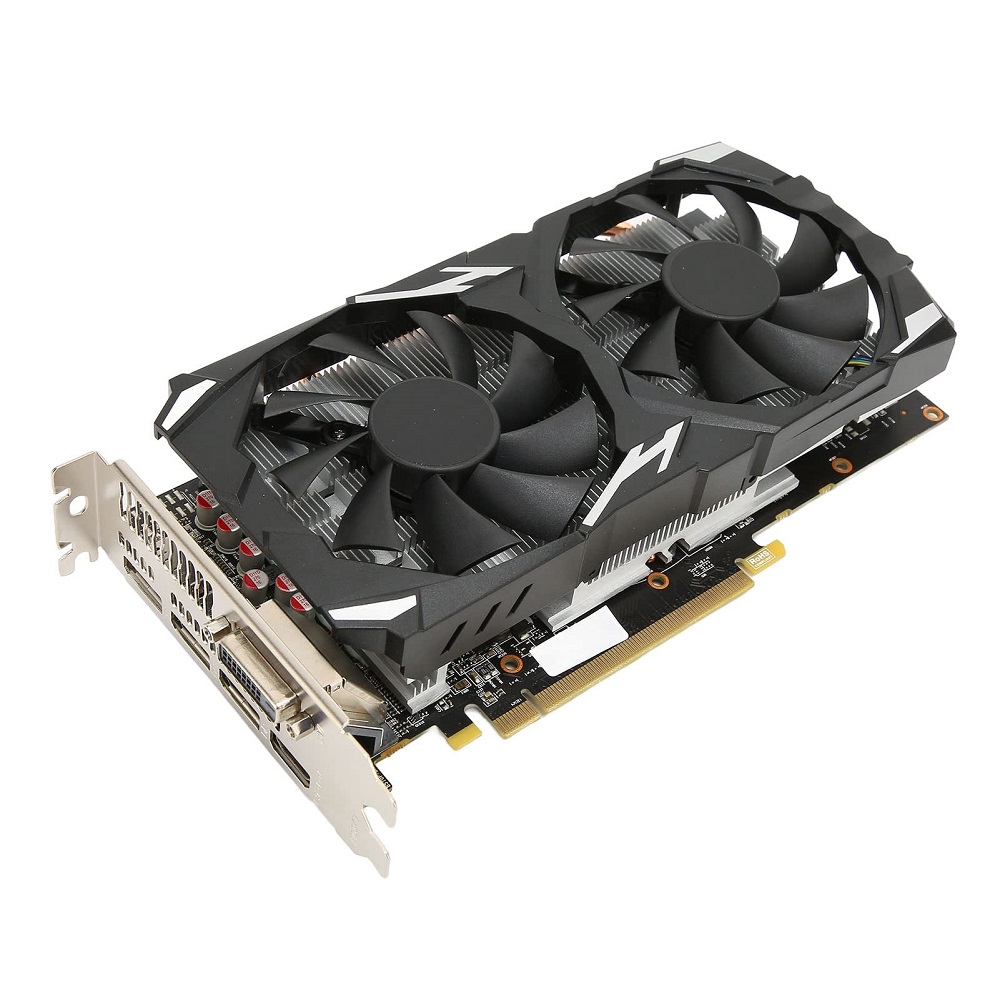
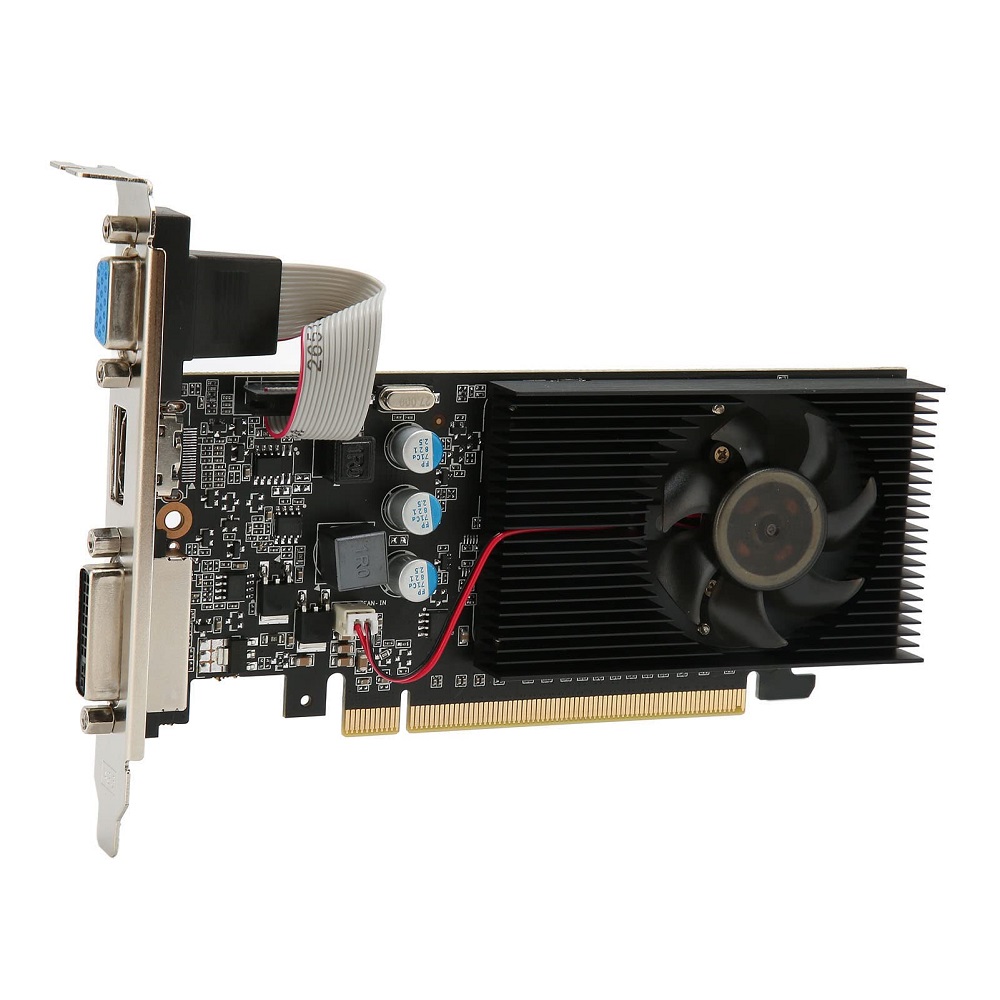
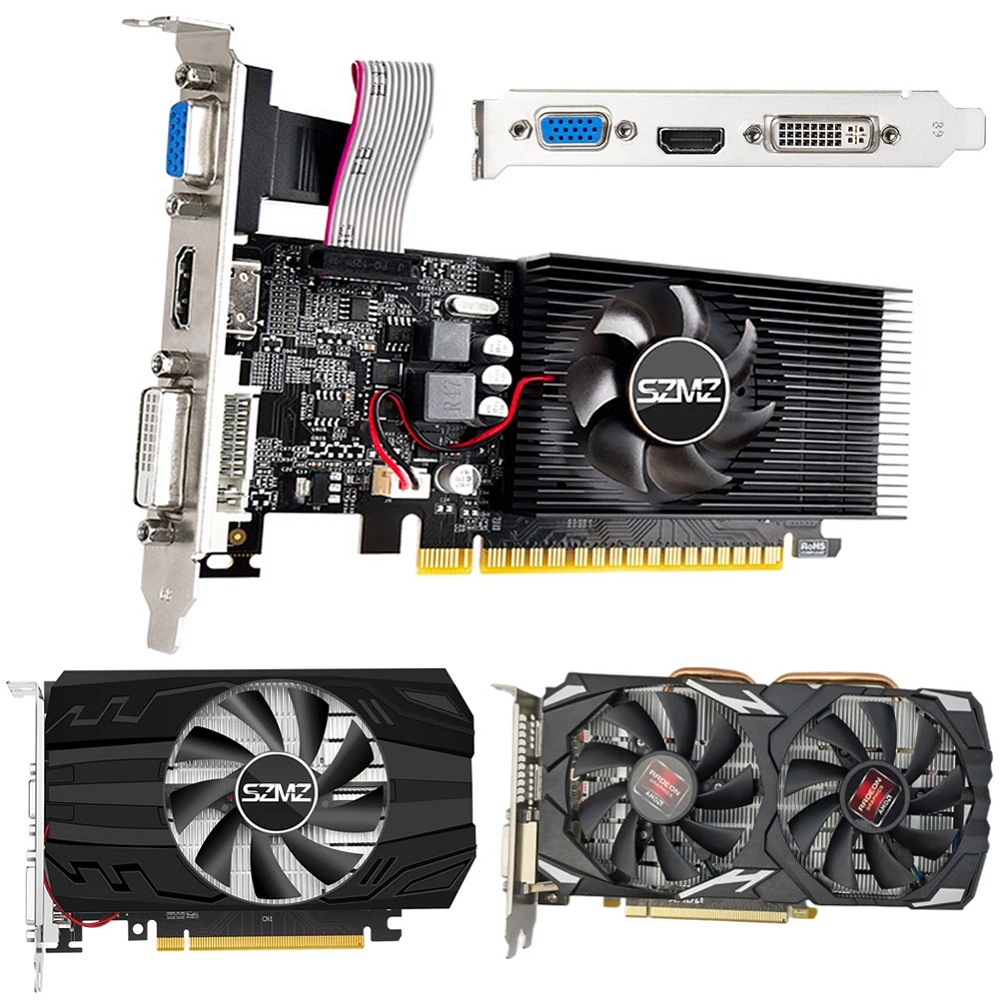
Upgrading your graphics card can significantly enhance your computer’s performance, especially for gaming, graphic design, and multimedia tasks. Installing a new graphics card may seem daunting, but with the right tools and some basic knowledge, you can do it yourself. How to install a new graphics card? This guide will take you through the entire process step-by-step, from preparing your workspace to troubleshooting common issues after installation.
Preparing for the Installation
Gather Your Tools and Materials
Before diving into the installation process, gather all necessary tools and materials. At a minimum, you’ll need a Phillips-head screwdriver, an anti-static wrist strap, and your new graphics card. A good practice is to also have a microfiber cloth for cleaning purposes. Keep your workspace organized and free from clutter to make the installation process smoother. If you have additional components like thermal paste or cleaning materials, set them aside for any potential needs during or after installation.
Understanding Your Current Setup
Before you purchase a new graphics card, familiarize yourself with your current setup. Check your computer’s specifications, including the motherboard, power supply, and case dimensions, to ensure compatibility with the new graphics card. Utilize tools such as CPU-Z or Speccy to gather detailed information about your system. Knowing whether your power supply can handle the new graphics card’s power requirements is crucial. Make sure you have enough PCIe slots available on your motherboard and confirm the physical size of the card will fit into your case.

Preparing Your PC for Upgrade
Power Down and Disconnect
Before you start the installation process, power down your PC completely. This means shutting down the system and unplugging it from the wall outlet. Wait a few minutes to ensure any residual power dissipates. Disconnect all peripheral devices, such as monitors, keyboards, and mice, to prevent accidental shocks or confusion while working on the internal components. This precaution helps to focus solely on the installation task without distractions.
Open the Computer Case
Use your screwdriver to remove the side panel of your computer case. This typically involves unscrewing two or three screws on the back of the case. Make sure to place the screws in a safe spot as you will need them later. Once the panel is removed, use the opportunity to clean any dust buildup inside the case. A can of compressed air can be beneficial here, allowing you to blow out dust from fans and components without needing to disassemble anything further. If you see excess dust, ensure you’re careful with airflow direction while cleaning to prevent any buildup on sensitive components.
Remove the Old Graphics Card
Identify the Existing Graphics Card
Locate the existing graphics card in your system. It will typically be in the PCIe slot on the motherboard and might have one or more power cables connected. Depending on the configuration of your case, you may have to remove some cables for easier access to the card. Ensure you have a clear view of all connections to prepare for removing the card successfully.
Unscrew and Disconnect
Once you have identified and located the graphics card, locate the screws holding the card in place. These screws connect the card to the metal bracket of the case at the back. Remove these screws using your Phillips-head screwdriver, ensuring not to drop them into the case. Next, carefully unplug any power cables connected to the card. Dependent on the size of your card or if it has multiple slots, you may need to wiggle it slightly to release it. With these steps completed, gently pull the card straight out of the PCIe slot, avoiding any excessive force that could damage the motherboard.

Installing the New Graphics Card
Inserting the New Card
Now that the old graphics card is removed, it’s time to install the new card. Take your new graphics card out of its packaging and handle it by the edges to avoid touching the circuitry. Align the connectors of the new graphics card with the PCIe slot on the motherboard, ensuring that it fits correctly. Push the card straight down into the slot, applying even pressure until you hear a firm click, indicating that it is secured in place.
Secure the Graphics Card
Once the new card is seated properly in the PCIe slot, use the screws you previously removed to secure the graphics card to the back of the case. This will stabilize the card and prevent it from shifting in its slot, which could lead to connection issues over time. After securing it, make sure to connect any necessary power cables from the power supply to your new graphics card. Your new card may require one or two connectors, and they need proper alignment with the corresponding slots on the card.
Closing Up the Case
Reattach the Side Panel
Now that the new graphics card is securely in place and connected, it’s time to close the case back up. Align the side panel with the case and gently slide it back into position. Make sure that the parts fit seamlessly together, avoiding any excessive force. Once properly positioned, ensure you secure the panel by replacing and tightening the screws you set aside earlier.
Reconnect Your Peripherals
With the side panel back on, you can reconnect peripherals like the monitor, keyboard, and mouse. Take a moment to ensure that all connections are secure before proceeding. It’s good practice to check the connections for any misalignments as you prepare to power the system back up. At this stage, make sure your monitor cables are connected to the new graphics card, not the motherboard graphics outputs, especially if you’re replacing an integrated GPU.
Powering Up and Installing Drivers
Boot Up the System
Once everything is reconnected, plug your PC back into the power outlet and turn it on. Watch closely as your computer boots up. If all has gone correctly, you should not encounter any abnormal beeping sounds or error messages. The system might take a moment to detect the new hardware, and you may see a normal boot screen. If the graphics card is functioning correctly, you should see the display powered by your new card.
Install the Latest Drivers
After confirming that the system has booted successfully, it’s crucial to install the latest drivers for your new graphics card. Visit the manufacturer’s website (NVIDIA, AMD, or Intel) and download the latest drivers specifically designed for the model you installed. Follow the on-screen installation instructions carefully. Having up-to-date drivers ensures optimal performance and compatibility with the latest games and software. After installing the drivers, it’s a good idea to restart your computer to complete the installation process.

Testing and Troubleshooting
Run a Benchmark Test
To verify that your new graphics card is working well, run a benchmark test or play a demanding game. Tools like 3DMark or Unigine Heaven can help you assess the performance capabilities of your new card. Monitor any potential performance issues, such as frame rates dropping or visual artifacts appearing. A successful benchmark will reaffirm that your installation was successful and that your new graphics card is performing as expected.
Troubleshooting Common Issues
If you encounter issues after installation, such as display problems or poor performance, don’t panic. First, check if the card is properly seated in the PCIe slot and if all power connections are secure. Sometimes, reseating the card can resolve many problems. Additionally, ensure that the latest drivers are installed, as outdated drivers can lead to performance issues. If problems persist, consult forums and communities related to your graphics card for specific troubleshooting advice. Many users share similar experiences, and solutions may be available that address your concerns.
Conclusion
How to install a new graphics card in your PC is a straightforward task that can greatly enhance your computer’s performance and capabilities. By following this easy guide, you have learned how to gather your materials, prepare your PC, install the new card, and check for potential issues. As technology continues to evolve, upgrading your graphics card is an excellent way to keep your system capable of handling demanding tasks and applications.
Take pride in your newfound skills and enjoy the benefits of a high-performance graphics card. With the right preparation and knowledge, you can confidently tackle future upgrades and enhance your PC experience for years to come. Happy gaming or designing!
