Upgrading the graphics card is one of the most impactful ways to boost your computer’s performance, especially for tasks that require heavy visual processing like gaming, graphic designs, and video editing. Removing a graphics card can seem daunting if you’re not familiar with the process, but it’s quite simple with the right preparation and care. This article walks you through the process step by step, ensuring a safe and successful upgrade of your PC rig.
Getting Started: Preparation and Safety
Powering Down and Unplugging Your System
The first step is to shut down your computer. Once the system has fully powered off, unplug it from the electrical outlet and remove all cables connected to it. This includes the monitor, USB peripherals, and especially the power cord to eliminate any risk of electrical shock.
Grounding Yourself to Prevent Static Damage
Static electricity can cause serious damage to PC components. To protect your hardware, ground yourself before touching any internal parts of your computer. This can be done by using an antistatic wrist strap or periodically touching a grounded metal object to dissipate static build-up.
Locating and Accessing the Graphics Card
Opening the PC Case
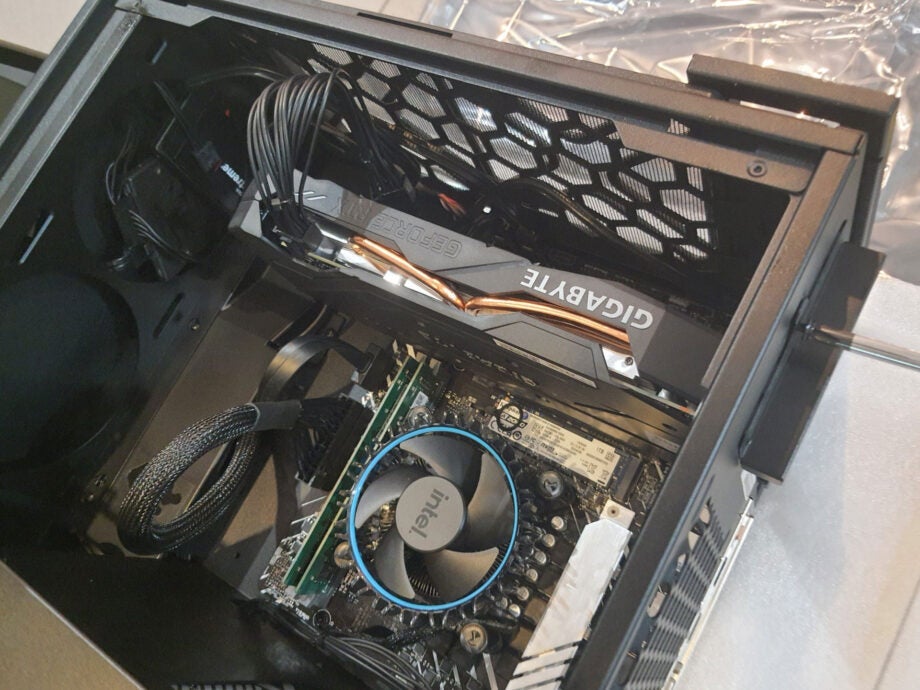
To access the graphics card, you’ll need to open the side panel of your PC case. Usually, this involves removing screws on the back of the case or releasing a latch that secures the panel. Carefully remove the side panel to reveal the internal components of your rig.
Identifying the Graphics Card
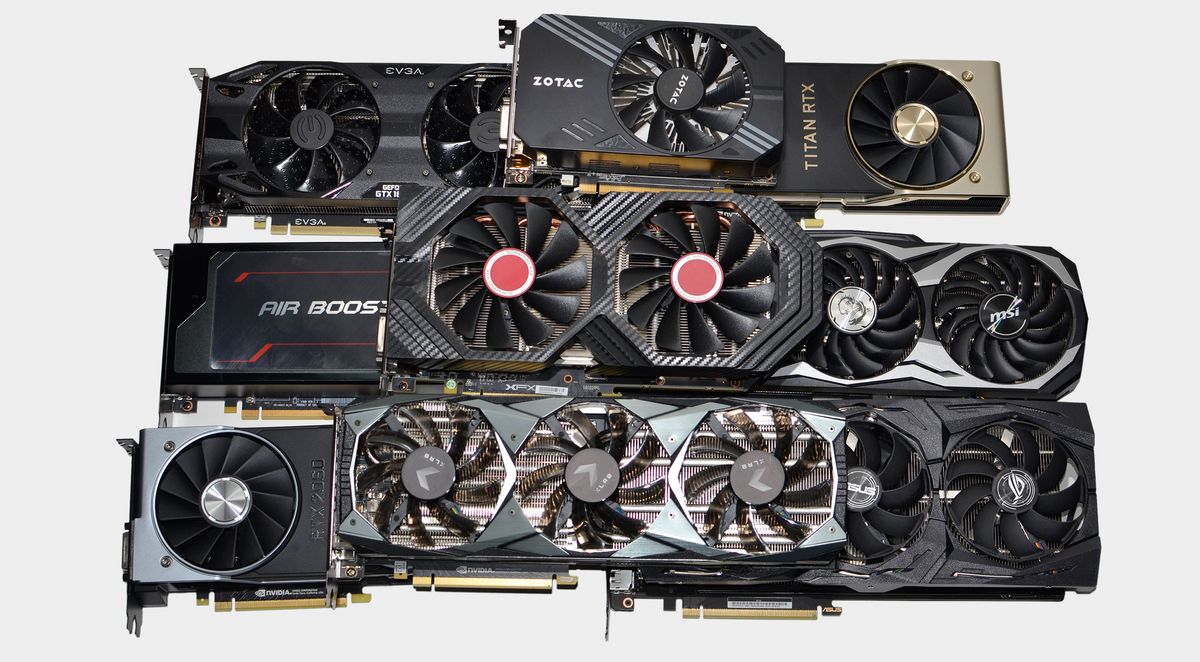
Inside the PC, locate the graphics card, which is typically inserted into the PCIe slot on your motherboard. It’s the sizable component with outputs for connecting monitors on the rear end. Remember, your specific model may look different, but it will always be the component attached to the monitor inputs on the back of your case.
Disconnecting Cables and Removing Screws
Unplugging Power Connectors
If your graphics card has power cables attached, gently disconnect them. These cables often have a small latch that needs to be pressed to release the connector. Handle cables by their connectors, not the wires, to avoid damage.
Undoing Screws and Fasteners
Graphics cards are secured to the case with screws and/or a latch on the PCIe slot. Remove the screws from the metal bracket where the graphics card’s ports are exposed at the back of the case. If there’s a latch on the PCIe slot, carefully disengage it.
Extracting the Graphics Card from the Motherboard
Releasing the Card from the PCIe Slot
Gently push down on the PCIe slot’s latch if one exists. Hold the graphics card by its edges and lift it straight out of the slot with steady, even pressure. Avoid exerting force sideways to prevent damaging the PCIe slot or the card.
Handling the Graphics Card with Care
Once free from the slot, place the graphics card on an anti-static surface or in its original packaging if you plan to store or sell it. Ensure the card is laying on a non-conductive surface to avoid the risk of short-circuiting it.
Cleaning and Preparing the PC for a New Card
Cleaning the PCIe Slot
With the graphics card removed, use this opportunity to dust off the area around the PCIe slot with a can of compressed air. Removing dust will help the new card make a clean connection and can improve airflow in your case.
Preparing for New Graphics Card Installation
Ensure you know the proper orientation and method to install your new graphics card. Review the instructions provided with the card and familiarize yourself with any additional power requirements it may have.
Installing the New Graphics Card
Inserting the New Card into the Slot
Align the graphics card with the PCIe slot, and carefully press it into place until the latch clicks, securing the card. Make sure the ports are aligned with the openings on the case’s backplate.
Reattaching Power Connectors and Screws
Reconnect any power connectors the new card requires. Then, secure the card with the screws you removed earlier. Check all connections to make sure everything is snug and properly seated.
Final Checks Before Booting Up
Ensuring Everything Is Secure
Double-check all connections inside the PC, including the graphics card, cables, and any components that might have been nudged during the process. Loose connections can cause issues upon startup.
Closing the Case and Reconnecting Cables
Once everything is in place and you have verified all connections, replace the side panel on your PC case and reattach all external cables, such as the power cord, display cables, and peripherals.
Booting Up and Installing Drivers
Turn on your computer. You may need to install new drivers for your graphics card to function properly. These can usually be found on the manufacturer’s website. Follow the installation process, and then restart your system if prompted.
Maintaining Your New Graphics System
Monitoring Performance and Temperatures
With your new graphics card installed, it’s important to monitor its performance to ensure it’s operating efficiently. Use software tools to track the temperatures and usage levels while your PC is under load, such as during gaming or video rendering. This can provide insights into whether your system’s cooling is adequate or if you might need to improve airflow within the case.
Regularly Updating Software
Keeping your graphics card’s drivers up to date is critical for optimal performance and compatibility. Manufacturers frequently release updates that can improve functionality, enhance security, and boost speed. Schedule regular checks for driver updates, and consider enabling automatic updates if the option is available.
Cleaning to Maintain Performance
Dust build-up can impede airflow and insulate heat, reducing the efficiency of your graphics card’s cooling system. Periodically opening your case to dust can help maintain performance levels. Use compressed air to gently clear dust from the graphics card and other components, ensuring a clean environment for your new hardware.
Upgrading Other PC Components
Balancing Your System
Now that you’ve upgraded your graphics card, consider whether other components might need an upgrade to prevent bottlenecks. For instance, if your processor is several generations old, it might not keep up with your new graphics card’s capabilities, which could limit the performance gains you see. Similarly, adequate RAM and fast storage can also contribute to an overall balanced system that maximizes your new GPU’s abilities.
Budgeting for Future Upgrades
As you continue to upgrade your PC, keeping an eye on your budget is important. Upgrades can quickly add up, so plan according to your needs and prioritize components that will give you the best performance return for your investment. Always research and compare parts to find the right balance of cost and functionality.