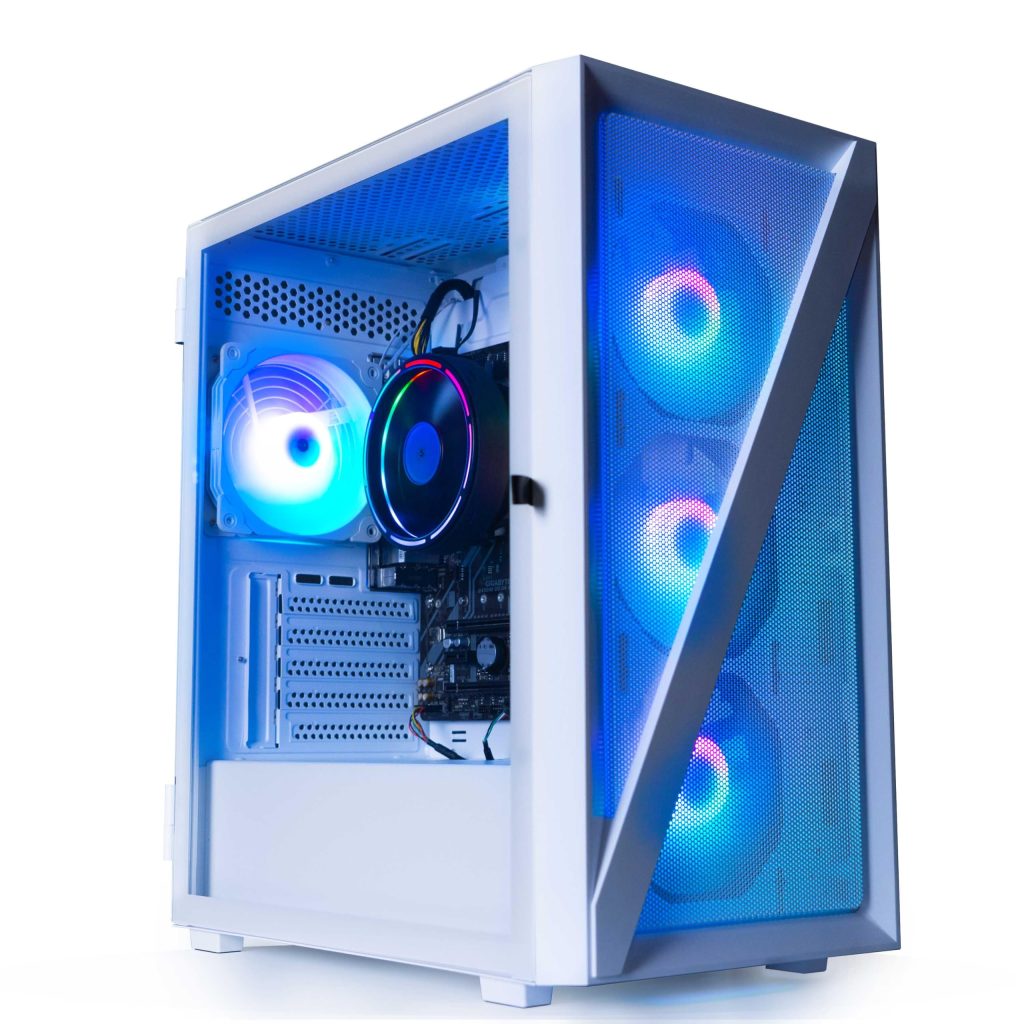
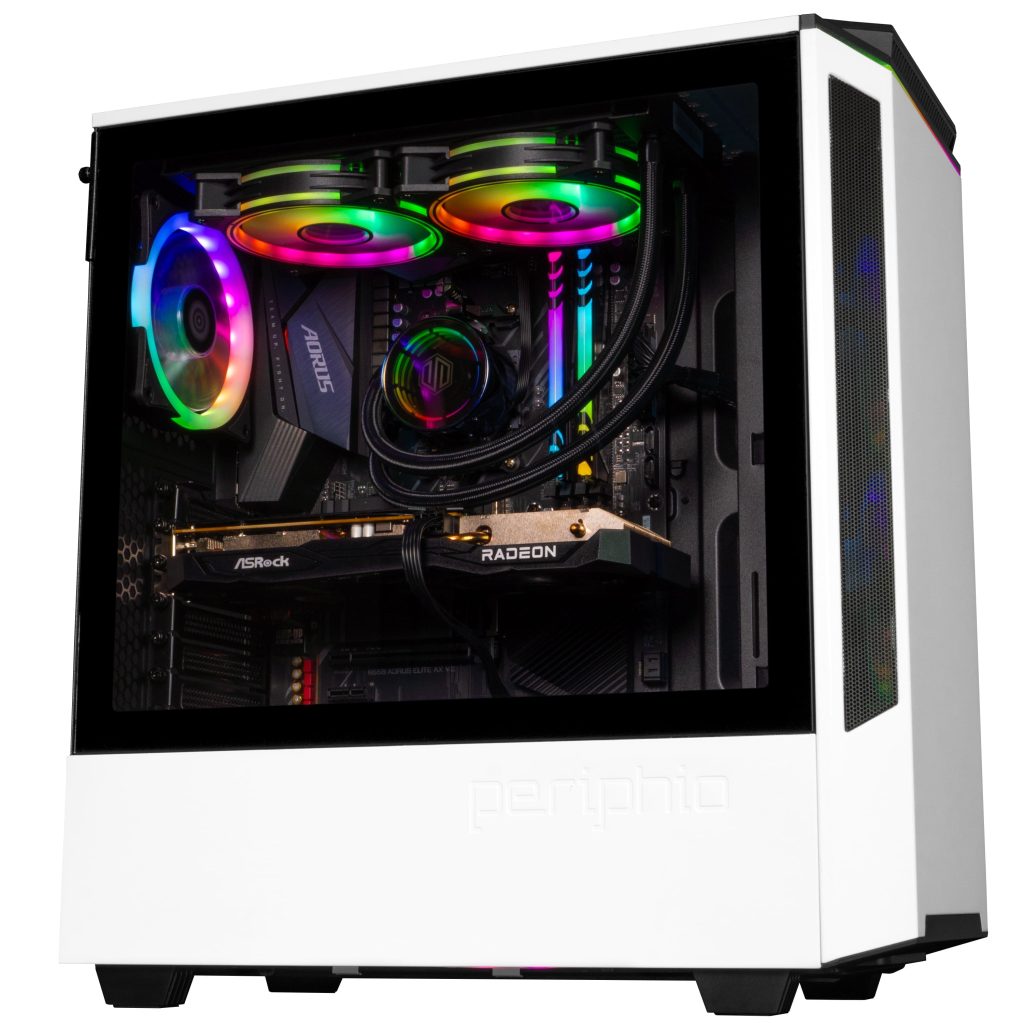
How do I remove a graphics card from a pre-built PC? Removing a graphics card from a pre-built PC is a common task in 2024 and may be necessary for upgrading, cleaning, or troubleshooting. Whatever the reason, the process is relatively simple and requires careful operation and some expertise. This guide will walk you through the steps to safely remove a graphics card from your prebuilt PC.
Preparing for Removal
How to remove a graphics card from a prebuilt pc? Before you begin the physical process of removing the graphics card, it’s crucial to prepare properly to ensure both your safety and the safety of your PC.
Power Down and Unplug the PC
Start by shutting down the computer completely via the operating system. Once the PC is off, remove the power cord from the back of the power supply unit to ensure that no electricity is flowing into the system. For extra precaution, press and hold the power button for a few seconds after unplugging to discharge any residual power from the motherboard.
Ground Yourself to Prevent ESD
Electrostatic discharge (ESD) can damage sensitive PC components, including the graphics card. To prevent this, ground yourself before touching the internals of the PC. This can be done by touching a metal part of the PC case or using an ESD wrist strap. Ensure you’re working in a static-free environment by avoiding carpets and wearing non-static-inducing clothing.
Accessing the Graphics Card
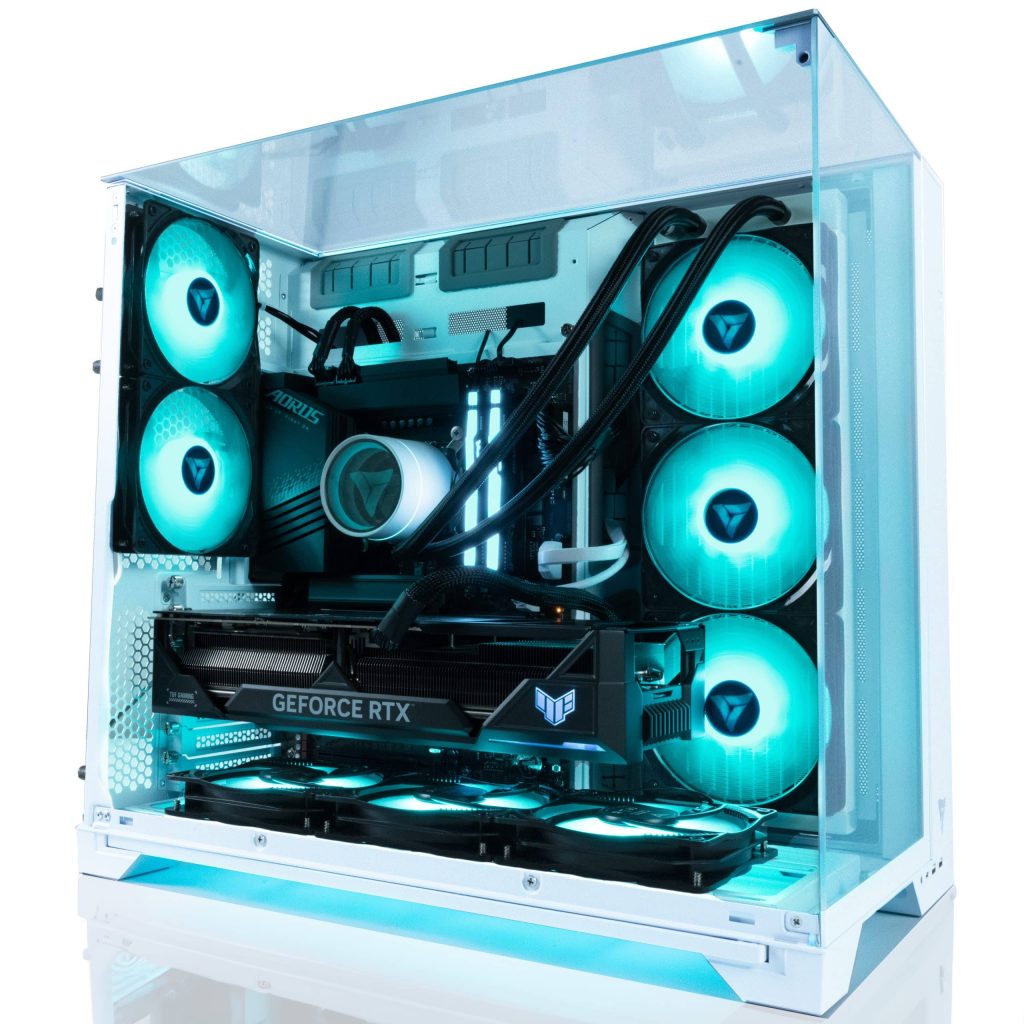
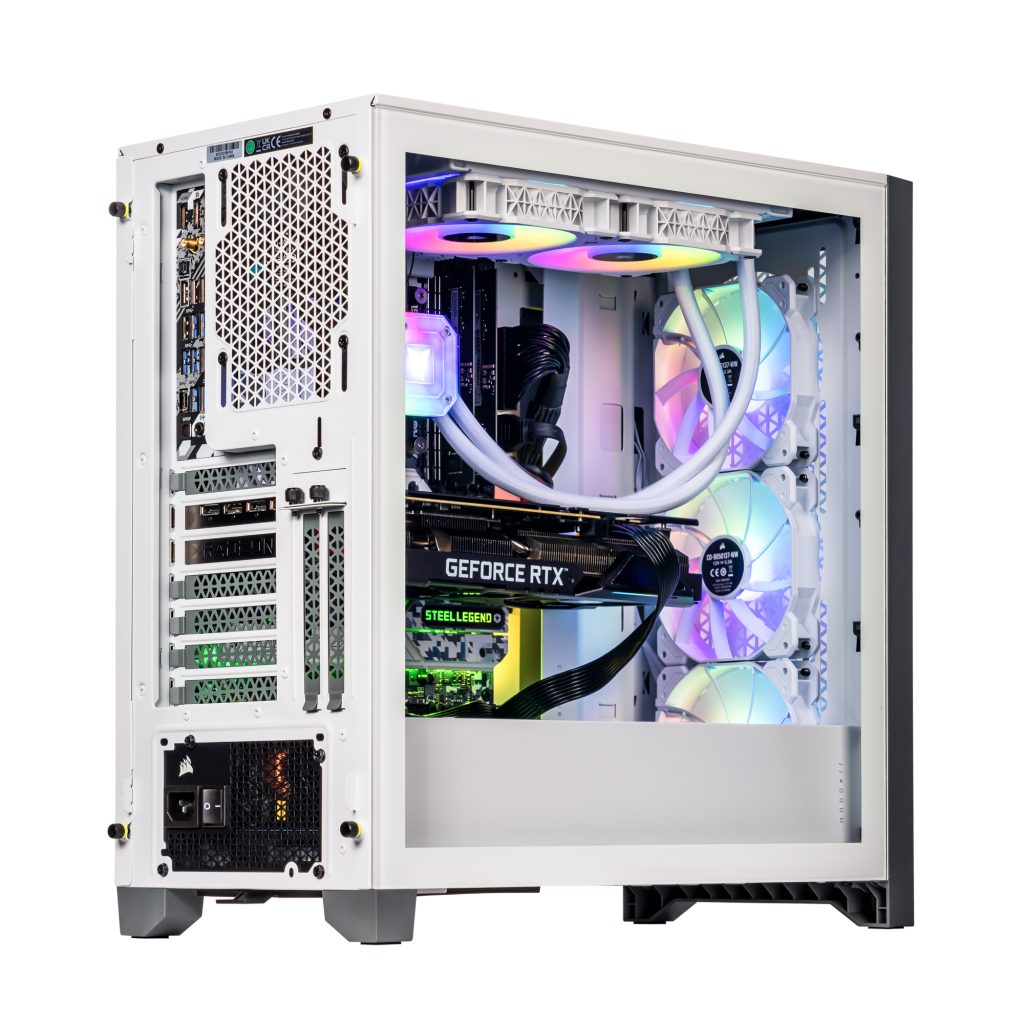
With safety measures in place, the next step is accessing the graphics cards in pc by opening the PC case.
Locate and Remove the Side Panel
First, locate the screws or latches that secure the side panel of your PC case—these will typically be on the back edge. Remove these screws with an appropriate screwdriver, or release the latches, and carefully slide or swing open the side panel. Set the panel aside in a safe place.
Clear the Work Area
Once inside, you should have a clear view of the graphics card. Take a moment to gently push any obstructing cables aside or unplug cables that might get in the way of the removal process. Keep track of where each cable originates so you can reattach them correctly later.
Detaching the Graphics Card
The graphics card is held in place by screws and connectors that need careful detaching.
Unscrew the Card from the Case
The graphics card is typically screwed into the case’s steel backplate. Locate these screws—usually one or two—and remove them. Place these screws in a container so you won’t lose them, as you’ll need them to secure a new graphics card or to put the original one back.
Disconnect Power Connectors, if Any
Some graphics cards require additional power and have one or more power connectors attached to them from the power supply. If your card has these, gently but firmly disconnect them by pressing down on the clip that secures the connector and pulling it out.
Removing the Card from the Slot
Now that the graphics card is free from any attachments, you can safely remove it from the motherboard.
Release the PCIe Slot Latch
Modern PCs use PCIe slots for graphics cards. These slots have a small latch on one end that locks the card in place. Carefully press down or push aside the latch to unlock the card. Do this gently to avoid breaking the delicate plastic.
Gently Lift Out the Card
With the latch open, you can now slowly remove the graphics card from the slot. Firmly yet gently, grab the card by its edges and lift it straight out. Avoid touching the contacts or any of the circuitry. If there’s resistance, ensure the latch is fully disengaged before pulling harder. Never force the card out, as this could damage both the card and the slot.
Reassembly and Post-Removal Steps
How to remove a graphics card from a prebuilt pc? Removing the graphics card is only part of the process. Once the card is out, certain steps ensure your PC remains in good condition, especially if you plan to operate the PC without the graphics card or prepare for a new installation.
Secure the Expansion Slot Cover
If you are not immediately replacing the graphics card, it may be necessary to replace the expansion slot cover to maintain proper airflow inside the case and prevent dust from entering. Simply slide the cover into place and secure it with the screws that were holding the graphics card.
Clean the Area
With the graphics card removed, it’s an excellent opportunity to clean out any dust or debris that may have accumulated in and around the slot and surrounding area. Use compressed air or a soft brush to gently clear out any particles, being careful not to let any moisture into the case.
Consider System Requirements
If you plan to continue using the PC without the graphics card, make sure your system has an integrated graphics processor on the motherboard or CPU to handle display output. Connect your monitor cable to the appropriate output on the motherboard’s I/O panel before powering the PC back on.
Powering Up and Testing
After the graphics card is removed and the workstation tidied up, it’s time to test your system without the graphics card to confirm everything runs correctly.
Reconnect the Power and Peripherals
Reattach the power cable to the power supply unit and connect all necessary peripherals such as the monitor, keyboard, and mouse. If the system has integrated graphics and you’re not replacing the card immediately, make sure to connect the monitor to the onboard graphics output.
Power On and Monitor for Issues
Turn on the PC and monitor the startup process. Without a discrete graphics card, the system should default to the integrated graphics. Be on the lookout for any unusual behavior during boot, such as beep codes or warning lights, which can indicate a problem that might need investigation.
Check Device Manager or System Information
Once the system has booted into the operating system, it’s prudent to check the Device Manager (on Windows) to ensure the integrated graphics are recognized and functioning. If the Device Manager shows any issues, you may need to install or update drivers for your integrated graphics.
Remember to store the graphics card in an antistatic bag or lay it on a non-conductive surface if you plan to reuse it. Once you’ve set the card aside, you can close up your PC case, reattaching the side panel with the screws or latches you removed earlier.
Advantages of Removing the Graphics Card
Graphics cards play a crucial role in enhancing visual performance and enabling complex graphical tasks on computers. However, there may be instances where removing a graphics card can be advantageous.
Power Consumption:
Removing a graphics card can significantly reduce power consumption, especially for users who primarily engage in tasks that do not require intensive graphical processing. Graphics cards consume a considerable amount of power even when idle. By removing the graphics card and relying on integrated graphics, users can promote energy efficiency, leading to lower electricity bills and a smaller carbon footprint.
Quiet Operation:
Graphics cards often come equipped with cooling fans or elaborate cooling solutions to dissipate heat generated during operation. These fans can contribute to noise levels in the computer system, particularly during heavy gaming or GPU-intensive tasks. By removing the graphics card, users can eliminate the additional noise generated by the fans, allowing for a quieter computer operation, which can be especially beneficial for those working in noise-sensitive environments or seeking a more tranquil computing experience.
System Stability
In rare cases, graphics cards could be a source of system instability or compatibility issues. Graphics card drivers or hardware conflicts can lead to random crashes, blue screens, or freezing. By removing the graphics card, users can troubleshoot and identify if the instability is caused by the graphics card itself. If stability improves after removal, users can either replace the graphics card or explore alternative solutions, depending on their requirements.
Simplified Troubleshooting:
Graphics card-related issues can sometimes complicate the troubleshooting process, especially for users who are not familiar with graphics card operations or related drivers. By removing the graphics card from the system temporarily, users can isolate hardware or driver-related issues, making troubleshooting more straightforward. This simplified process can help identify the root cause of problems and facilitate the resolution of issues more efficiently.
Repurposing for Non-Graphical Tasks:
In certain situations, users may wish to repurpose their computer for non-graphical tasks. Such as a home server, network hub, or media center. These activities often require minimal graphical processing power. By removing the graphics card and relying on integrated graphics. Users can repurpose their computers for these specific roles. Utilizing existing hardware without the need for an additional graphics card. This repurposing can increase the longevity and utility of the computer system.
Conclusion:
How to remove a graphics card from a prebuilt pc? By following these steps, you can remove your graphics card safely. Whether you’re upgrading to a newer model or diagnosing an issue. Taking your time and handling the card with care will help ensure a smooth process. Keep this guide handy for future reference. And enjoy the satisfaction of managing your PC’s hardware independently.