
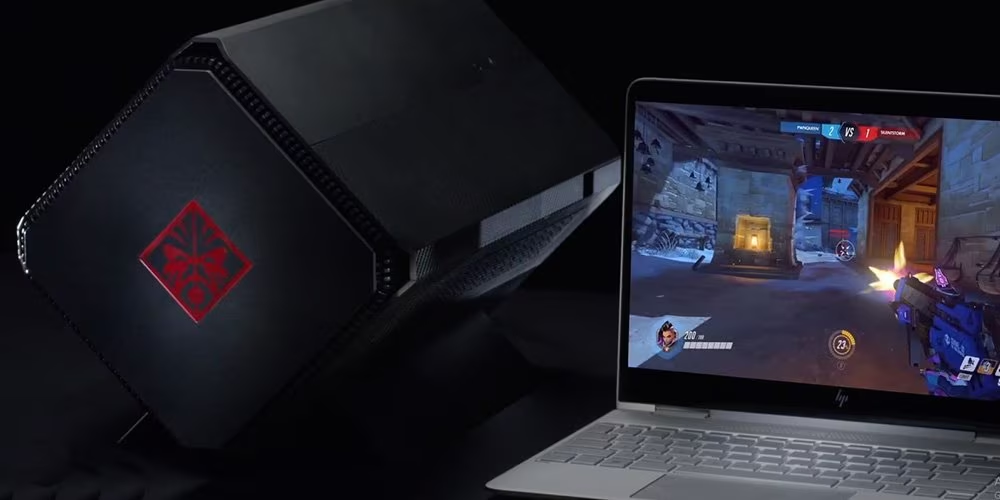
Installing an external graphics card (eGPU) to an all-in-one (AIO) PC can greatly enhance its graphics performance, allowing it to run demanding applications such as 3D games, video editing software, or VR applications more efficiently. This can be an excellent solution for users who want the simplicity of an AIO PC but also seek the graphical horsepower typically reserved for desktop towers. The following guide provides a step-by-step process on how to install an eGPU to your AIO PC, focusing on simplicity and avoiding too much technical jargon.
Understanding Compatibility and Requirements
Checking AIO PC Port Availability
Before purchasing an external graphics card, you need to ensure your AIO PC has the necessary ports for connectivity. The most common method to connect an eGPU is through a Thunderbolt 3 port, which provides the necessary bandwidth. Check your PC’s specifications to find out if it has a Thunderbolt 3 or USB-C port that supports Thunderbolt 3.
Assessing Power and Space Needs
eGPUs require their own power supply, and space around your workstation. Make sure you have a power outlet available and enough room to accommodate the eGPU’s housing. It is also important to check the power requirements of the graphics card itself to ensure the eGPU enclosure’s power supply is adequate.
Selecting the Right eGPU
Choosing the eGPU Enclosure
Once compatibility is confirmed, select an eGPU enclosure that supports the size and power demands of the graphics card you intend to use. Look for enclosures with good build quality, cooling capabilities, and enough ports for your needs. Some enclosures come with additional USB and Ethernet ports, which can be beneficial.
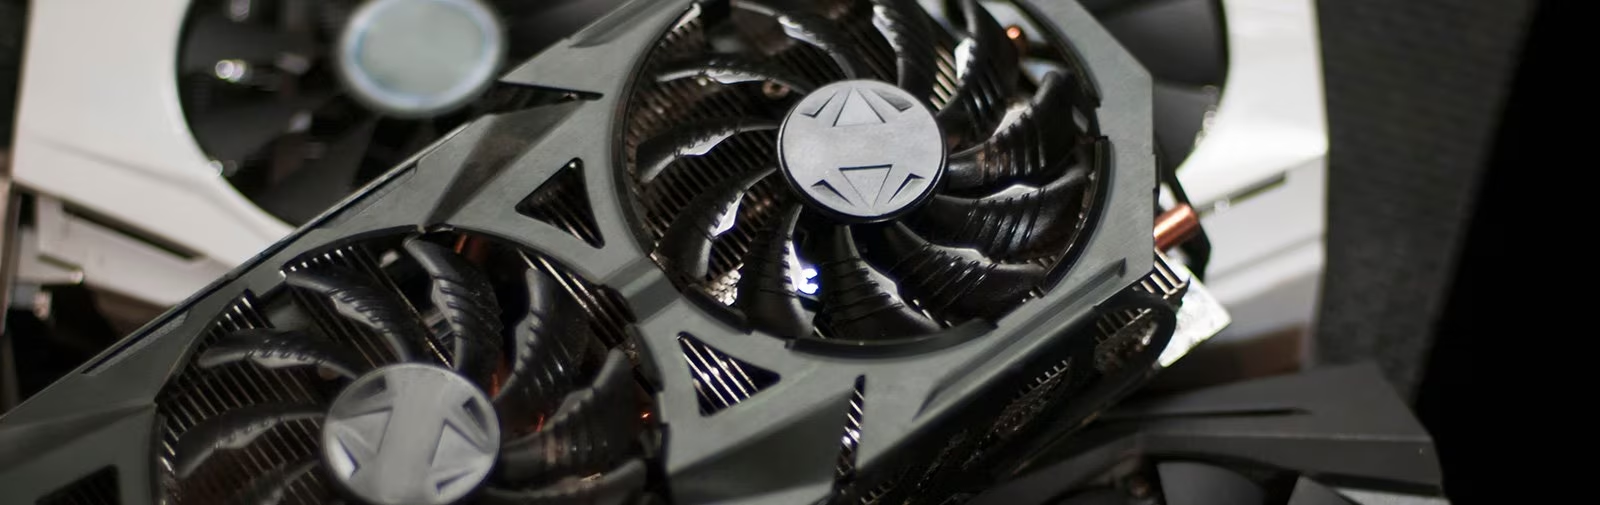
Picking a Compatible Graphics Card
Graphics cards come in different sizes and power configurations, so you need to pick one that will match your eGPU enclosure. Remember to consider the card’s length, width, and height. Additionally, make sure the card offers the level of performance you require for your specific applications or games.
Preparing for Installation
Gathering Necessary Tools
Typically, you will need a standard screwdriver to open the eGPU enclosure and secure the graphics card in place. Some eGPU enclosures are tool-less, simplifying this process. Ensure you have all the necessary tools on hand before beginning with the installation.
Unboxing and Initial Setup
Carefully unbox your eGPU enclosure and the graphics card, keeping all manuals and extra components such as screws or power cables. Lay out the parts on a non-conductive surface, away from any potential static electricity that may damage sensitive components.
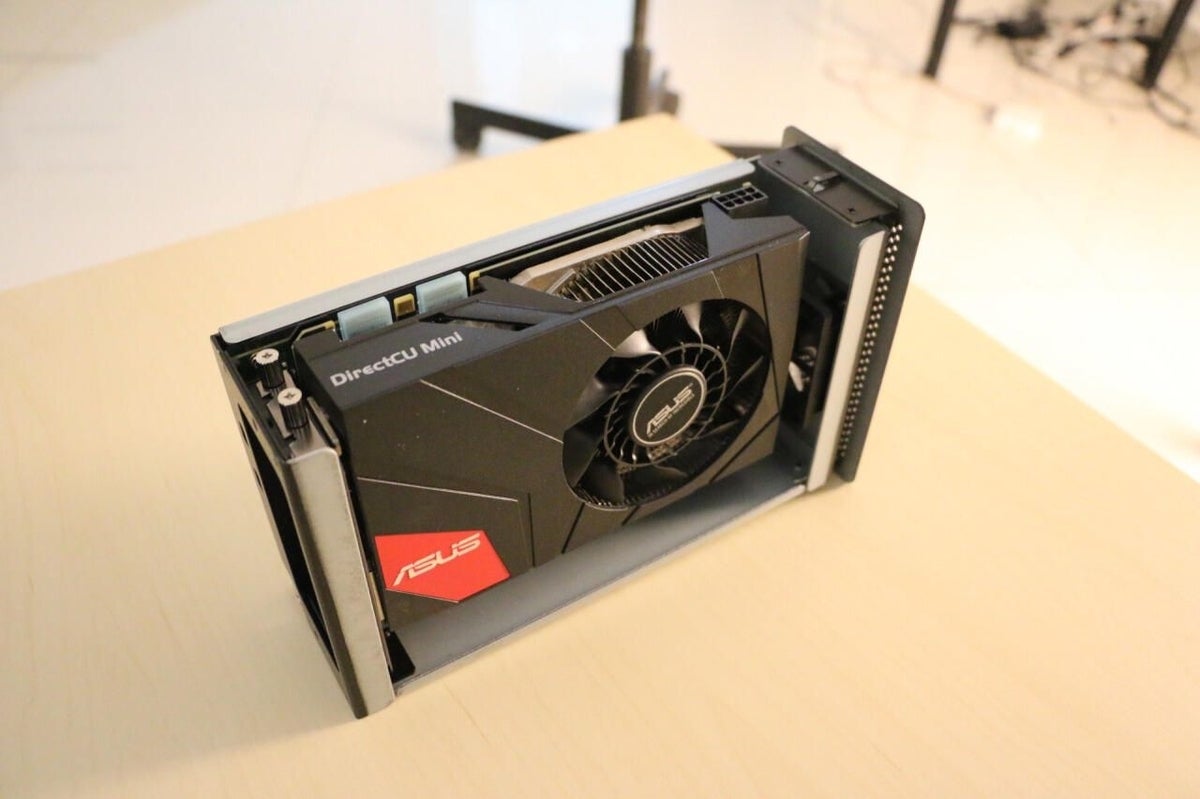
Installing the Graphics Card into the Enclosure
Securing the Card
Open the eGPU enclosure according to the manufacturer’s instructions. Then, align the graphics card with the PCI Express slot within the enclosure and gently insert it until secure. Screw the card into place if required, ensuring it is firmly seated and not subject to movement.
Connecting Power to the Graphics Card
Connect the power cables from the eGPU enclosure’s internal power supply to the graphics card. These cables are usually 6-pin or 8-pin connectors and must match the graphics card’s power ports. Double-check that all connections are tight and secure before moving on.
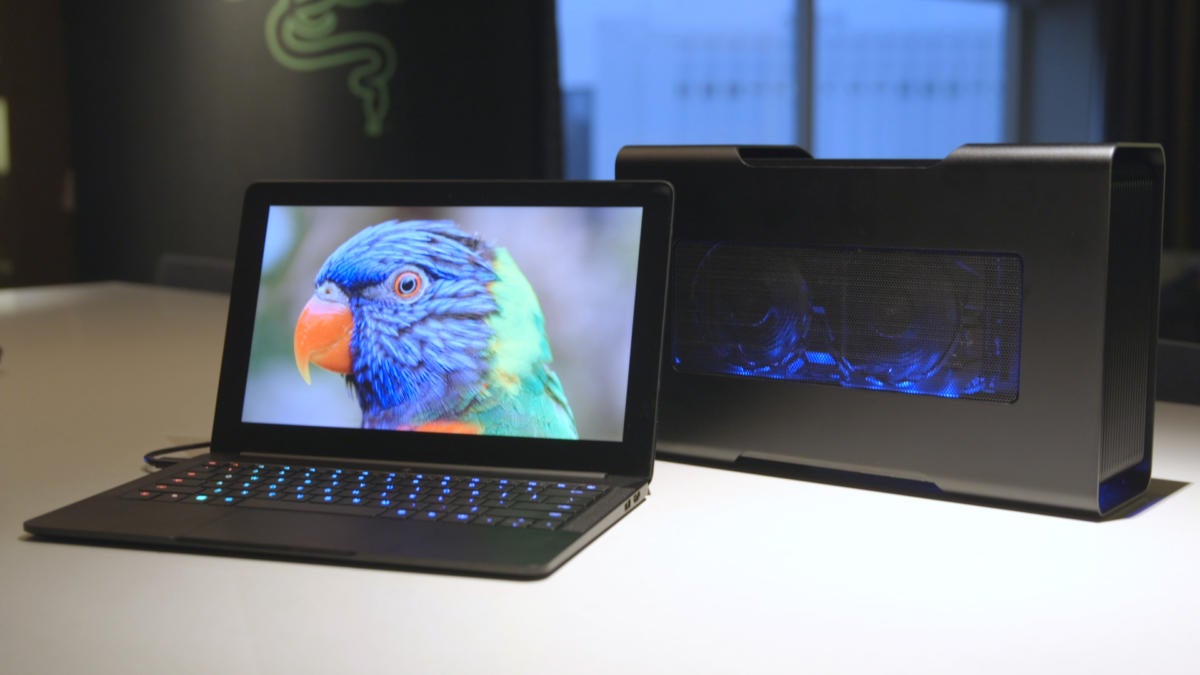
Connecting eGPU to the AIO PC
Establishing the Connection
Once the graphics card is installed in the enclosure and powered properly, close the enclosure, and connect it to your AIO PC using the Thunderbolt 3 cable. Attach the eGPU’s power cable to a suitable power outlet. Ensure everything is plugged in firmly and that cables are arranged to prevent accidents or disconnections.
Installing Necessary Drivers
Power on the AIO PC and the eGPU. The PC should detect the eGPU and prompt you to install drivers. If automatically prompted, allow the installation process to proceed. Otherwise, download the appropriate drivers from the graphics card manufacturer’s website and install them manually for the card to function correctly.
Configuring the eGPU Settings
Accessing Display Settings
Once the drivers are installed, access the display settings on your AIO PC to configure the external graphics card as the primary output. This might require adjusting settings in the operating system or within a dedicated graphics card application provided by the card manufacturer.
Testing Performance and Making Adjustments
Test the eGPU’s performance by running a graphics-intensive program or game. Monitor for any graphics issues or instability, and if found, revisit your connections and settings. Fine-tune options like resolution or multi-display setups within the graphics card’s software to optimize performance to your preference.
Finalizing the eGPU Setup
Running Stress Tests
After adjusting the settings to your preferences, perform stress tests on your upgraded system. These tests push your graphics card to its limits and bring any potential issues to light. Use reliable stress testing software and monitor the system’s response to ensure stability and optimal performance.
Troubleshooting Common Issues
If you encounter any issues such as crashes, artifacts on the screen, or unexpected disconnections, consult the troubleshooting section of your eGPU’s manual. It is often a matter of refining the installation process or updating firmware. Checking online forums and the FAQ sections of your eGPU and graphics card manufacturers can also provide useful insights.
Maintaining Your eGPU System
Regularly Updating Software
To keep your eGPU running smoothly, it’s essential to update the system regularly. This includes graphic card drivers, eGPU firmware, and any software provided for managing the eGPU enclosure. Updates can enhance performance, add new features, and patch security vulnerabilities.
Cleaning and Maintenance
Dust and debris can accumulate in the eGPU’s enclosure and hinder its cooling abilities, leading to potential overheating. Regularly clean the eGPU enclosure and check the fans for proper operation to ensure longevity and reliable performance of your external graphics card.
Enhancing the User Experience
Experimenting with Advanced Features
Explore the advanced features offered by your graphics card through its management software. Overclocking can push your graphics card beyond its standard specifications for extra performance, whereas other utilities can help with fine-tuning color profiles, fan speeds, and more to cater to your specific needs or preferences.
Enjoying the Upgraded Capabilities
Now with your eGPU set up, take full advantage of the enhanced graphics by delving into higher-end gaming, immersive virtual reality experiences, or more efficient video rendering for creative projects. Your all-in-one PC’s new-found capabilities allow it to compete with traditional desktop rigs.
By following these steps to install and optimize an eGPU for your all-in-one PC, you’ve unlocked new potentials in computing capabilities. Regular maintenance and driver updates will ensure maximum performance and longevity of your hardware. It’s also important to remember that as technologies evolve, so too will the opportunities to upgrade and fine-tune your setup. By staying informed and adaptable, you guarantee that your investment in an eGPU continues to pay off, providing top-tier graphics performance that matches ever-advancing software demands. With these enhancements, your all-in-one PC can reach new heights in gaming, content creation, and everyday computing excellence.