Understanding the Basics
What is a PCI Graphics Card?
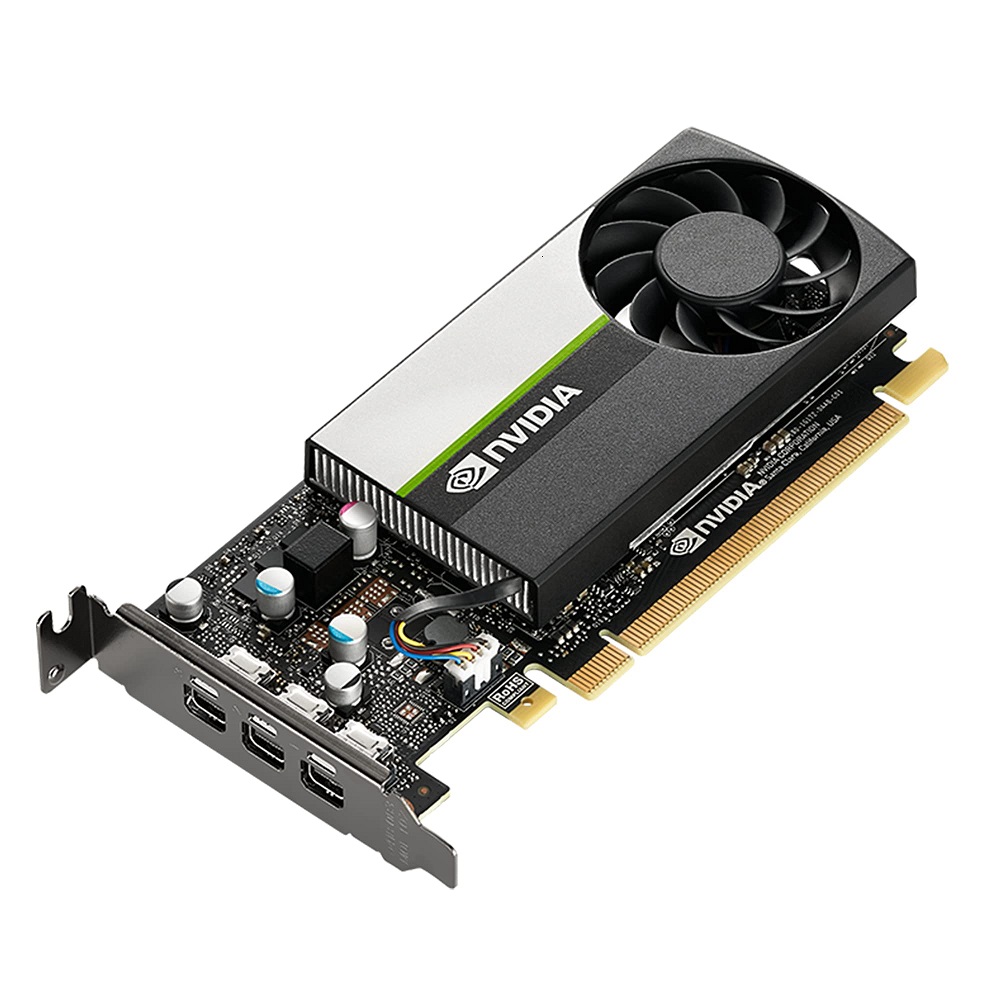
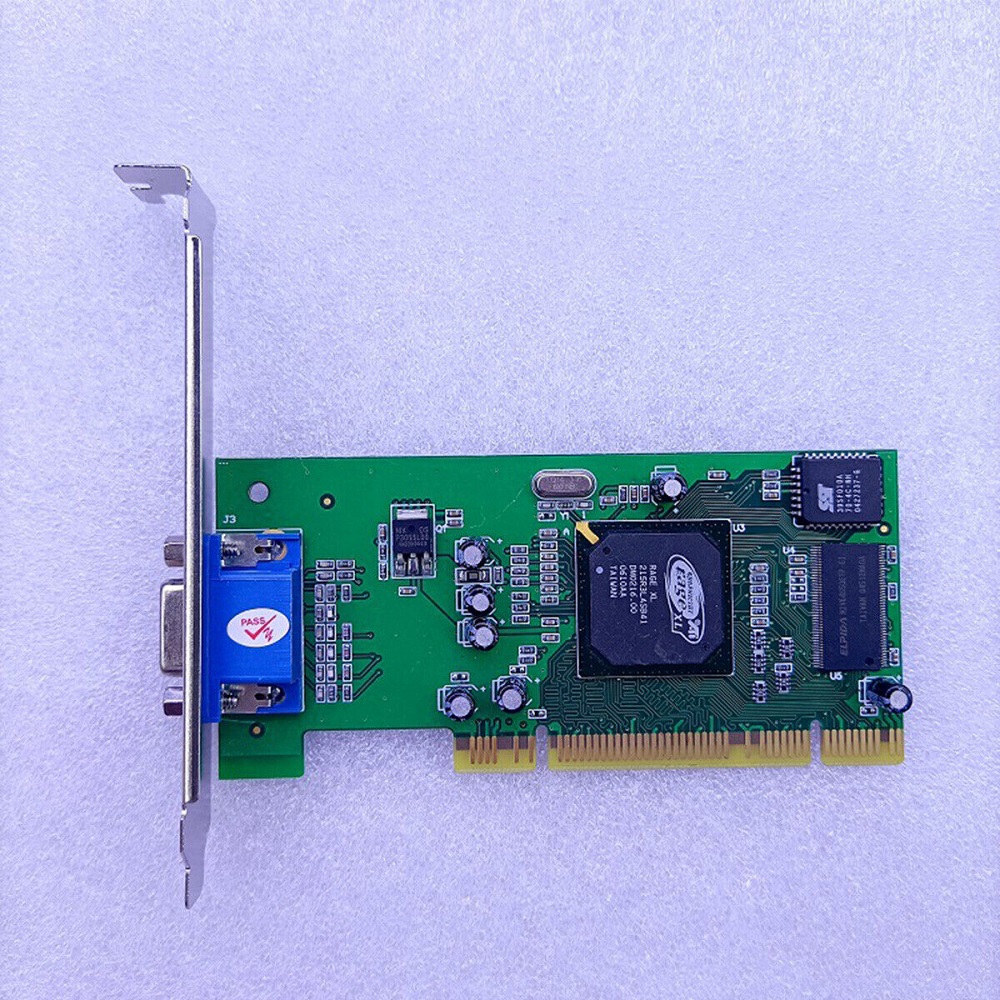
A PCI (Peripheral Component Interconnect) graphics card is an expansion card that plugs into a PCI slot on the motherboard of a computer. It allows your PC to handle more complex graphical tasks such as gaming, HD video playback, and graphic design software. Compared to integrated graphics, a dedicated PCI graphics card for old PC significantly enhances performance, enabling smoother visuals and faster processing. Understanding the type of PCI graphics card that your old PC supports is crucial, as different versions (e.g., PCI, PCI-X, PCI Express) have specific compatibility requirements.
Benefits of Upgrading
Upgrading an old PC with a new PCI graphics card can breathe new life into the system. It can improve the overall performance, especially in graphically intense applications, and extend the lifespan of the computer. Enhanced visuals, faster rendering times, and support for newer software are just a few benefits. Additionally, it can make your old PC more versatile, enabling it to handle modern games and applications more efficiently. Aside from performance improvements, upgrading often proves more cost-effective than purchasing a new computer.
Preparing for Installation
Checking Compatibility
Before purchasing a new PCI graphics card, it’s essential to ensure it’s compatible with your old PC. Start by opening your PC case and examining the motherboard for available PCI slots. Identify the type of slot (e.g., standard PCI, PCI-X, or PCIe) and measure its length and width. Refer to the motherboard’s manual or the manufacturer’s website for detailed specifications. Additionally, check the power supply unit (PSU) to ensure it can handle the power requirements of the new graphics card. Some high-performance cards need additional power connectors, which your PSU must support.
Gathering Necessary Tools and Materials
Installing a PCI graphics card requires a few basic tools and materials. You’ll need a Phillips screwdriver to open the PC case and secure the graphics card; an anti-static wrist strap or anti-static mat to prevent static electricity from damaging your components; and the graphics card itself, of course. Having a clean, well-lit workspace is crucial for a smooth installation process. Finally, ensure you have the latest drivers for the new graphics card downloaded and ready for installation once the hardware setup is complete.

Step-by-Step Installation Process
Opening the PC Case
The first step in the actual installation process is to open the PC case. Shut down your computer and unplug it from the power source. Wear an anti-static wrist strap to prevent static discharge, which can damage electronic components. Use a Phillips screwdriver to remove the screws securing the side panel of the case. Carefully slide off the side panel and set it aside. Ensure you have a clear view of the motherboard and the available PCI slots. If there is any dust inside the case, use a can of compressed air to clean it out, ensuring a clean environment for the new graphics card.
Inserting the Graphics Card
Locate the PCI slot where you’ll install the graphics card. Depending on your computer’s design, you might need to remove a metal slot cover on the back of the case to make room for the card’s external ports. Align the graphics card with the PCI slot, ensuring the connectors match up. Gently but firmly push the card into the slot until it snaps into place. Secure the card to the case with a screw to prevent it from moving. Double-check that the card is fully seated in the slot and that there are no obstructions.
Connecting Power and Display Cables
Connecting Power Supply
Some modern PCI graphics cards require additional power beyond what the PCI slot provides. If your card has power connectors, plug the required power cables from the PSU into the card. These are typically 6-pin or 8-pin connectors, and it’s crucial to ensure they are securely connected to prevent any power issues. If your PSU doesn’t have the necessary connectors, you may need to use adapters or consider upgrading the PSU. Double-check all connections for stability and correctness to ensure reliable power delivery to your new graphics card.
Connecting Display Cables
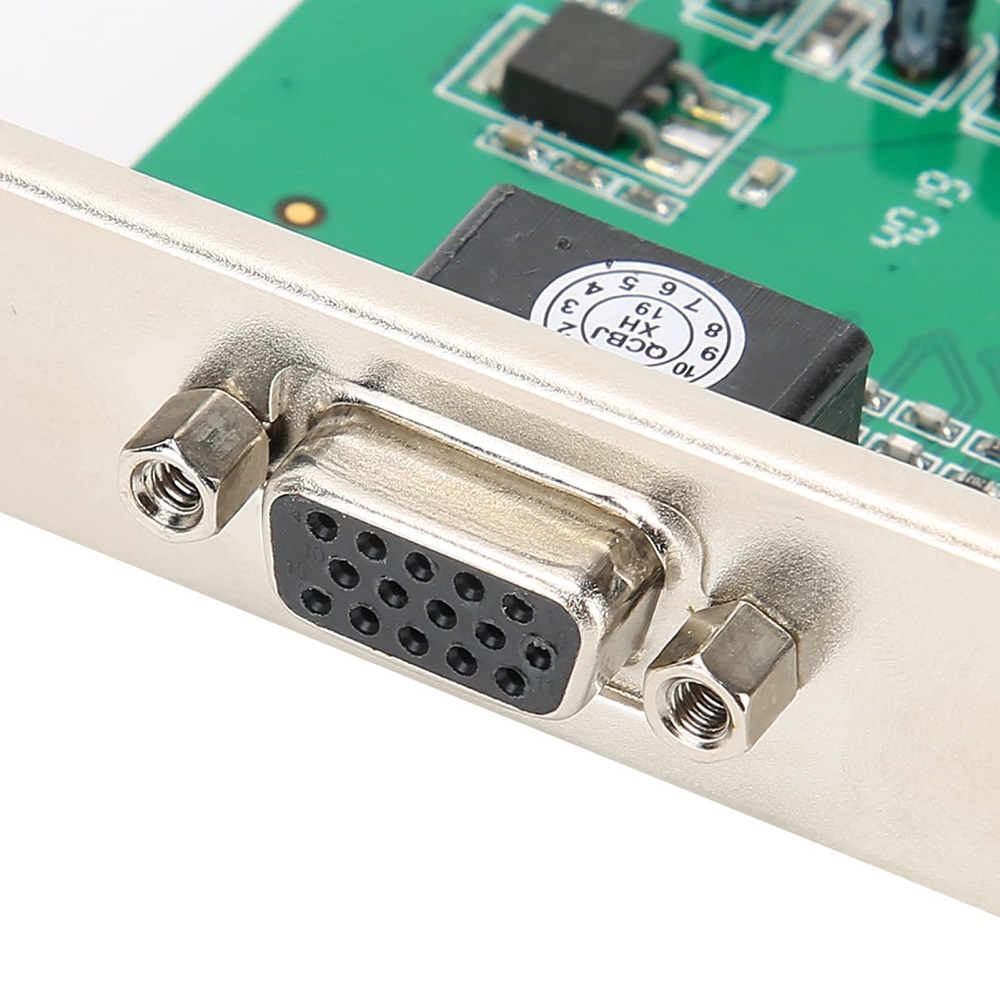
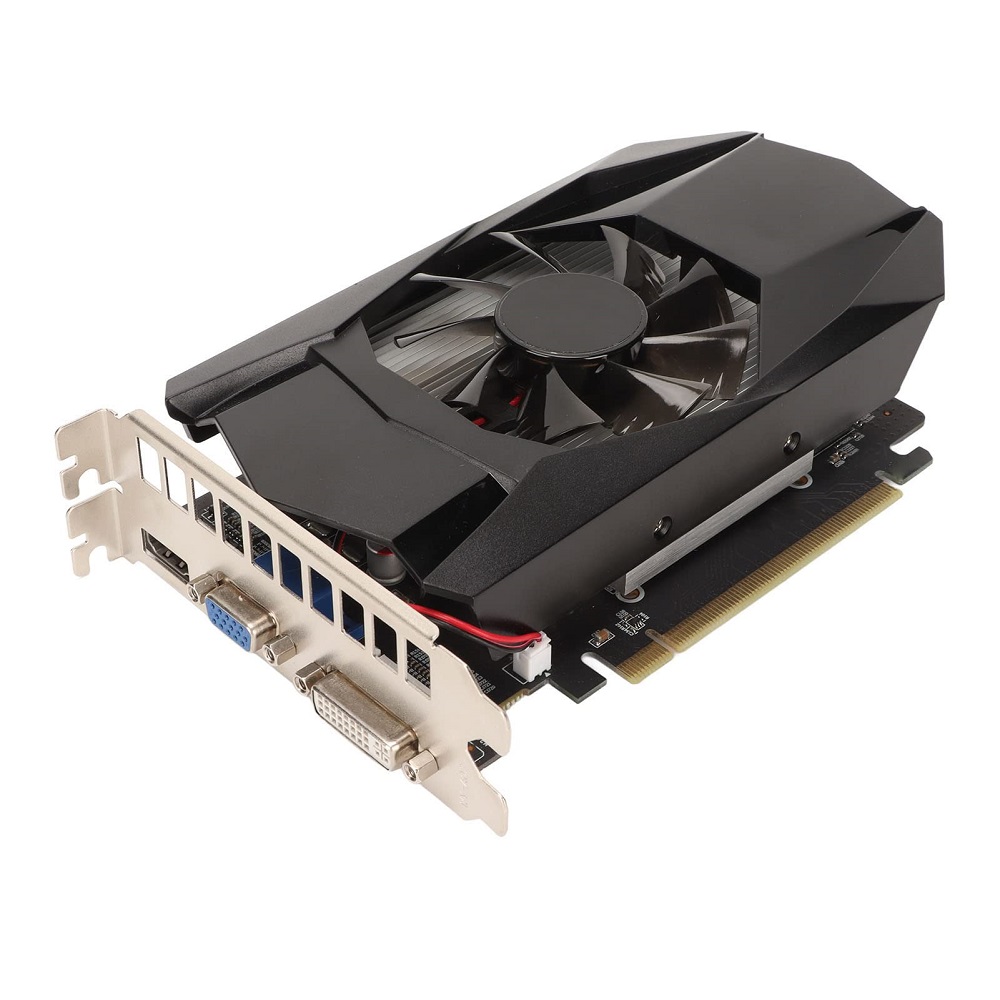
With the graphics card securely installed, it’s time to connect your monitor. Modern graphics cards offer various output ports, including HDMI, DisplayPort, DVI, and sometimes VGA. Choose the appropriate cable based on your monitor’s input options and connect it to the corresponding port on the graphics card. If your monitor supports multiple input types, consider using the highest quality connection available, such as HDMI or DisplayPort, for the best visual performance. Once connected, ensure the cable is firmly in place and route it through any cable management features your case may have.

Installing Drivers and Software
Driver Installation
After physically installing the PCI graphics card, the next crucial step is to install the appropriate drivers and software. Boot up your computer and log in to your operating system. If you have previously downloaded the latest drivers, simply run the installer. Alternatively, you can visit the graphics card manufacturer’s website to download the most recent drivers. Follow the on-screen instructions to complete the installation. This typically involves accepting license agreements, selecting installation preferences, and waiting for the setup process to finish. Restart your computer once the installation is complete to finalize the changes.
Configuring Settings
Post driver installation, you might need to configure display settings to optimize performance. Access the graphics card control panel (such as NVIDIA Control Panel or AMD Radeon Settings) via the system tray or right-clicking on the desktop. Here, you can adjust settings like screen resolution, refresh rate, color settings, and multi-monitor configurations if applicable. Customize these settings according to your preferences and the capabilities of your monitor. Applying the right settings ensures your display is operating at optimal performance, providing the best visual experience with your new graphics card.
Troubleshooting Common Issues
Display Problems
If you encounter display issues such as no signal, flickering, or incorrect resolution, double-check all connections. Ensure the graphics card is properly seated in the PCI slot and that all power connectors are securely attached. Confirm that the monitor is set to the correct input source matching the connected port. If the problem persists, reboot your computer and verify the drivers are correctly installed. Access the device manager and check for any errors associated with the graphics card. Troubleshooting forums and manufacturer support can provide additional guidance if issues remain unresolved.
Performance Issues
In cases where the new graphics card does not deliver the expected performance, several factors could be at play. First, confirm that the drivers are up to date and correctly installed. Consider checking the system’s BIOS settings to ensure it recognizes the new graphics card. Run benchmarking software to diagnose specific performance issues and identify potential bottlenecks such as insufficient RAM or CPU limitations. If necessary, adjust the settings in your graphics card control panel to balance performance and visual quality based on the card’s capabilities and the system’s overall specifications.

Maximizing Your Upgrade
Recap of Key Steps
Upgrading an old PC with a new PCI graphics card involves several critical steps. Start by ensuring compatibility and gathering necessary tools. Carefully open the PC case, insert the graphics card, and secure it in place. Connect the required power and display cables, followed by installing the latest drivers and configuring settings for optimal performance. Address any display or performance issues through systematic troubleshooting. Each step contributes to a successful installation, enhancing your PC’s graphical capabilities significantly.
Final Thoughts
Installing a PCI graphics card in an old PC can dramatically improve performance, extending the usability and enjoyment of your system. By following this comprehensive guide, you can upgrade your PC with confidence, ensuring all steps are carefully executed. This enhancement not only revitalizes your old computer but also provides a cost-effective solution to handle modern applications and games. Embrace the upgraded visuals and performance, and enjoy a new era of computing experience with your enhanced system.
